
With the general possibility explored in my previous post, I have decided to grab one of the smaller 2-bay QNAPs, a TS-221. Two 3TB Western Digital Red HDDs will form a mirrored drive array (RAID 1).
Initial Installation – One HDD
Installing and initializing the NAS was easy, the whole procedure of plugging the disks in and getting the drive connected was less than five minutes. Next was using QNAP Finder to locate the drive in my local network, then kicking of the initialization.
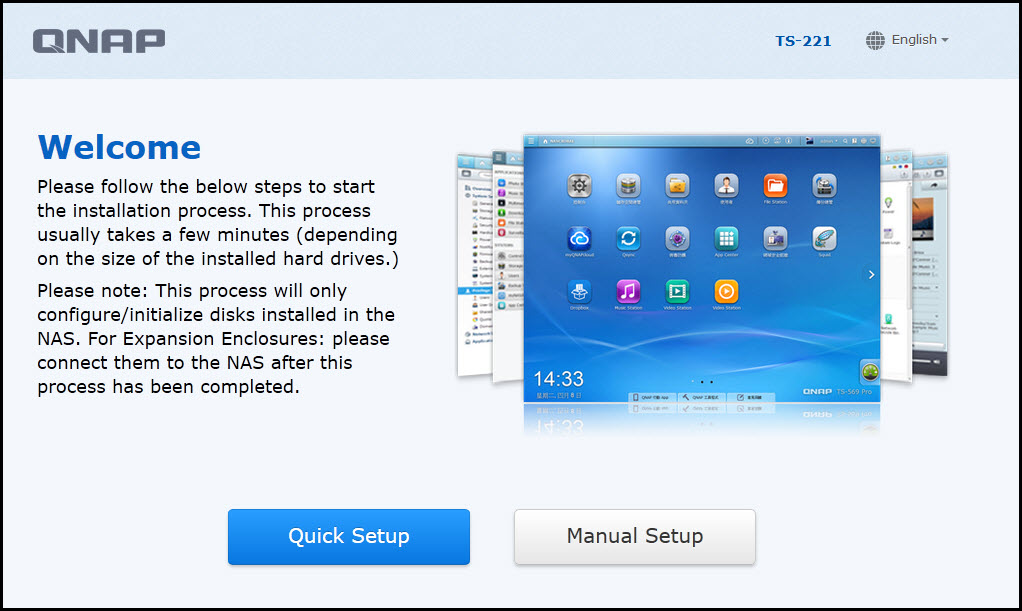
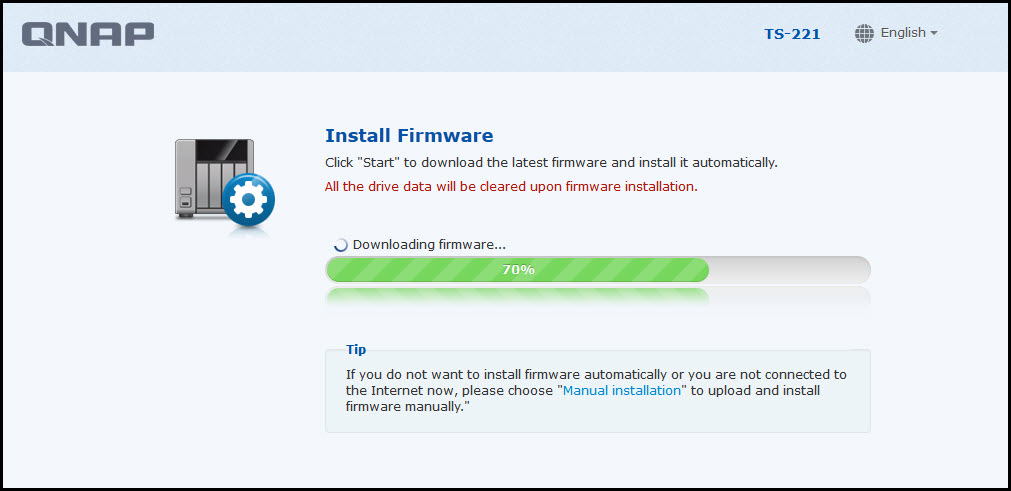 Once the new firmware was loaded and installed, the QNAP did present me with the choice of setup – I selected the Manual Setup.
 That took a little longer – the process ran for about 30 minutes. Also, I did start the drive with only one of the two HDDs inserted to prevent loosing time on the RAID Initialization just yet.
The initialization process took quite a while and also rebooting the drive requires some patience until the system becomes accessible again. But finally, the system decided to come back and allow me to connect.
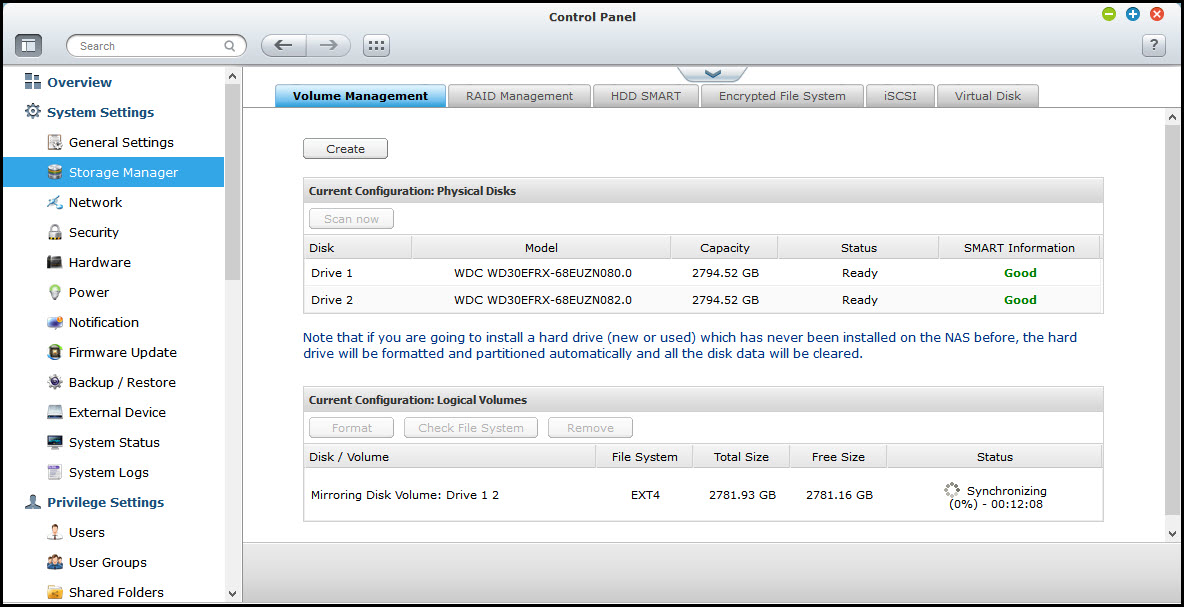
Initializing the RAID
Once installed, the next step is initializing the RAID-1 configuration. It takes a few moments for the NAS to recognize the second drive, afterwards, you can create the logical volume and allow the system to setup the discs. Mirroring will take a little while, in my case about
 Installing IPKG
To install Subversion – which is not a standard application supplied by QNAP – you first need to install IPKG. This is done quickly and easily via the App Center.
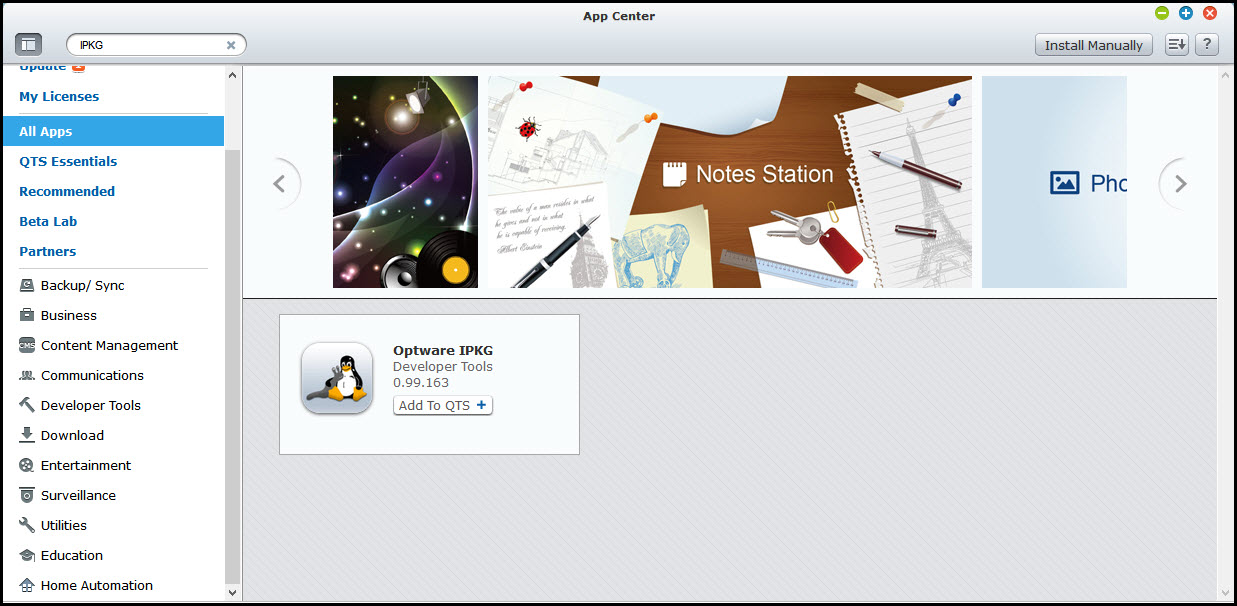 Once the installation has finished, you will find a new icon on your QNAP Interface, showing a LINUX penguin and the label Optware IPKG.
 Installing Subversion
Now comes the funny part – and it will take you down on the Linux Operating System Level of your QNAP. Get yourself PuTTY or a similar client, then connect to your QNAP and log in.
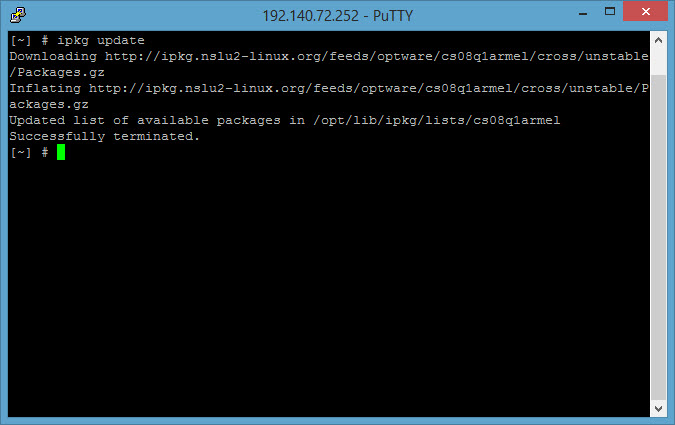
First, we need to update the IPKG Software Catalog.
ipkg update
It works similar to other package manager updates, for example apt-get if you are using Ubuntu.
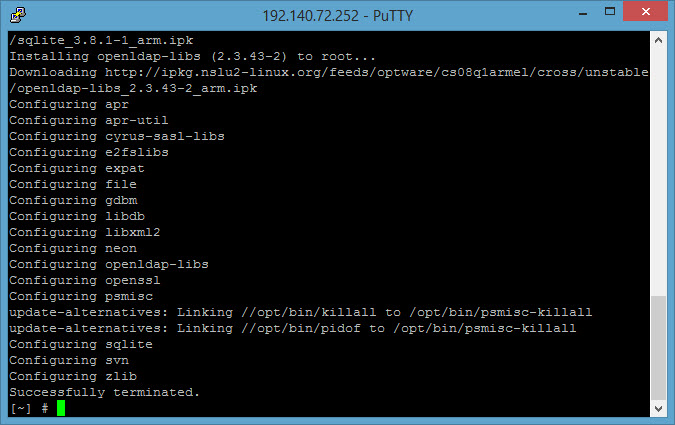
 Now, you should be able to install Subversion (with the package name svn). The command is simply
ipkg install svn
It will run for a little while and eventually will succeed (hopefully). And because I am in need for a text file editor, I also install Nano.
ipkg install nano
With that done, Subversion is on the system. And so is Nano.
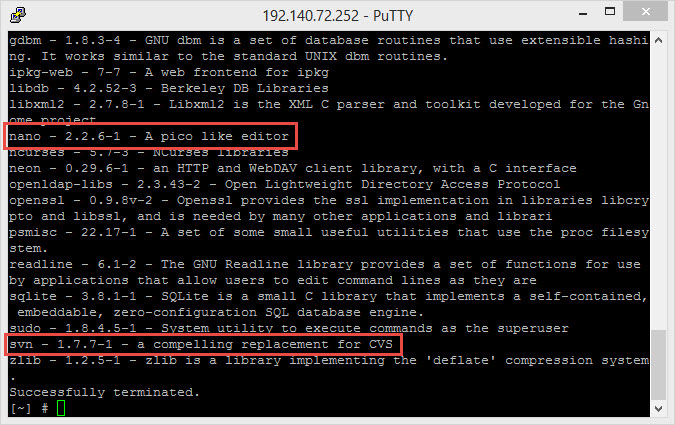
 You may also want to check that you actually have added the packages – a simple command will list all installed IPKG packages.
ipkg list_installed
Will produce an output similar to this one.
 Now, with the server installed, it is time to worry about the Subversion Repositories. First of all, we need to find an appropriate storage location on the disks. This can be different from QNAP to QNAP so you might want to find out which disks you got:
df
The command df stands for “disk free” and provides you a general overview of the disks in your system and their usage.
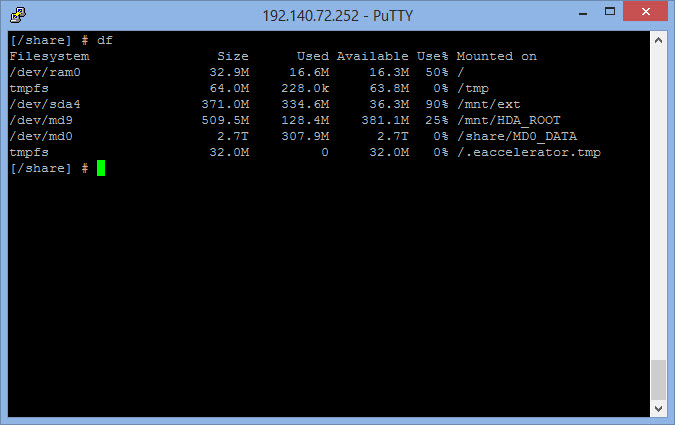 On my QNAP, it shows that /dev/md0 is the device (my RAID 1 Volume) and the location is /share/MD0_DATA. This is where I want my repositories to go…
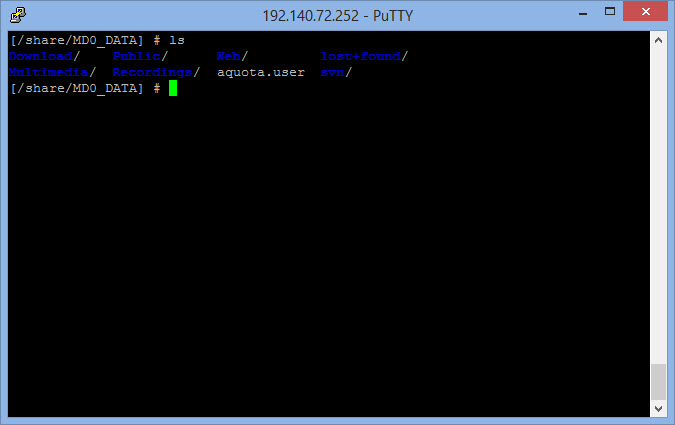
Now, here come an interesting question: I can create the /svn directory on the command line or I can create it through the QNAP’s FileStation as a shared folder. I have decided to go with the latter as it makes the repositories visible through the QNAP’s web interface. Either way, listing the directories in /share/MD0_DATA is done with the ls command.
 Remember my previous post about restoring the SVN Repos I did backup before? I moved the repositories to a Ubuntu machine but in fact, it is not much different here. First, we create the target directory.
cd /share/MD0_DATA/svn
mkdir lego
Then, I need to mount the share on my other QNAP that was holding the SVN Repository backups. On the QNAP, however, you need to use a different way of mounting:
mount.cifs [IPAddress of remote QNAP]:/[Share] /mnt/QNAP -o user=[User],password=[password]
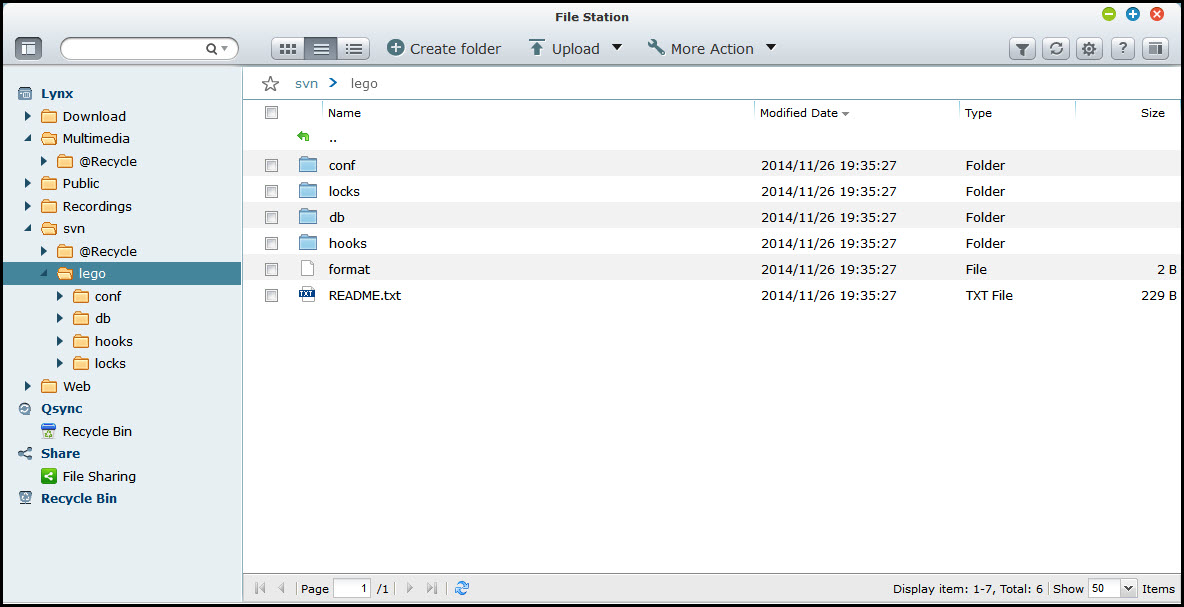
Of course, the above assumes I have created a /mnt/QNAP directory as mount point. With that done, the next step is then creating the target directory. I am going to use my LEGO Repository again as an example.
svnadmin create /share/MD0_DATA/svn/lego
And I can verify the result in my web interface via the File Station application…
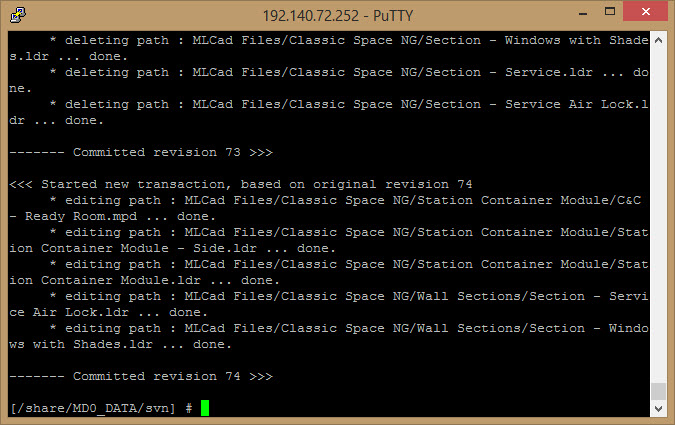
 Now, I should be able to load my previously dumped repository into the subversion repository on my QNAP.
svnadmin load /share/MD0_DATA/svn/lego < /mnt/QNAP/Subversion/LEGO.dump
Of course, you want to make sure that the paths you are using are matching your installations and shares! During the load, the QNAP gets pretty busy – CPU-wise, not so much traffic-wise.
 Eventually, the load finishes and the repository should be up and running, full with data.
 With that done, we need to look a little bit into security. For now, we only need to worry about access to the SVN Repository or Repositories. You got two options – you can set up a global security where all your repositories share the same users and passwords or you can setup a Repository-Level Security where you can define users and passwords per repository.
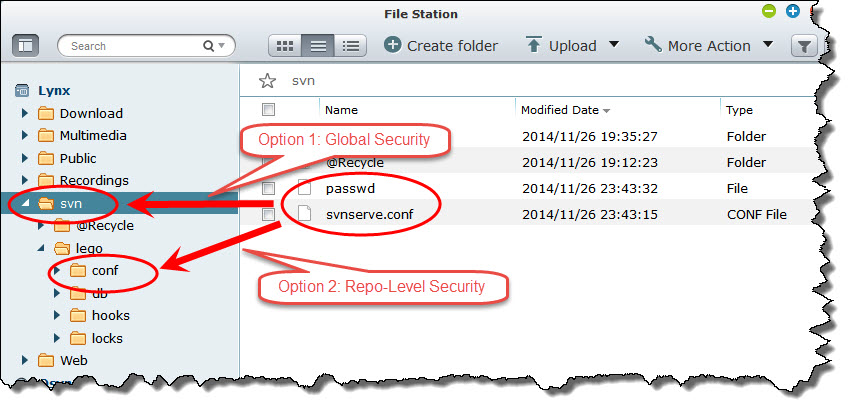 In both cases, security is goverened via two files – passwd and svnserve.conf. The difference is their storage location. For Option 1, they go to the root of your repository directory, for Option 2, they go into the /conf directory within each repository (or at least that are the accepted standard locations).
Let’s look at svnserve.conf first. This file defines – on a general level – how your respository can be accessed:
[general]
auth-access = write
anon-access = none
password-db = passwd
You can already guess the scheme – what are authenticated users allowed to do (write), what are anonymous users allowed to do (none) and where are the passwords stored (passwd). The password database looks equally easy (and be aware: it is currently not encrypting the passwords!)
[users]
<UserName> = <NotSoSecretPassword>
Finding out how you can encrypt the passwords is now up to you… oh, an one more thing: this setup does not enable access to Subversion via HTTP/HTTPS – you will have to use the standard SVN Protocol.
Some Testing
Now, I got my LEGO Repository on both, my old server and my new QNAP. I am creating a test directory on my Windows client for each one of them an perform a full check-out to see how the QNAP does performance-wise.
This is a bit like comparing apples and pears because one is running via HTTP Protocol (old server), the other one is running via SVN Protocol (QNAP) but at the end of the day, the check-out takes roughly 107 Seconds on the old system and 83 Seconds on the new one.
Next, I am going to load a larger repository – the Dump-File is about 40 GB in size. This one really maxes out the QNAP’s CPU – the load took just under four hours to complete (over the network).
Finally, I have copied the next Repository to a USB 3.0 Disk and connected that one to the target QNAP. That second load (Dump file roughly 50 GB) took four hours and 30 minutes… seems like the limiting factor is not the network. But now I got two of my major repositories transferred and hooked up (use the SVN Relocate command on the client – you do not have to check out the repository from the new location!)
One last thing
One last thing remains to be done: auto-starting the Subversion server when the QNAP is rebooted. First of all, it needs to be mentioned again that the reboot of even the small QNAP takes time: about 2 minutes until a ping -t can receive a response from the box, another 2 minutes until the administrative web interface becomes available. Just be patient…!
I have implemented a QPKG-based autostart method as described in the QNAP Wiki. This has been combined with the more robust approach to start the server described here.
Once the QNAP is back up and running, log in to a command shell and execute the following command:
ps | grep svn
If all has gone right, you should see two lines returned: your grep process and your svnserve process!