
Home Automation is getting more and more attention – and devices become more and more available for prices that are affordable. So time for me to start looning into it. In combination with a Raspberry Pi, this is a neat way of adding some geek stuff to your home that looks impressive and might even help you save some money and/or increase your comfort level.
Using a Raspberry Pi for Home Automation
Considering “things to do” with a Raspberry Pi almost automatically sparks the idea of using it for some kind of home automation. It is small, it is cheap, it is extensible, it has a huge community and it can do the job.
I have an “old” Raspberry (a Raspberry PI Modell B Rev 2.0, 512MB model) sitting around that I can use as a test environment – that is trying stuff without messing up my actual “live” Home Automation Server. If things work, I can then transfer them to the live environment.
Now, before anything can be done, a clean install of the Raspberry Pi is required – and I have described this in a post way back when – so check it out here. At the time of writing this post, the current version is Raspbian Jessie with a Kernel Version 4.4, released on May 27, 2016. Of course, I am also applying the regular update and upgrade to be on the lastest versions of everything:
sudo apt-get update
sudo apt-get upgrade
Of course, there are a couple of other things you would want to consider for a “real” Home Automation Server but I am going to skip them for my test environment:
- Provisioning of a fixed IP Address,
- Changing the default user and password,
- securing the Raspberry Pi against unauthorized access
And maybe some more that I forgot to mention… but since this is about playing with a Home Automation Server, I guess I just leave it at that and install one.
FHEM as Home Automation Server
Let get around this quickly: I have just chosen FHEM – there may be other solutions, there may be better solutions – this is the one I am going to play with.
like with any other solution, it needs to be installed first. But first, the Raspberry itself needs two more little bits sorted out.
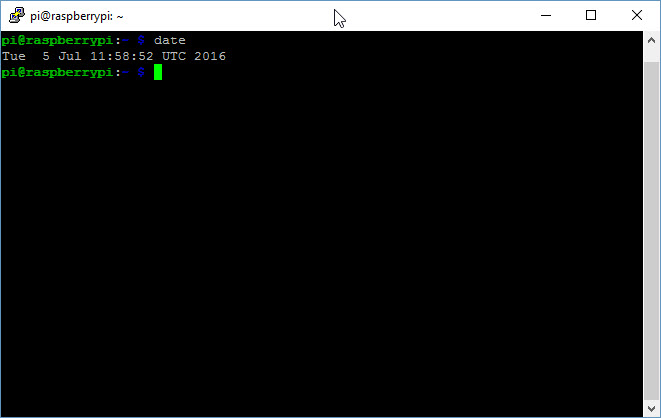
First, we need to worry about the time and timezone. Let’s see where are are at with the Raspberry Pi – the command simply is
date
And the result is equally short:
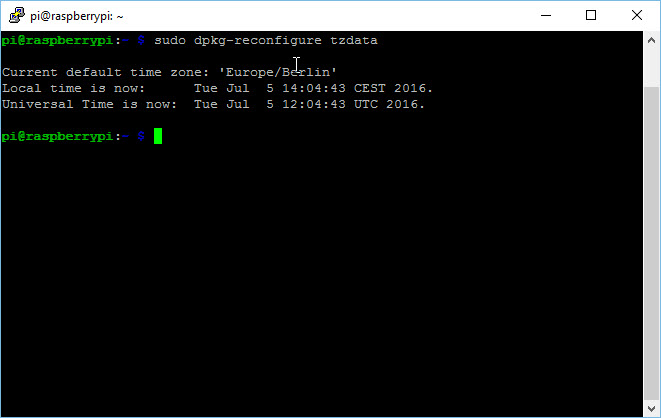
 To reconfigure the time zone, you got multiple possibilities, one is the following:
sudo dpkg-reconfigure tzdata
You will receive a graphical interface to select the region first, then the city. Upon confirmation, you will see the updated configuration in the shell.
 Finally, we need some additional software packages on the Raspberry Pi – mainly Perl libraries:
sudo apt-get -f install && sudo apt-get install perl libdevice-serialport-perl libio-socket-ssl-perl libwww-perl libxml-simple-perl -y
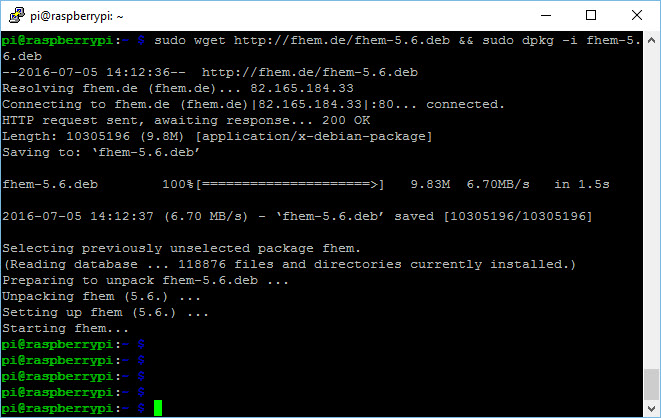
With that done, we are ready to install FHEM – which does not come via the usual package manager but via a direct download from the fhem.de website:
sudo wget http://fhem.de/fhem-5.6.deb && sudo dpkg -i fhem-5.6.deb
This might take a moment – at least my Raspberry Pi is not the fastes anymore.
 This is it – the software a such is now installed. A little bit on permissions needs to be adapted – change to the /opt director and do the following:
cd /opt
sudo chmod -R a+w fhem && sudo usermod -a -G tty pi && sudo usermod -a -G tty fhem
Now reboot the Raspberry Pi using the sudo reboot now command and then wait for it to come back. Then open any Internet Browser on your local machine and go to the Raspberry Pi’s FHEM Web Page:
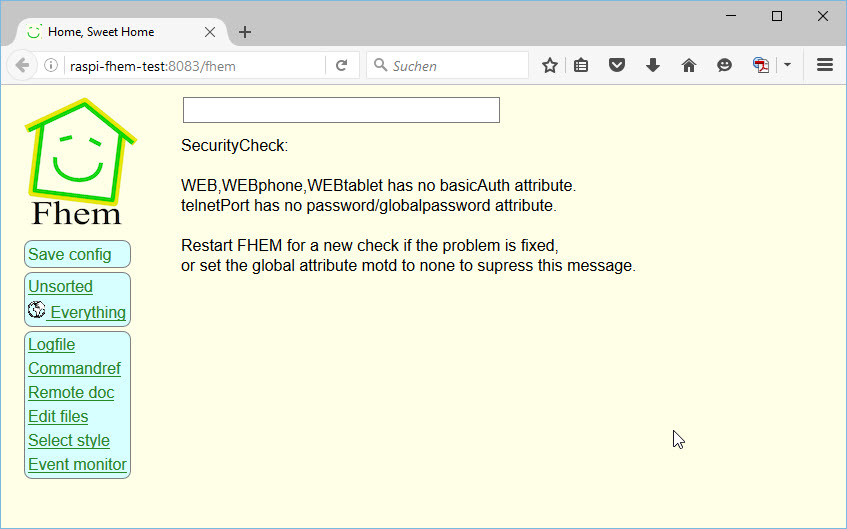 Note the port: it is 8083! If you see the above page, you should be all set to continue configuring the FHEM Server.