With all the discussions about our monetary system, traditional money vs. digital currencies, cryptocurrencies, and how things are going to change, I’d like to take a step back and look at my personal requirements towards a currency.
And maybe – just maybe – that helps you to consider your own requirements. Helps you to find out what is important to you. And makes you actively think about what kind of system you’d be willing to trust, use, and rely on.
Spoiler alert:
We might find out that we have different requirements. Or we might find out that we have the same requirements, but put a different priority on each of them. And that’s just fine – that’s why we’re talking about it.
But before we head into those requirements – let’s pin down some basic definitions. Because clarity matters, especially when talking about something as foundational as money.
- Currency: A currency is a system of money in common use, especially within a nation or economic region. It refers to the form of money – whether it’s coins, paper notes, or digital tokens. It’s the vehicle that carries value and allows us to transfer it. Dollars, Euros, Bitcoin – these are currencies.
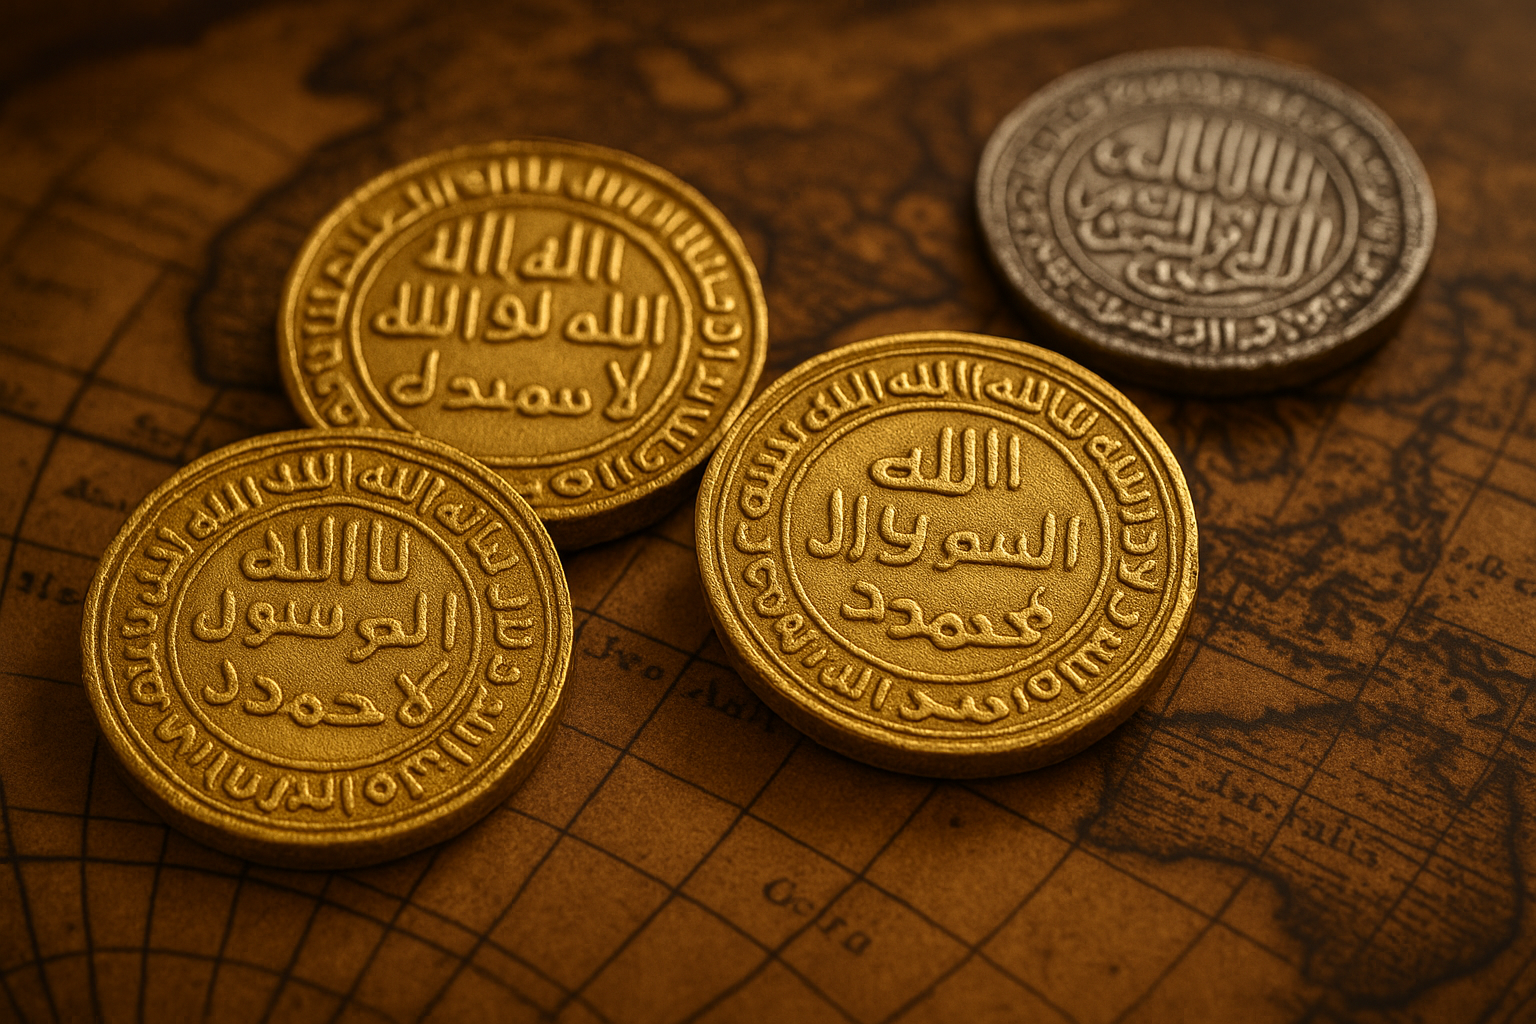
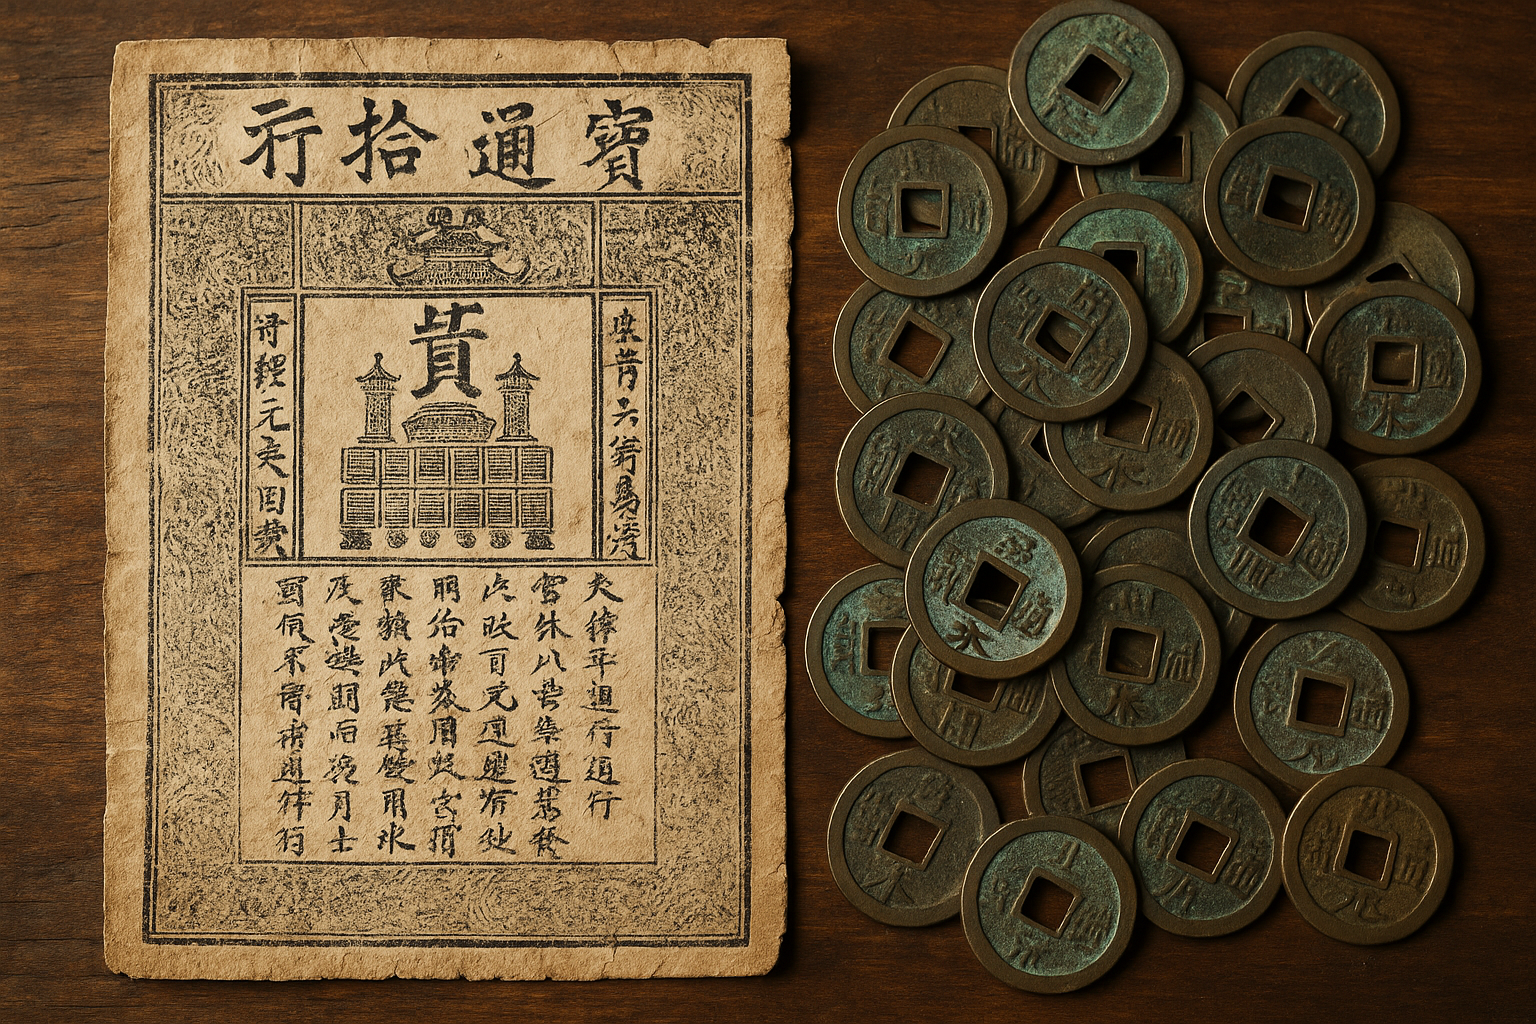
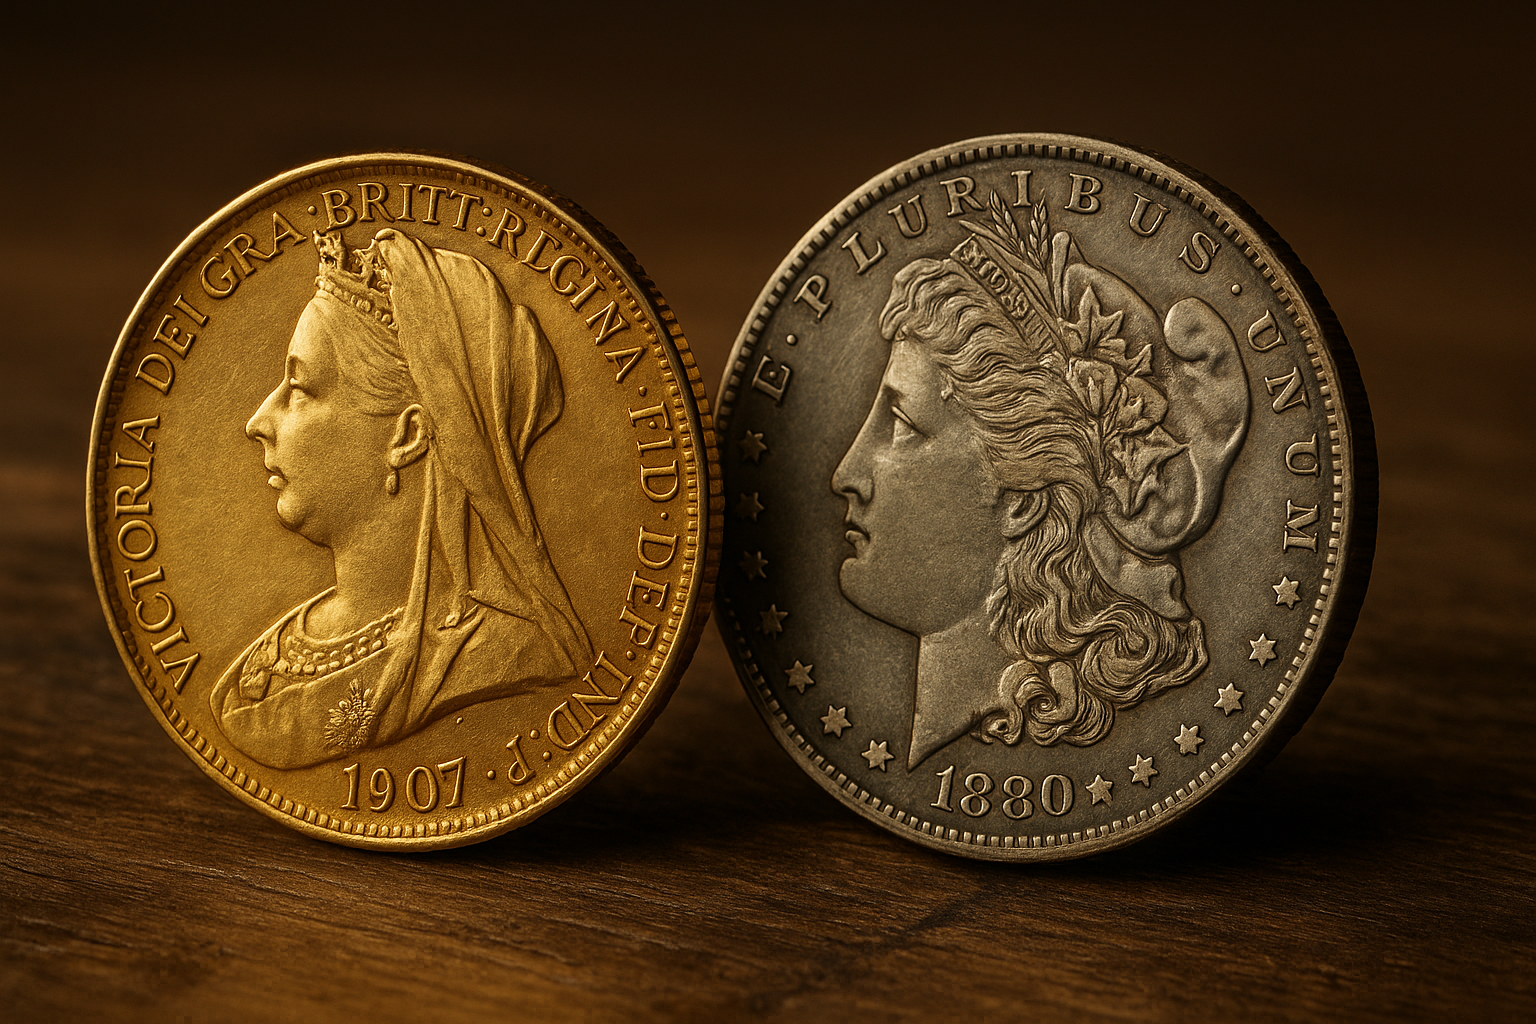
- Money: Money is a broader concept. It refers to anything that is generally accepted as a medium of exchange, a store of value, and a unit of account. Historically, that included gold, silver, shells – and today, it includes fiat currencies, central bank reserves, and even some digital assets.
Not all money is a currency, and not all currencies fulfill the full function of money. But the distinction is important: Currency is the form. Money is the function.
To be clear: that’s a simplification – but a deliberate one. A functioning monetary system typically requires both: the form (“currency”) and the function (“money”). Occasionally, we encounter one without the other:
- There are currencies that fail to store value – for example, during hyperinflation.
- And there are “things” that fulfill the functional definition of money but are not considered a currency in a legal or institutional sense. Bitcoin is a prominent example of that second case.
My Top 3 Requirements towards a Currency
When it comes to requirements, fewer is usually better – it helps you focus on what’s essential and ignore the “nice to haves.” So here are my Top 3 requirements for my (ideal) currency:
- Store of Value: This is a fundamental requirement – a true showstopper if not fulfilled. I don’t want my personal assets, my safety bag, my future to be stored in something that can’t maintain its value. If something is worth 100 today, I don’t want it to be worth 10 a decade from now.
- Independence from Arbitrary Control: Again – this one is non-negotiable. I want my belongings to be safe from manipulation by others. I don’t want anyone to control my assets. I don’t want anyone to dilute or deflate their value. And I certainly don’t want anyone to take them from me – without my consent.
- Acceptance and Usability: The third essential requirement. Whatever currency I store my value in, it needs to be widely accepted. I need to be able to pay with it, invest with it, account with it. The “perfect” currency is utterly useless – if no one’s willing to trade with me.
There might be more requirements, sure – but honestly: these three are the essential ones. I’m not asking much, right?
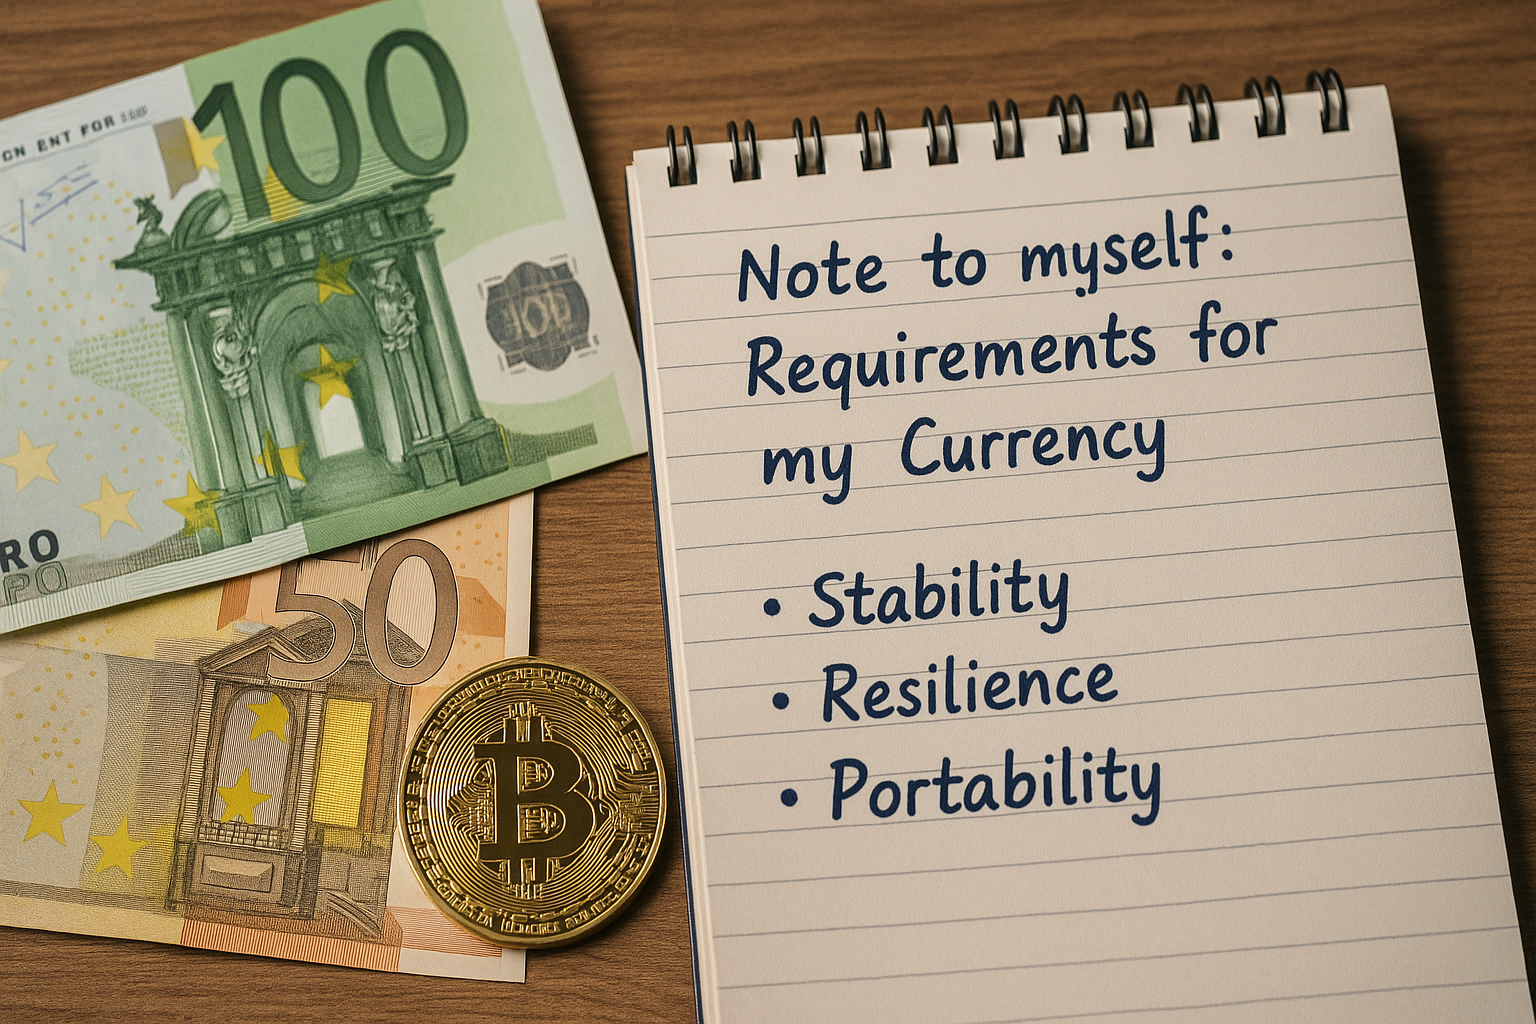
Well, I might not be asking much – yet, many currencies have failed on these three simple requirements. Let’s take a closer look at them – they can be translated into “Stability”, “Resilience”, and “Portability”.
Why Stability Matters
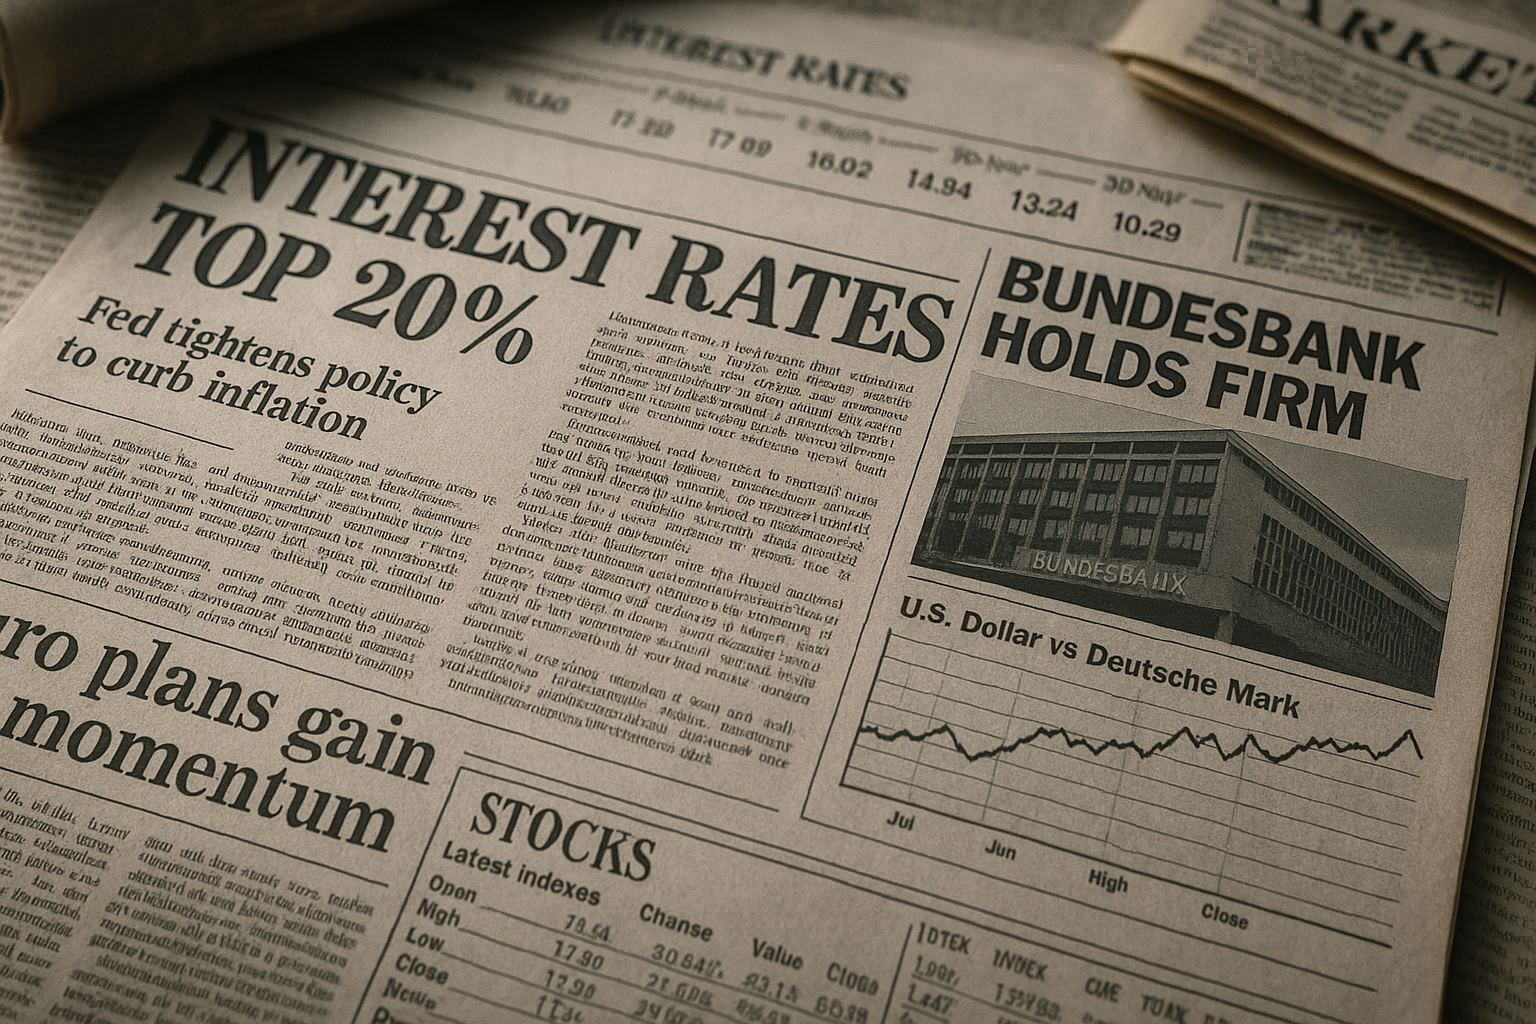
The base for every (good) currency is trust. The moment people start losing trust, a currency is already dead. Whoever can, will take their value out – and everyone else will lose everything they had in that currency. A loss of trust instantly breaks all three core requirements: It no longer stores value. There are no belongings left to protect or control. Acceptance and usability drop to zero.
Nobody accepts money in a currency that’s already dead. If you don’t believe me – look at the image below.
But what makes a currency “stable”? Or when does it become “unstable”? Well – history has taught us a few key parameters:
- Predictable Supply Mechanism: A currency needs a predictable, slow, and transparent mechanism for supply growth. This can be managed by a governing authority – or (in the modern world) by an algorithm. But uncontrolled or erratic growth is deadly – it leads to inflation, and inflation (or deflation) directly threatens the currency’s ability to store and maintain value.
- Trustworthy Governance: Whoever controls the currency must be absolutely trustworthy. That can be an institution, a government – or again, an algorithm. But it must demonstrate transparency, accountability, and independence.
- Security & Forgery Resistance: A good currency cannot be tampered with and is hard to forge. If something is easily subject to fraud, acceptance will vanish, and with it the third core requirement: usability.
- Widespread Acceptance: A stable currency has a strong network behind it – a large user community that accepts and trusts it. That, in turn, creates a positive feedback loop: broad acceptance strengthens trust, which enhances stability.
Why Resilience Matters
Resilience is the ability of a currency to withstand internal and external forces that threaten its core values. Here are a few critical challenges a resilient currency must be able to endure:
- Uncontrolled Inflation: Inflation isn’t inherently evil – but it must be low and predictable. At the end of the day, any inflation means your assets are losing value.
The European Central Bank, for example, targets a 2% inflation rate for the Euro. That’s modest – and more importantly: predictable. - Manipulation: A good currency is resilient against manipulation – even (and especially) by its own government. In fact, the most common source of currency manipulation is the state itself. History provides plenty of examples. This is why resilient systems separate currency governance from political power – enter the central bank. Much to the dismay of some… even current world leaders.
- Censorship: A good currency is, in principle, free. That’s a bold statement – and a complex one. But generally speaking: it shouldn’t matter who I transact with, or how. Yes, I fully acknowledge that this level of freedom can be misused – but I firmly believe it is wrong to sacrifice the freedom of the many to control the few.
- Confiscation: Another hot topic. I’m not talking about asset seizure due to criminal conduct – I’m talking about governmental actions like: broad-based asset freezes, forced expiry of digital money, negative interest policies, or even retroactive restrictions on asset use. A resilient currency protects individuals from these system-level confiscations.
- Control: Closely tied to censorship, but broader in scope: A resilient currency should not allow centralized control or surveillance of every transaction, every wallet, every account. Whether it’s individuals or corporations – systemic overreach must be prevented.
Why Portability & Usability Matter
Even the most stable and most resilient currency is worthless if you can’t use it. This requirement is often overlooked – but in practical terms, it decides whether a currency is alive or dead.
- Portability: A currency must be easy to carry, transfer, and access – both in physical and digital form. In today’s world, this means: I can use it globally, not just locally. I can send and receive it across borders and platforms. I can store it securely without relying on physical proximity or fragile infrastructure
- Usability: Beyond moving it – I must also be able to spend it. Everywhere. Easily. Without friction. This means: A functioning payment infrastructure. Merchant acceptance – whether local shops, online platforms, or international services. Legal clarity – it must not be illegal or punished to use that currency. Speed and cost-efficiency – nobody wants to wait 10 minutes or pay $20 in fees to buy a coffee
Usability is the real-world test for any currency – it is where theory meets practice. A currency that cannot be used is not a currency – it is an idea.
Conclusion
So here they are – my Top 3 Requirements for an ideal currency, and the reasons behind them.
If you’ve followed my Monetary Journey through History (Part I | II | III), you’ll know that some currencies come close – but none of them met all the requirements and was able to maintain that status.
Most fail sooner or later, and usually in at least one of these key dimensions. Why?
Because history has never seen a perfect currency. But that doesn’t mean we shouldn’t aim for one.