
Everyone knows services such as Google Earth or Microsoft Maps. They are great for exploring but they are not so great when it comes to creating large-scale high-resolution images, e.g. for a wall poster or alike. Also, they have their shortcomings when it is about comparing maps or images from different sources to “pick the best”.
So I went out searching… and here is a little process to share. The task is: to create a single-image map of Mallorca with a high-level map resolution. So let’s see…
The software I am using for this is called SAS.Planet – and it seems to be a Russian-built piece of software (so my first installation came up all Cyrillic…). I ended up downloading a copy from “somewhere” and then used the internal Help -> Check for Updates feature to grab the latest release.
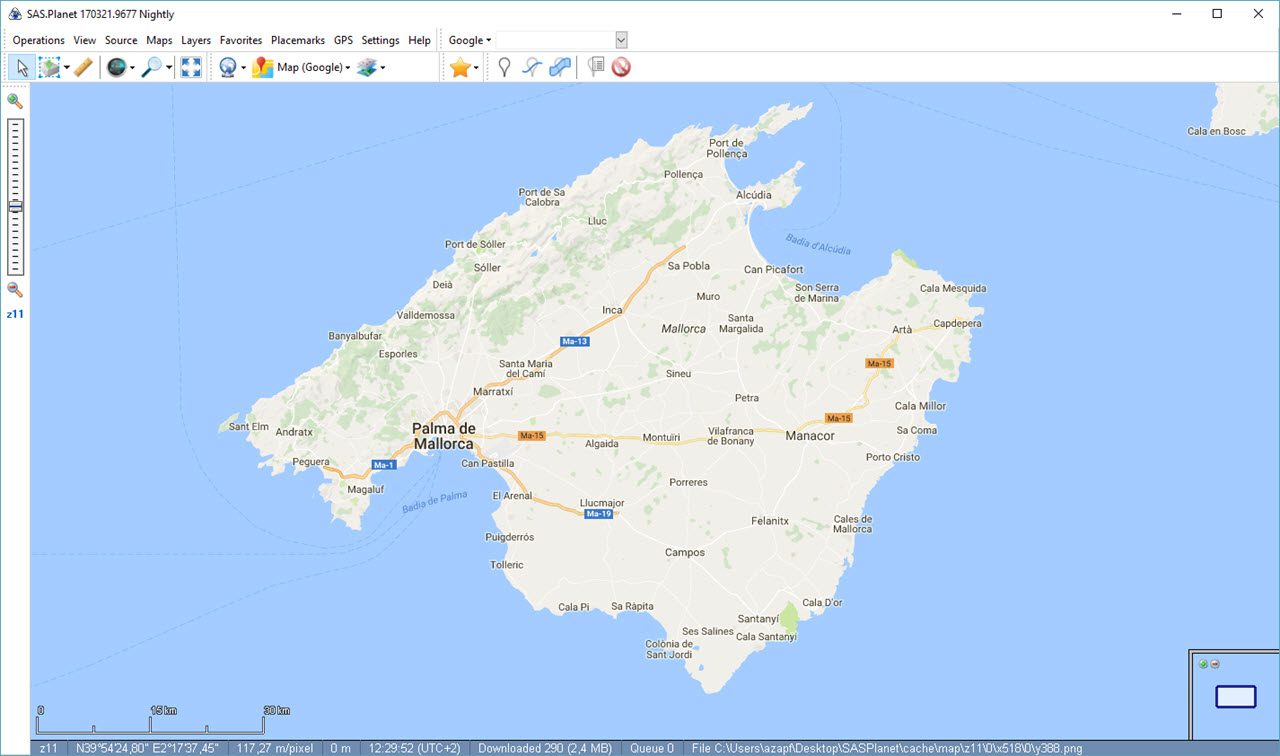
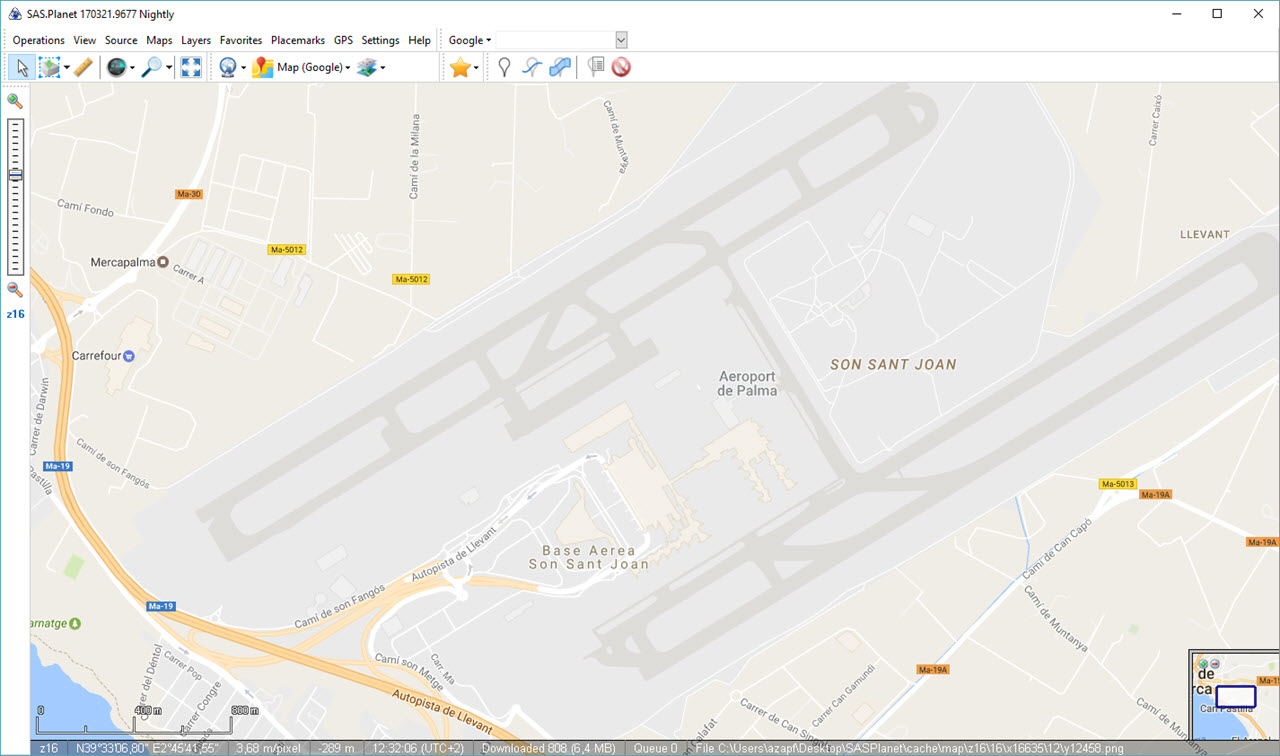
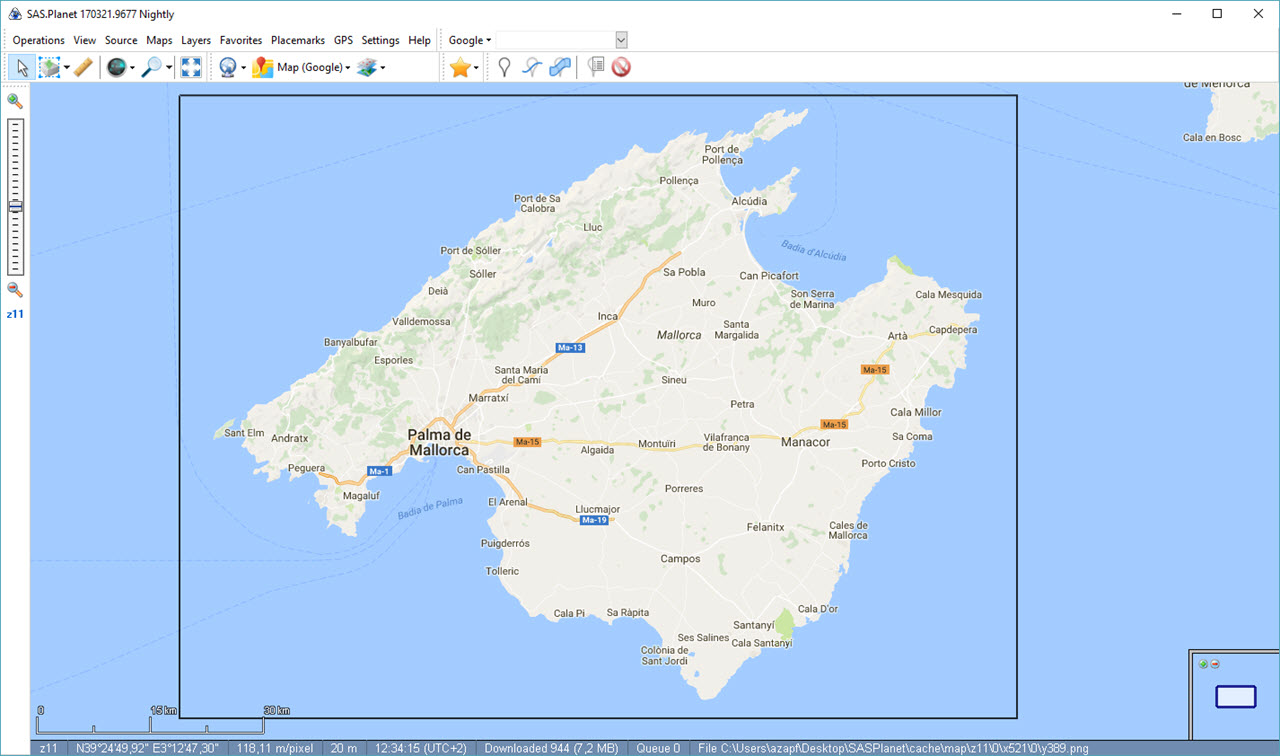
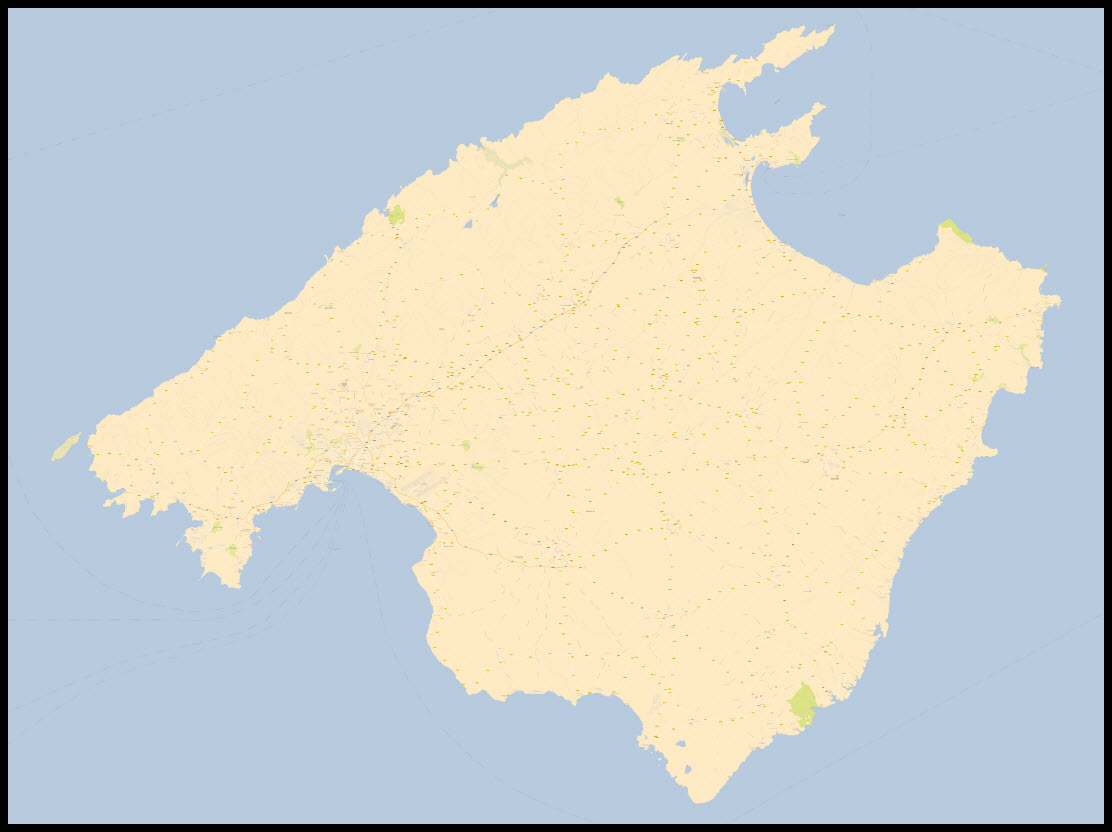
So this is all of Mallorca (using a Google Maps layer) but not the level of detail I want… which is more like this:
So in general, I have a choice of seeing “all of it at lower level” or “seeing more detail but lesser area”. Let’s change that: zoom back out until you see the whole of the island. Then use the Rectangular Selection tool to draw a map around it.
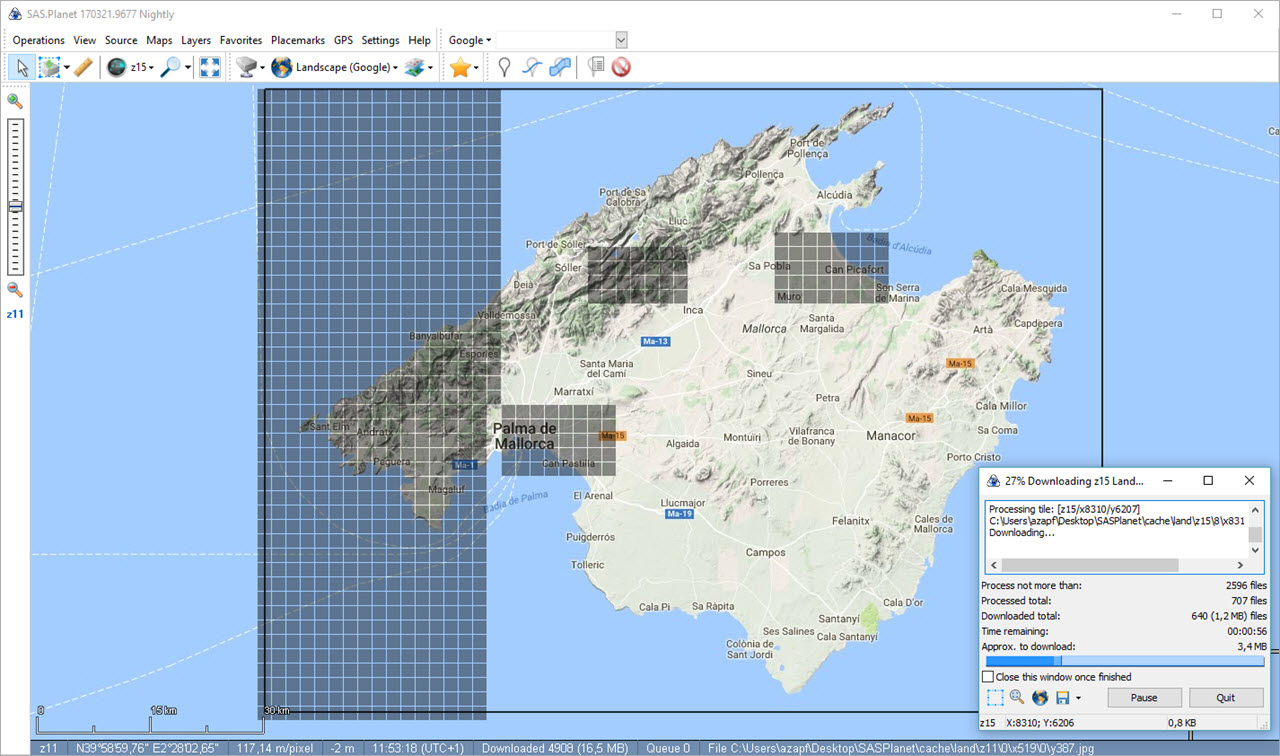
A window will open that allows for a couple of options. In general, I have had the best experience with downloading the required tiles first, then stitching them together. So on the Download tab, all I do is to download all tiles of Zoom Level 15 and click Start.
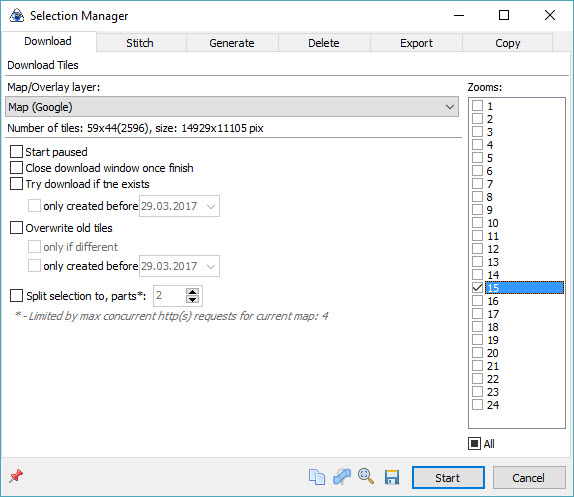
If you want to monitor the download process, you may switch on Tile Shading using View – Cached Tiles Maps and select the level you are downloading – z15.

This will display each tile downloaded for that Zoom Level to appear with a gray shading. In addition, you can monitor the progress in the Download Window. Now, you need some patience and wait…some tile servers are faster, some are slower.
When all tiles have been downloaded, go back to your current selection via Operations -> Selection Manager -> Last Selection and switch to the Stitch tab.
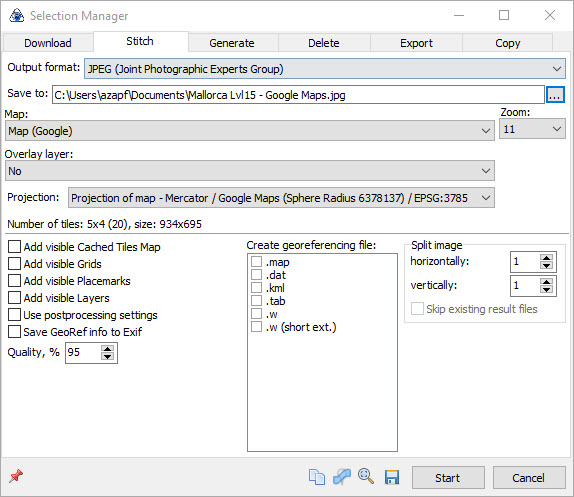
Enter a file name and location in Save to and select the appropriate Zoom Level (15 in our example). Then click Start.
The image that is now created is roughly 10 MB in size – the dimensions are 15000 x 11000 px – so pretty large.
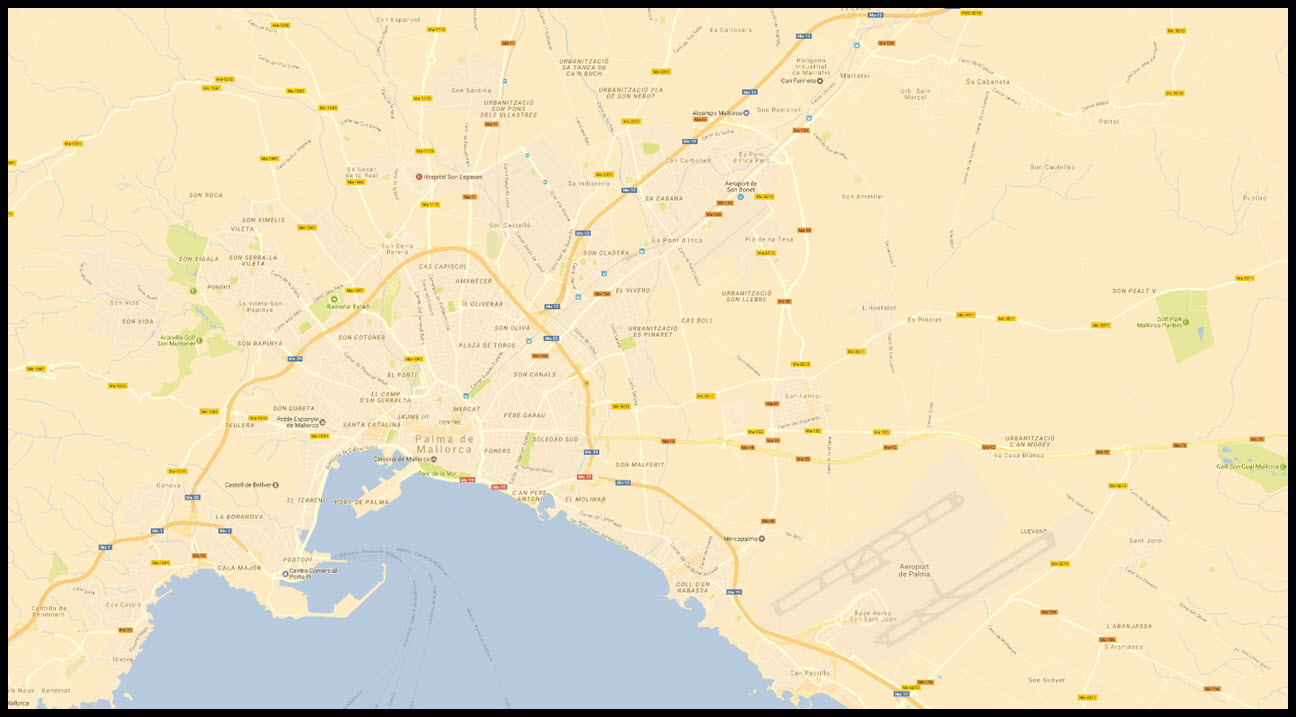
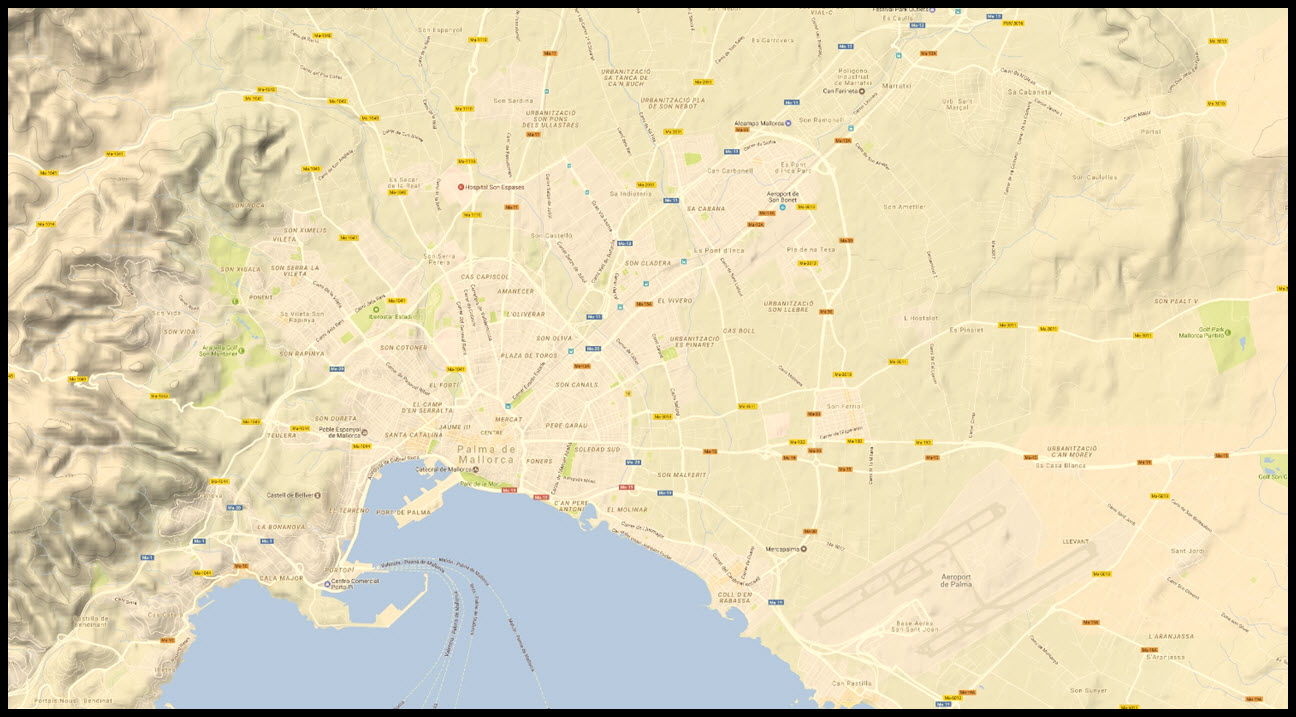
Of course, one cannot see much at this magnification but zooming in anywhere onto this picture shows the true level of detail:
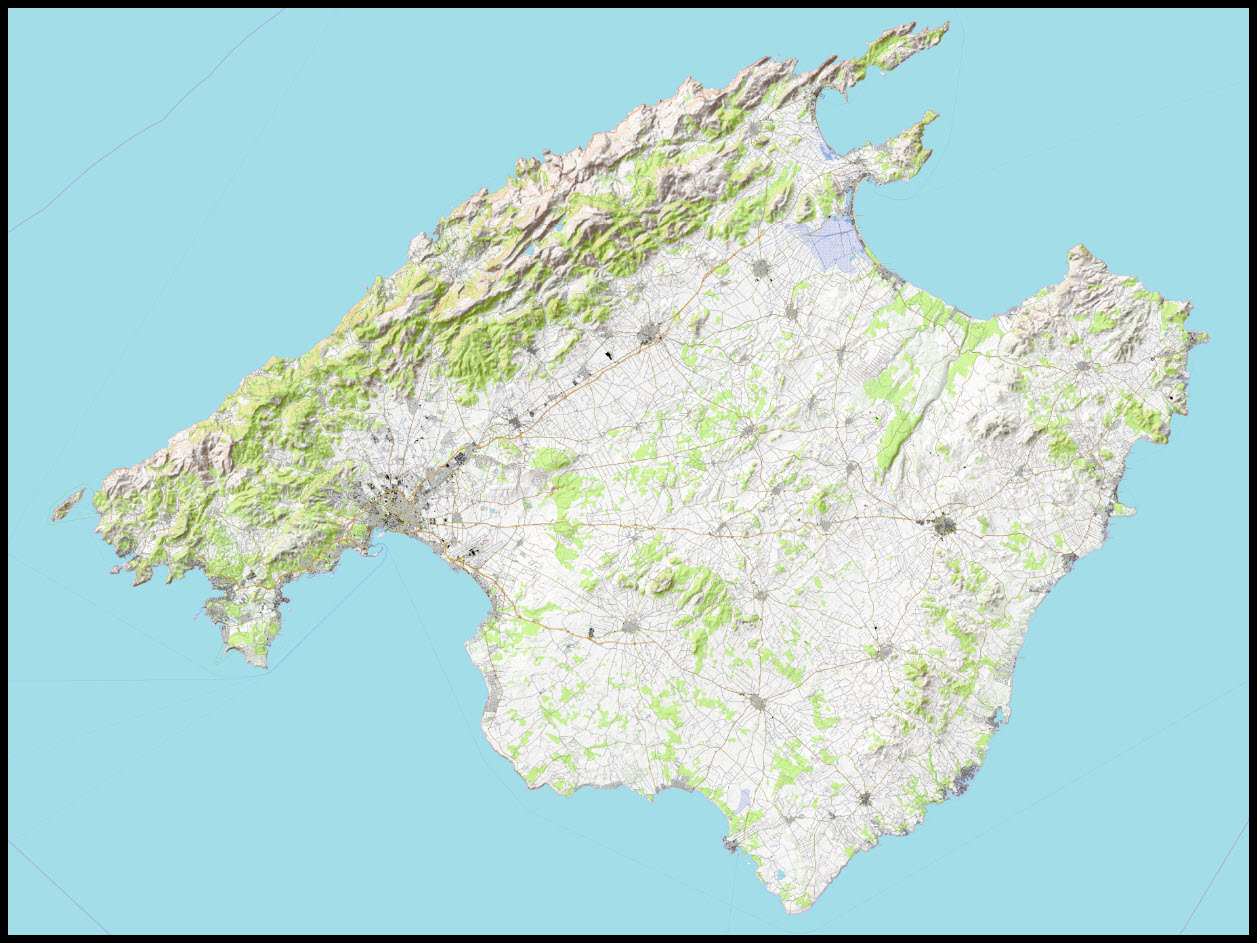
Another nice feature: if I do not like the map that has been produced, SAS.Planet allows me to switch to a different tile server but maintain the current selections. So let’s use Google’s Landscape Tiles instead to see if we can get a better result on the mountain region of the island.

You can see: the selection box is still present so I go back to the Selection Manager and download the tiles for Level 15 of Google’s Landscape Layer – same procedure as above.
When I go back to create the stitched image from the downloaded tiles, the result again is a file of 19 MB, same dimensions as the first one.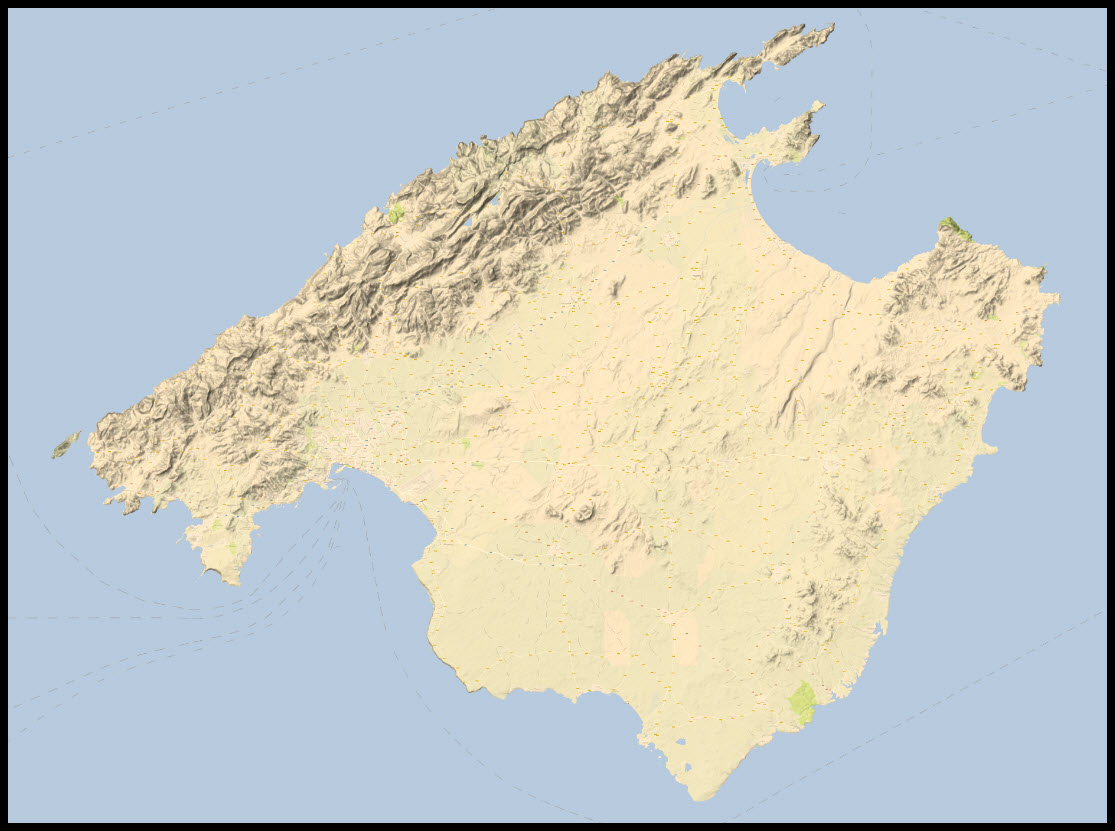
The level of detail, again, will only reveal itself when zooming in but the overall representation is more what I think I would like to have on the wall… the hills are showing as a well defined relief…
There are plenty of other layers available in SAS.Planet – using the OpenTopo Tile Server provides yet a different view for the map:
And of course – if I do not like a map-type of poster on my wall, I can always switch to the various satellite image providers – mainly Google Earth and Microsoft Bing. Here is a comparison between the image quality of the two – Microsoft on the left, Google on the right.
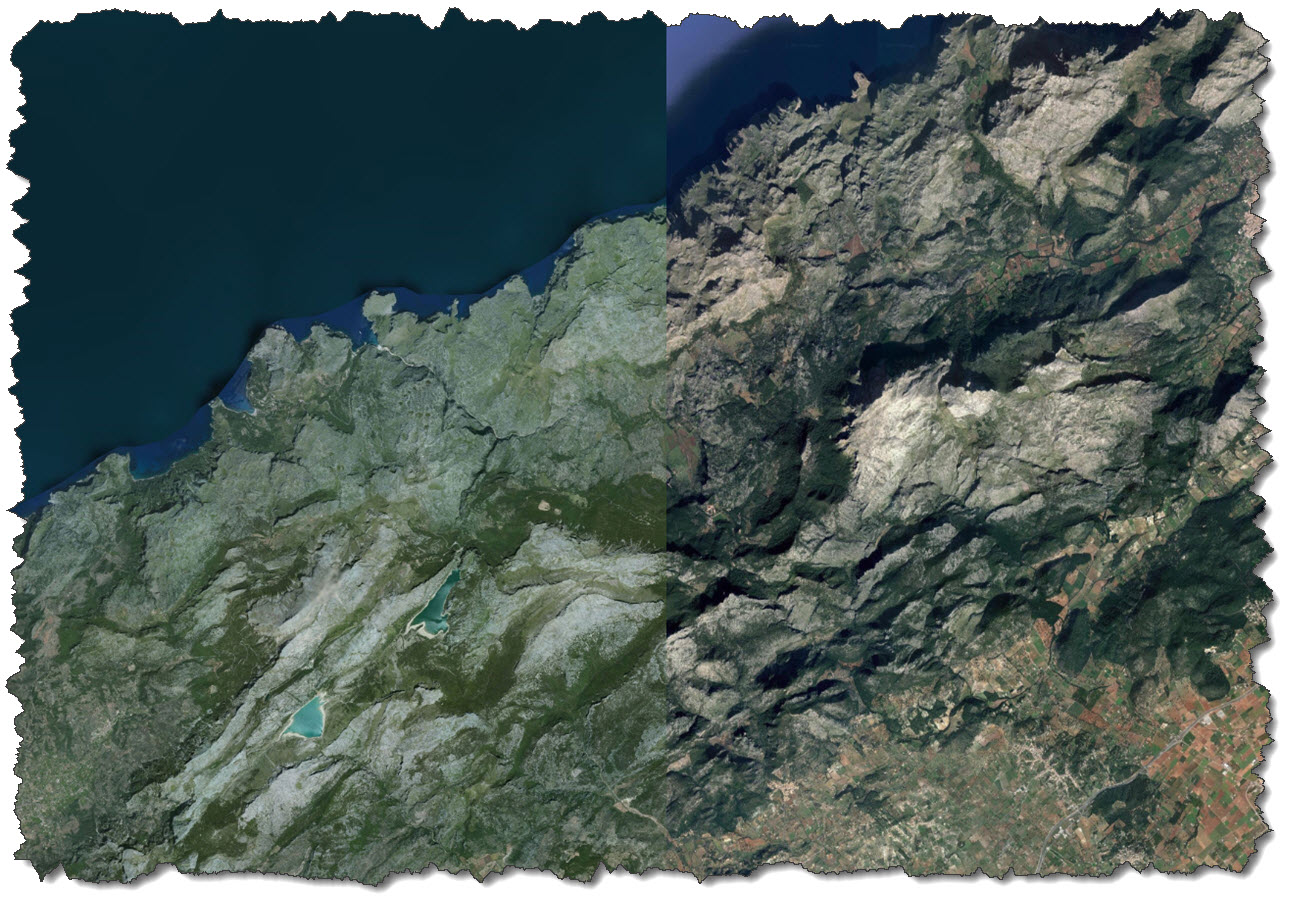
It comes down to a matter of taste at this level – on a higher level of detail, the Microsoft tiles are more crisp but the Google tiles are more up-to-date.