
By September 2020, and after the initial positive results with astrophotography from my backyard, I had invested into some “upgrades”. Initially, I was out just with the tripod and the Nikon D90 and several of my Nikon lenses.
Next thing that happened: the Nikon D90 got replaced by a Nikon D7500 and shortly afterwards, the tripod was equipped with an Omegon LX2 mechanical star tracker. Which did not last long (I mean, it did its job but had limitations) – it was replaced with a Skywatcher HEQ5 Pro Mount and the Nikon lenses made room for a Skywatcher 72ED telescope, together with a Skywatcher 50ED Guide Scope and a ZWO ASI 120 MM Guiding Camera. Also, a switch was made from a simple intervalometer, controlling the Nikon exposures to using dedicated astrophotography software. The Nikon D7500 remained in place for some last set of photos of M31, the “Andromeda Galaxy”.
Images were taken during several sessions between September 2020 and November 2020 – a total of 12:28 hours of exposure time.
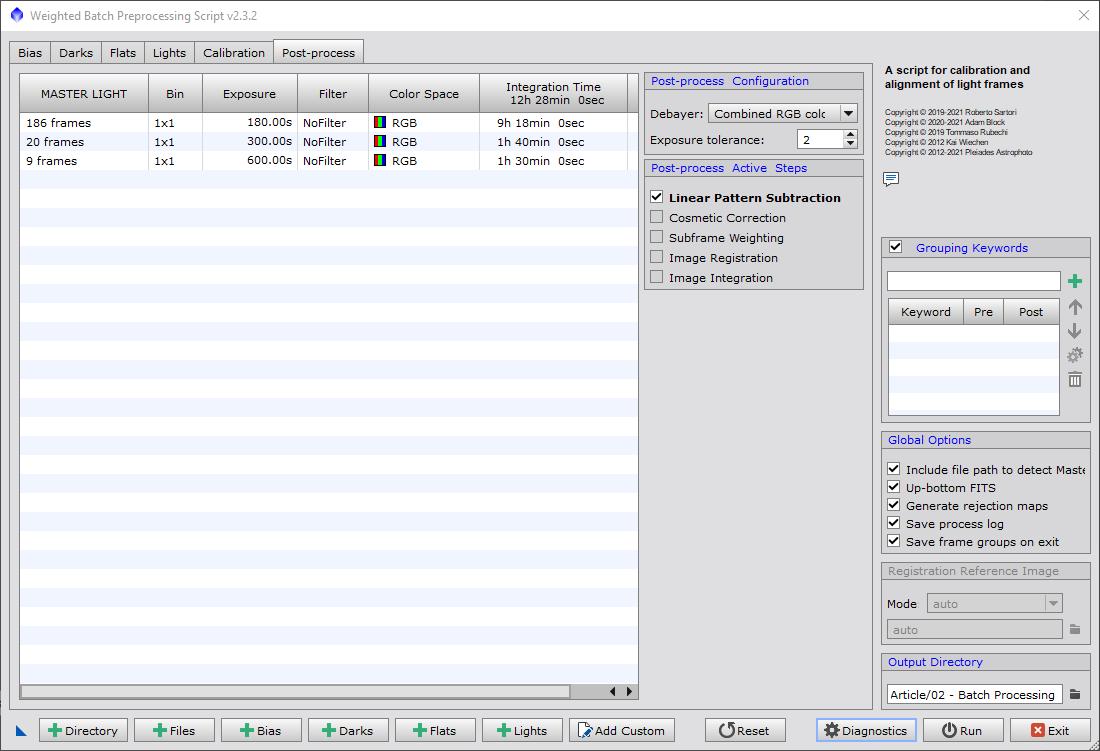
This time, some darkframes “survived” the times so I decided to apply them globally, although they did not match the temperatures of each image session – remember, the Nikon D7500 is a regular DSLR so darkframes should match the temperature the light were taken at.
Pre-processing a large number of images, including the creation of three master darkframes, takes a little while – my computer was busy for some 26 minutes. Like before, the next step is to debayer the images and then do the star alignment – this time, I had sorted out the “bad images” so I spare you that step.

With an Deepsky Object (DSO) that large, the background extraction needs to be performed more selectively using the DynamicBackgroundExtraction process which allows the user to select what is “background” and what not.
Next are then the BackgroundNeutralization and the PhotometricColorCalibration processes – once done, the colors have been adjusted more to their natural look.
The large number of source images has already made sure that the background noise is very low but running a bit of noise reduction makes it even better. Now, we are ready to stretch the image finally.
What comes now – again – is a matter of “taste”. But one thing I want to show you is how to work with the “galaxy” and preserve the stars around it in their current state (or handle them individually).
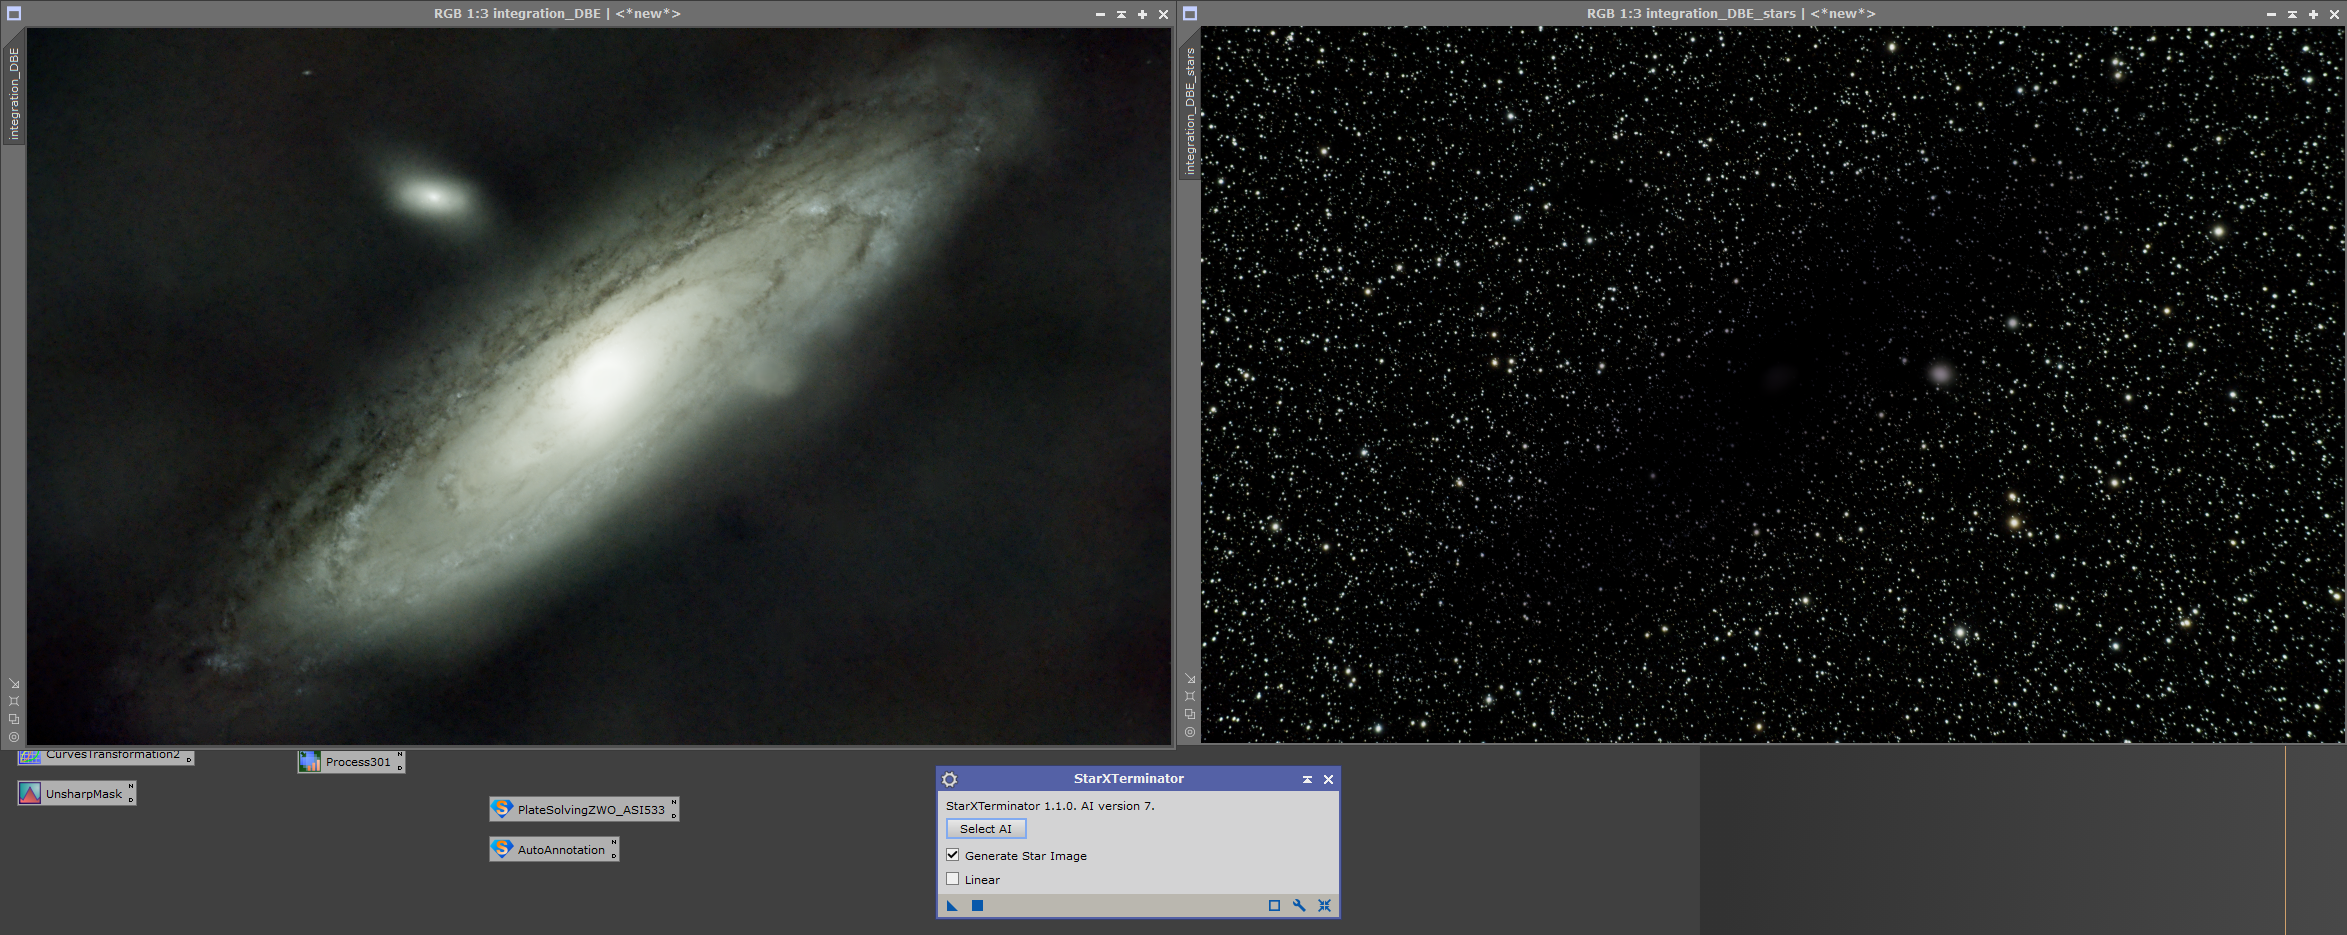
There is a PixInsight (and also PhotoShop) process written by Russel Crowman (see his Website) which allows PixInsight to “separate” the stars from the background. If you tell the process to also generate a Star Image, you can work both on the background and on the stars separately.
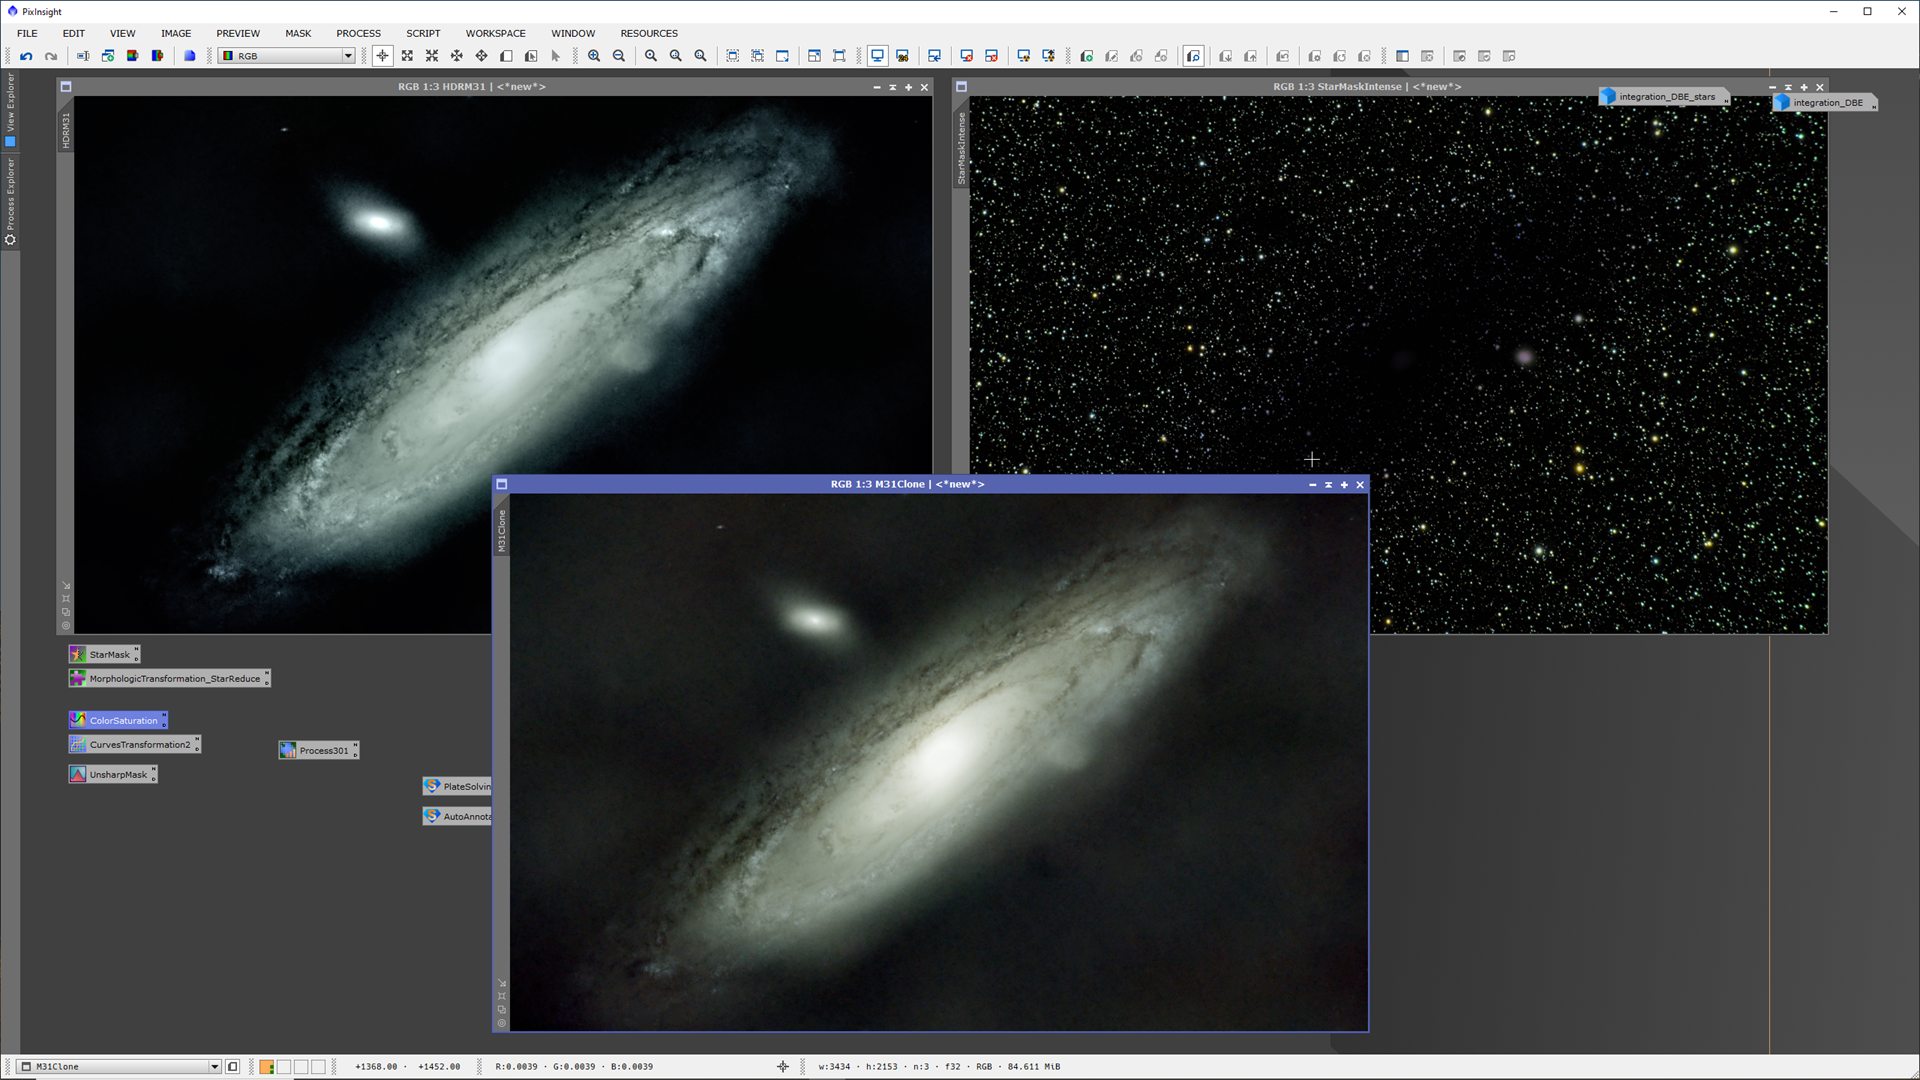
This now provides almost endless possibilities – the sample below shows in the upper left corner an image of the background that was HDR-tunes in Photoshop, the regular image center bottom and the star-mask (intensified in Photoshop).
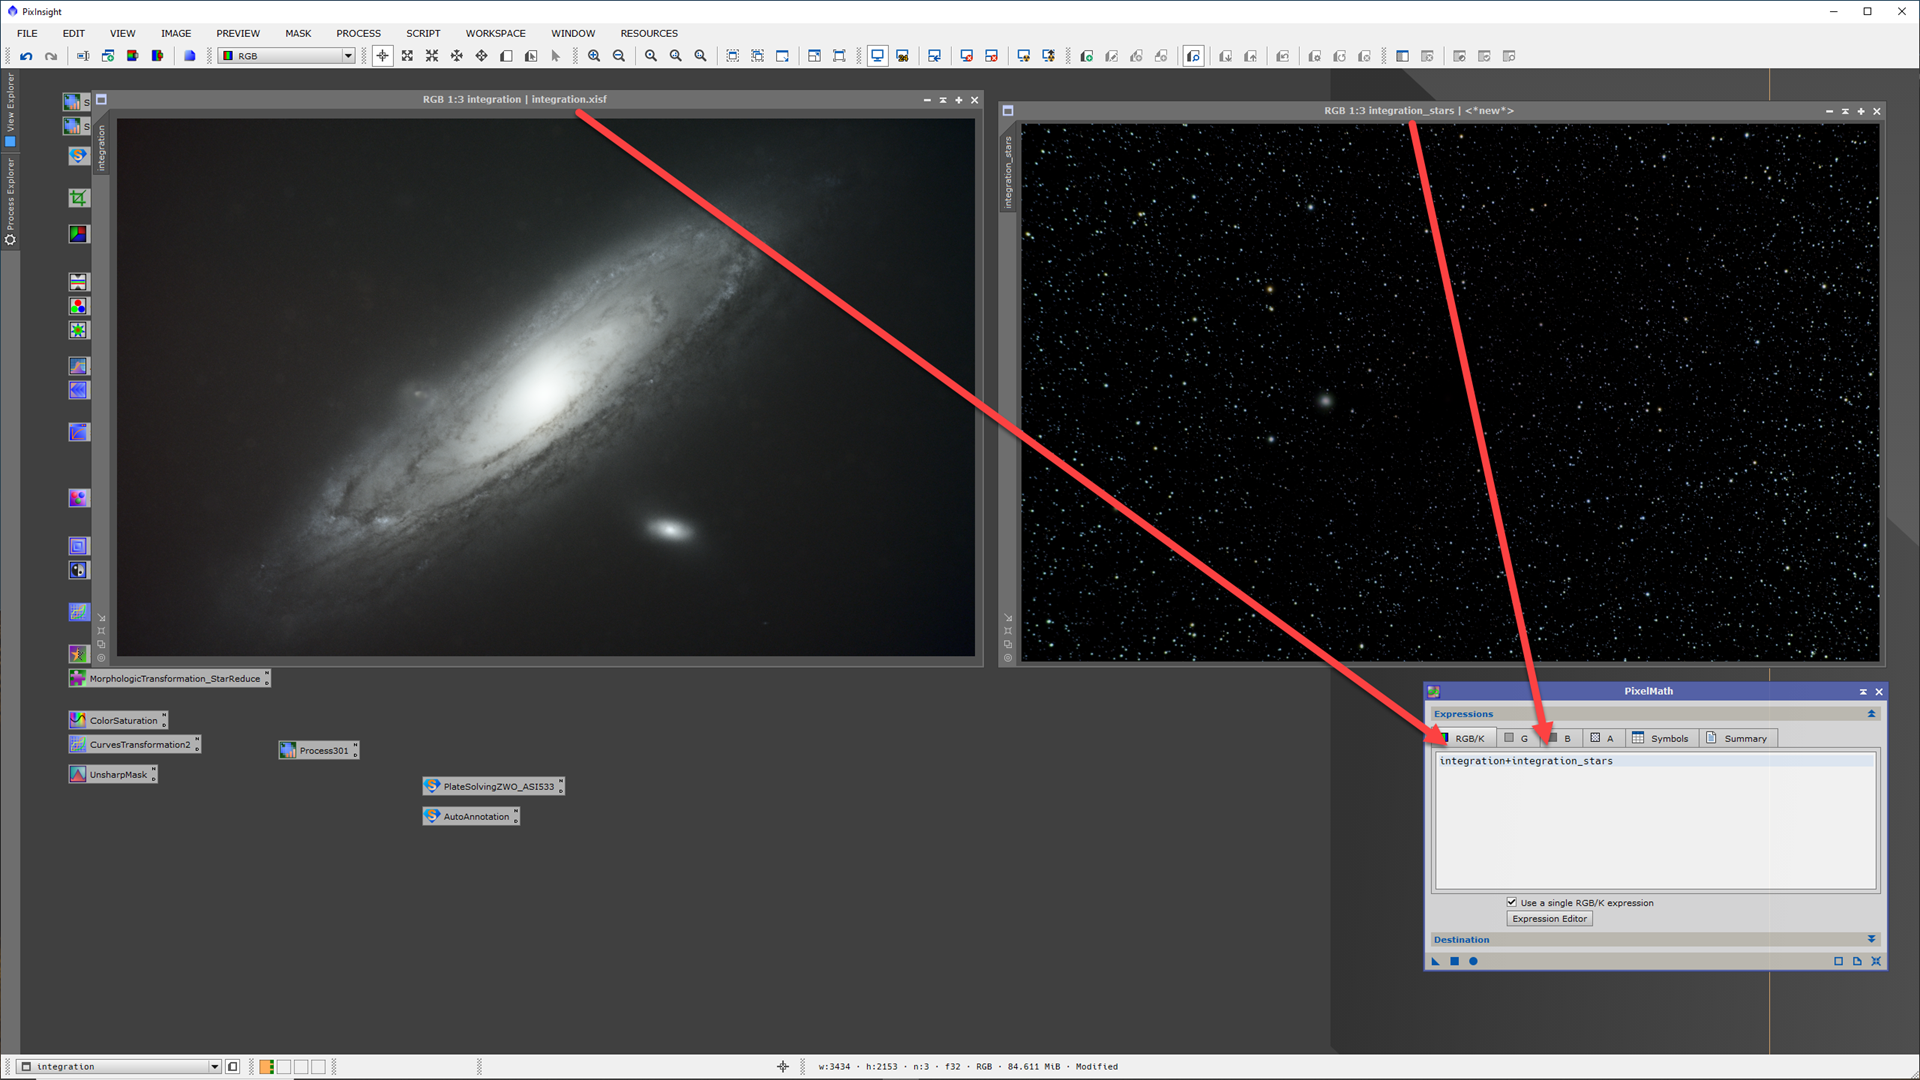
Whatever we do to the individual images – we can use PixelMath to combine them afterwards:
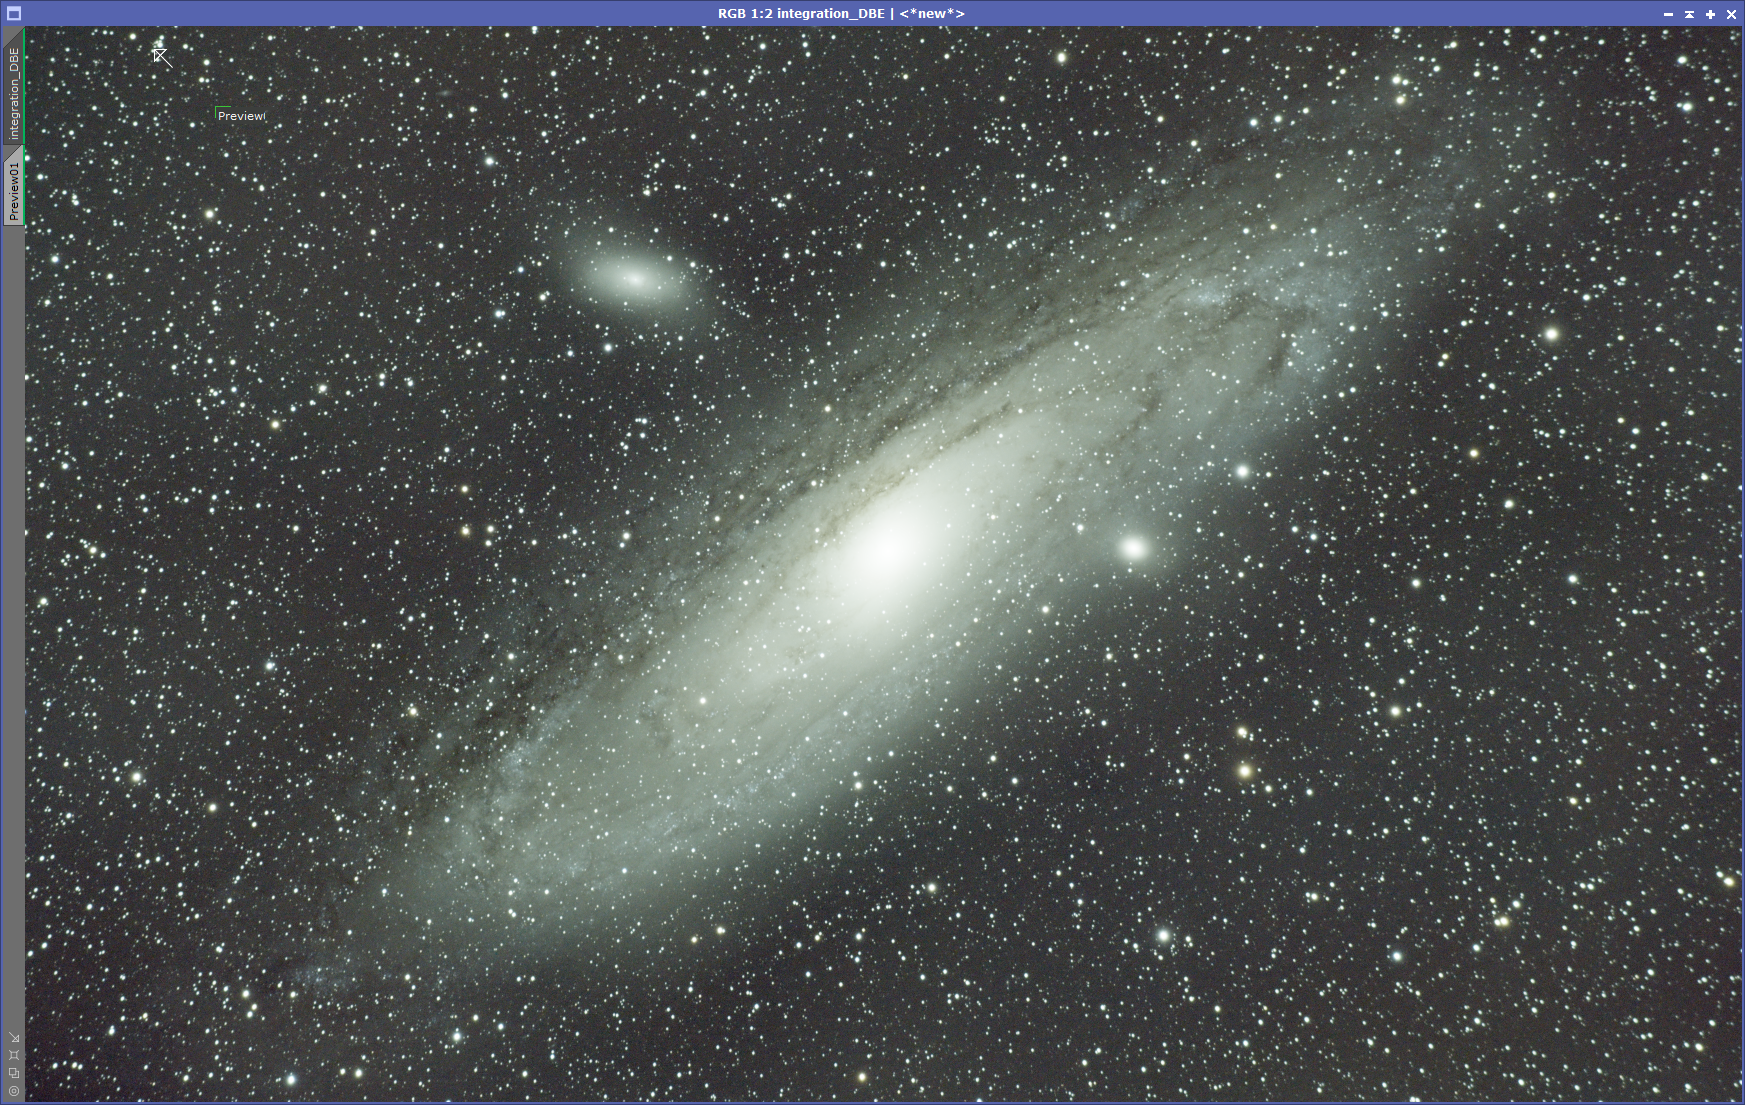
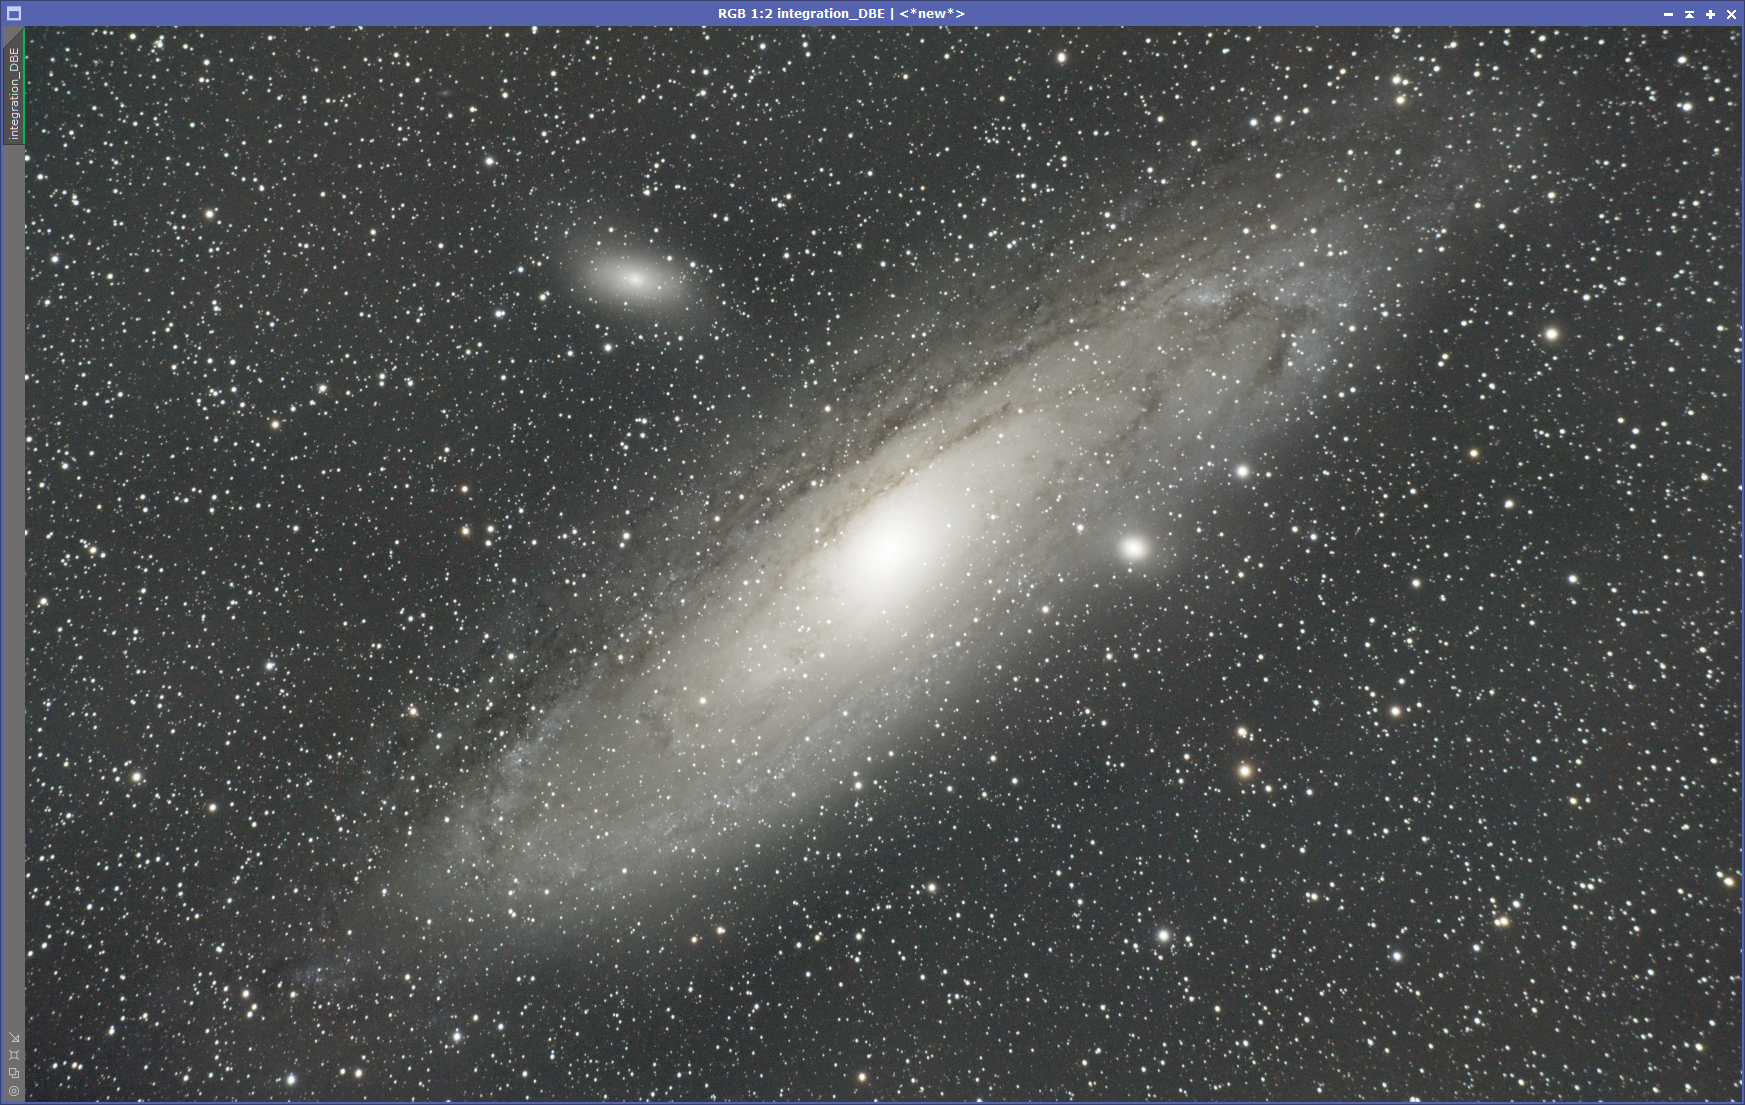
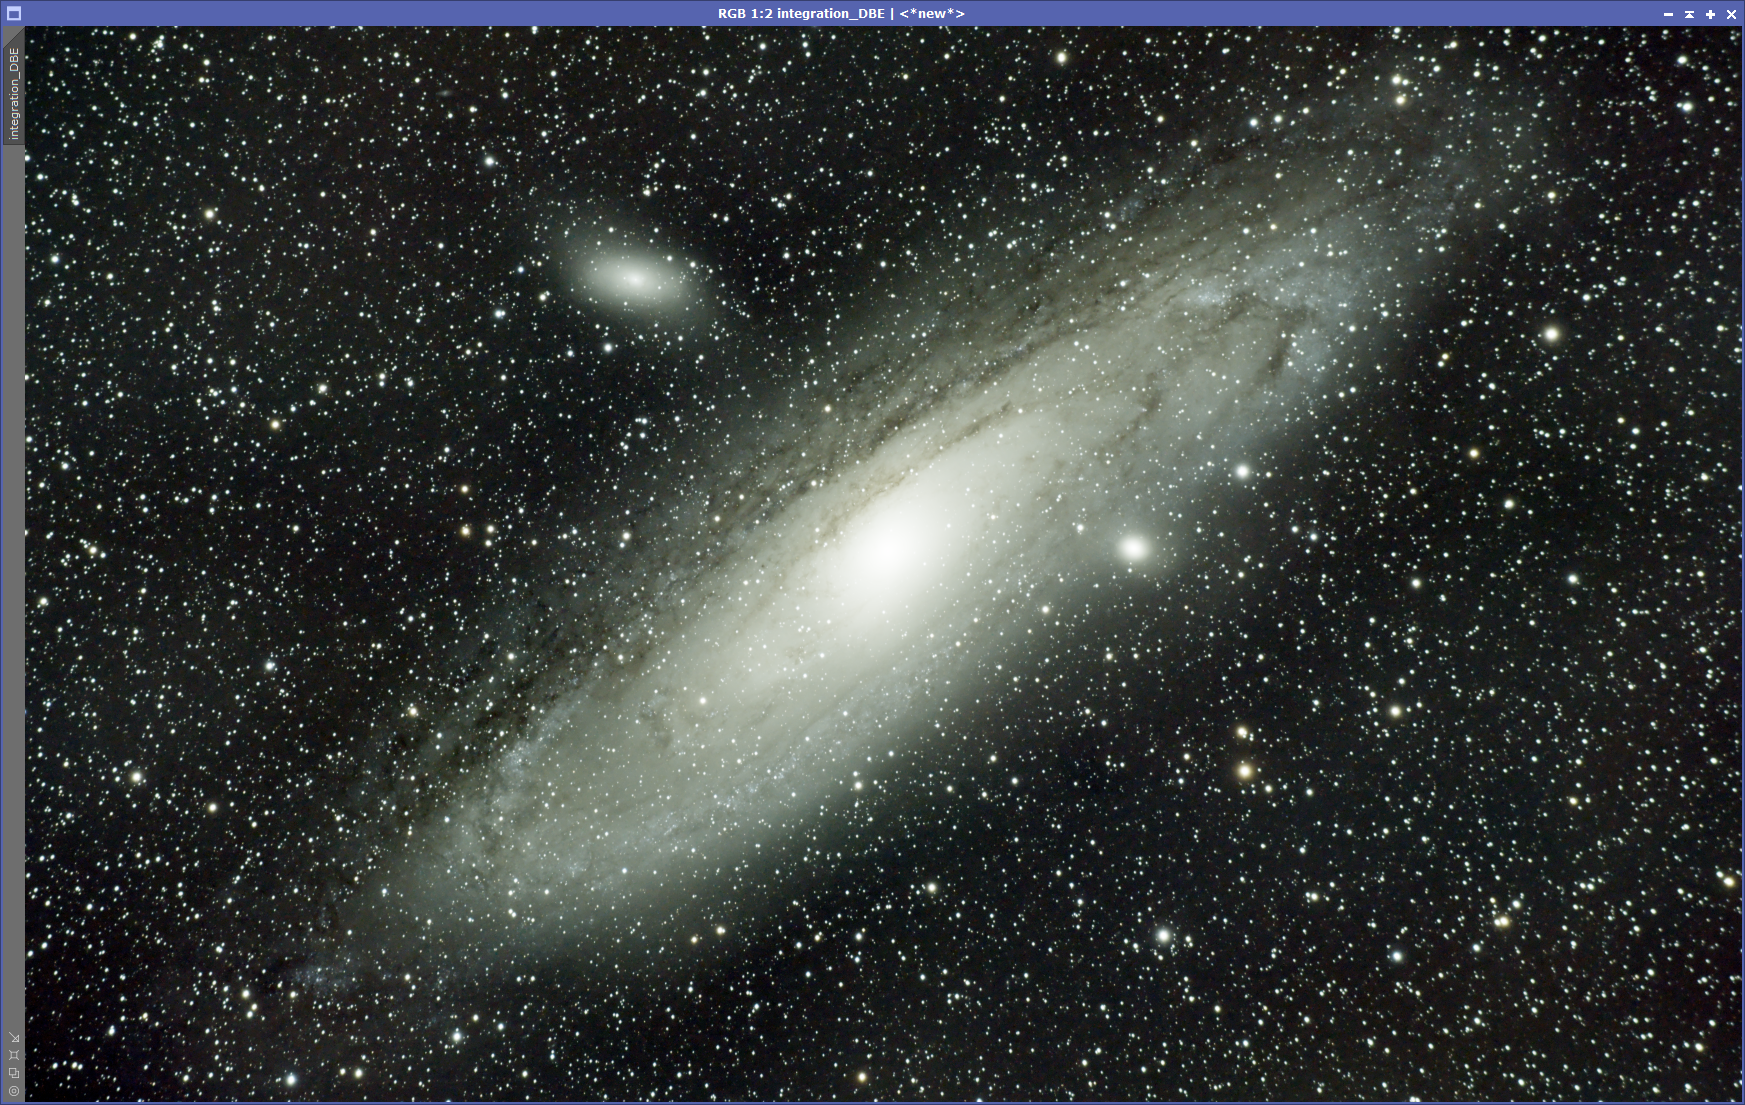
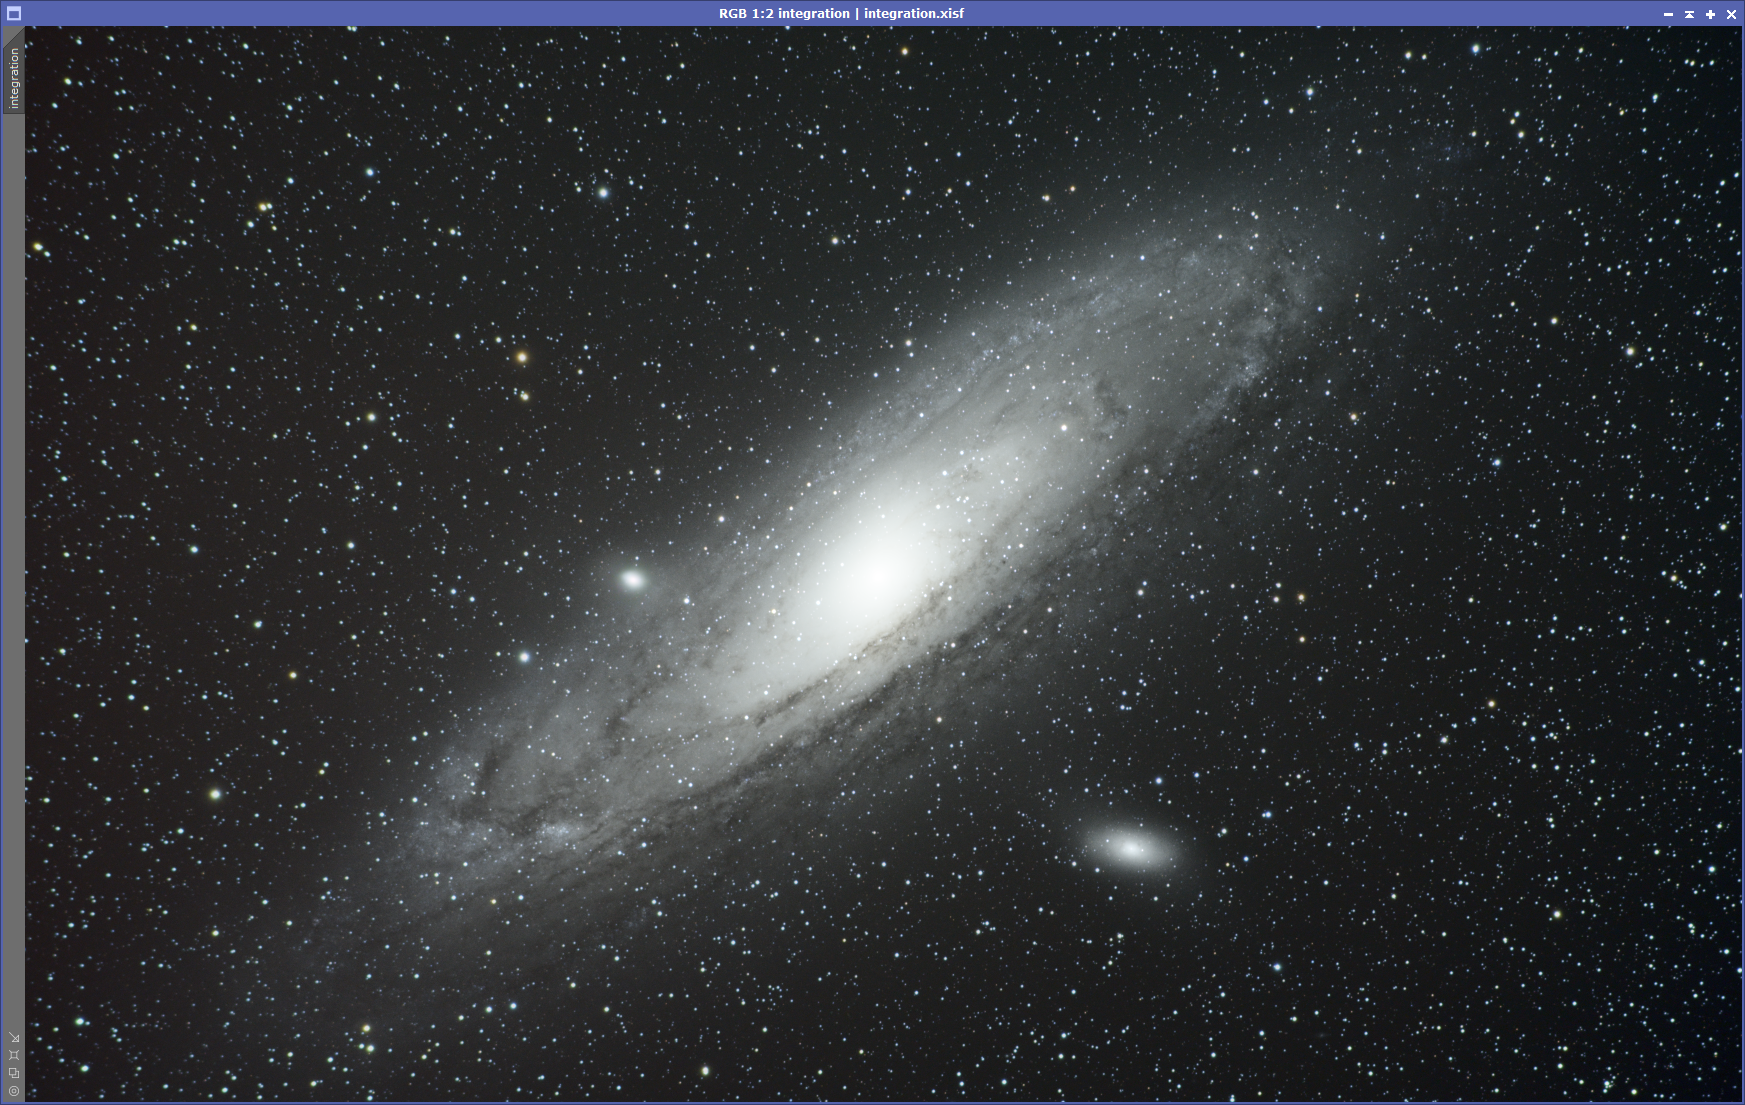
So for the moment, this is the result in PixInsight that comes from the long hours of photographing M31 in 2020
This was the last image that I produced using the Nikon D7500 DSLR – afterwards, I switched over to a dedicated AstroCamera, a ZWO ASI 533 MC – but that is a different story…