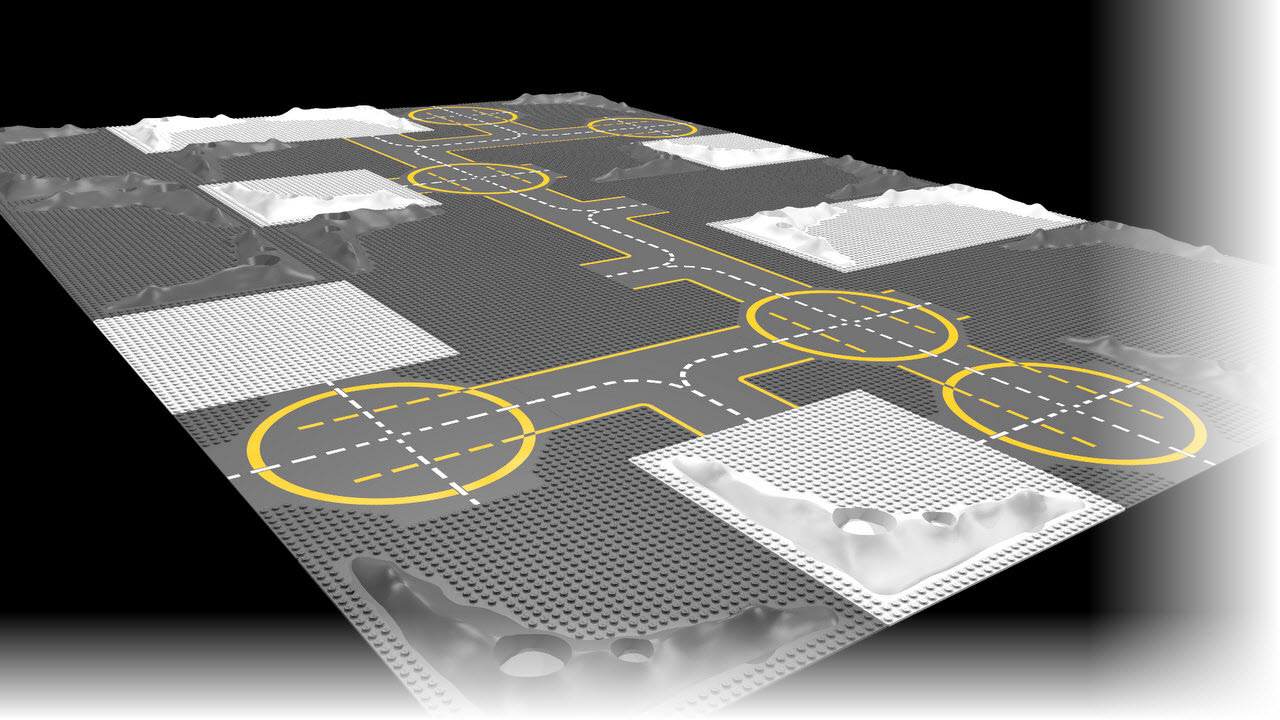
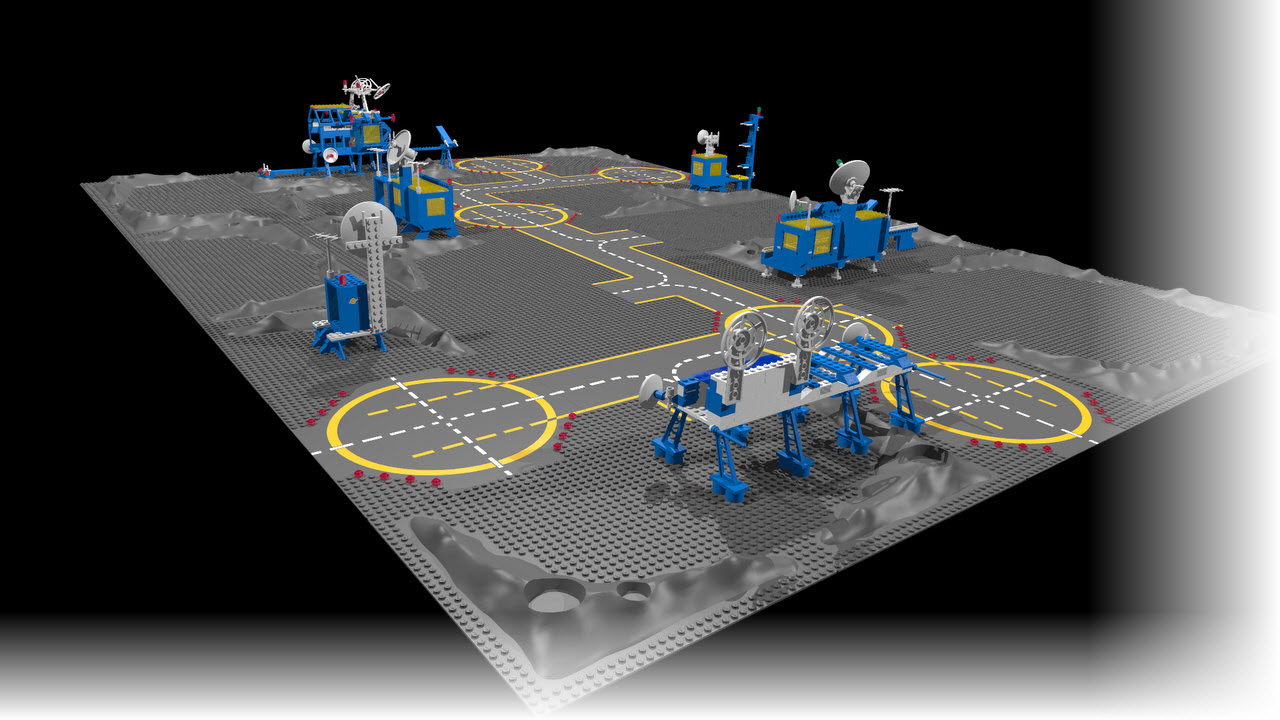
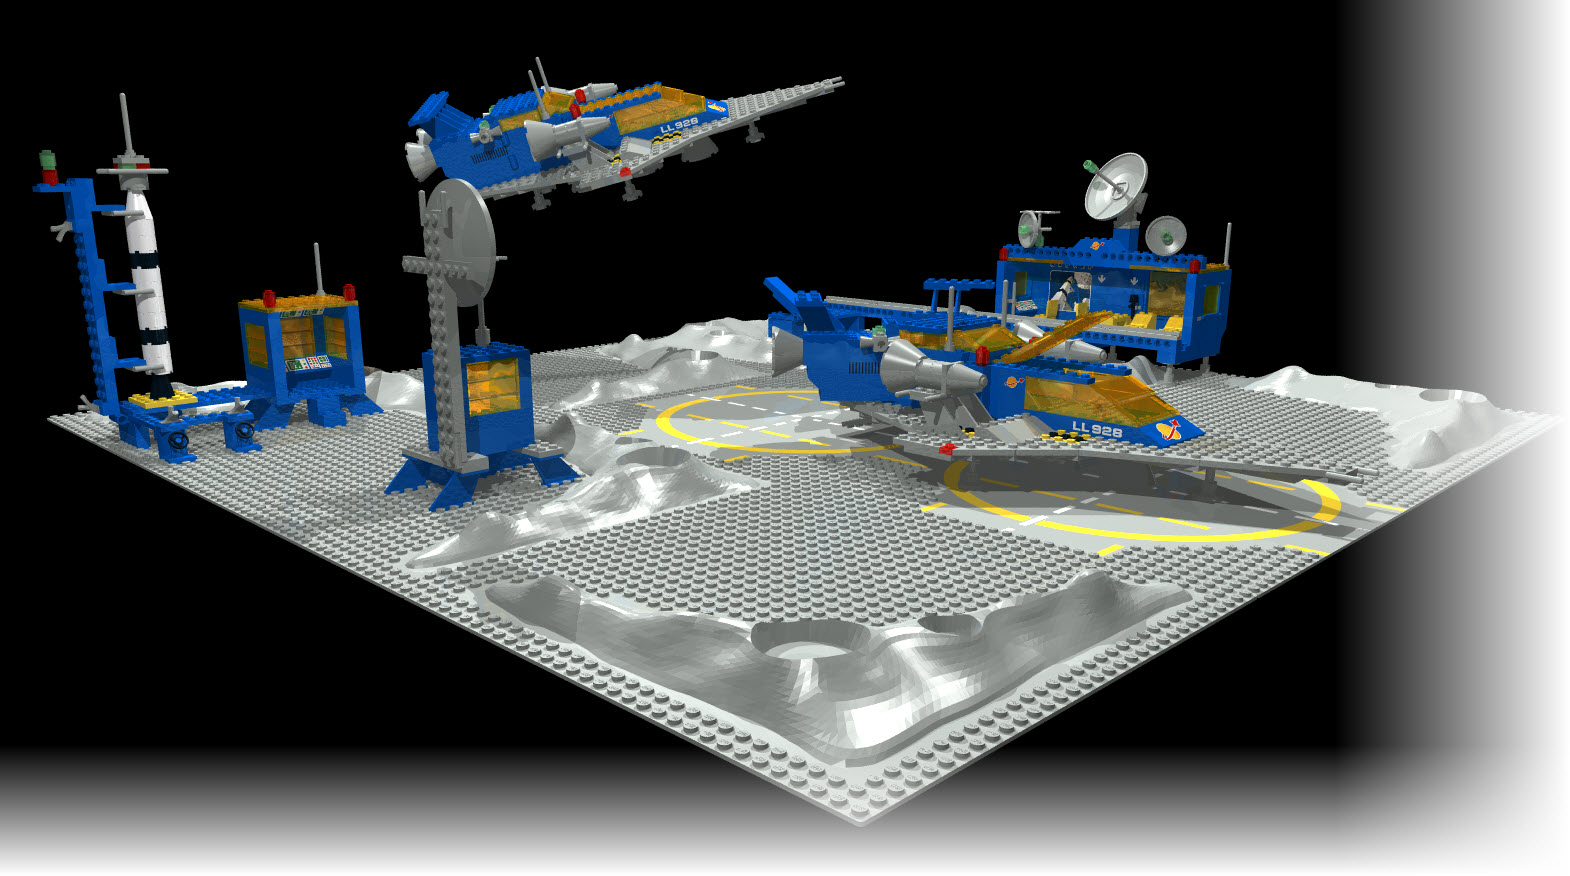
In my previous post, I have discussed the items you need if you want to build a classic LEGO Set on the computer using LEGO Digital Designer as a modeling application. This post is going to take you through a step-by-step example on just how to do that. My set of choice: the Alpha-1 Rocket Base from the classical space theme.
Getting Instructions and Inventory first
The first duty of the builder is to find the instructions – lucky enough, sites like peeron.com have many sets including the sought-after items. Here is the link to the Alpha-1 Rocket Base. The inventory can be accessed from the top of the page where it says Inventory: Available.
 Well, everybody can guess what the instructions are needed for – but the inventory? The key to success is the so called Part Number, the unique ID of each individual item used in the set. Having the official LEGO Part Number allows you to search for the item in LEGO Digital Designer directly – no browsing of hundreds of bricks – just typing a number… so let’s get started.
LEGO Digital Designer
First of all, if you want to build a classic set, you need to enable LEGO Digital Designer to used the “LDD extended” Scheme. Otherwise, you will not have access to bricks which have been discontinued or are not available for self-created models.
Once you have done so, you will see a new tab on the LDD’s Home Screen titled LDDextended.
 With that selected, click the Free Build button to start creating the model. Looking at the instructions, you can skip the idea of the Crater Base Plate being available in LDD (but that is not an issue). Use Item 3811 instead and focus on the first construction step for the base, Step 2:
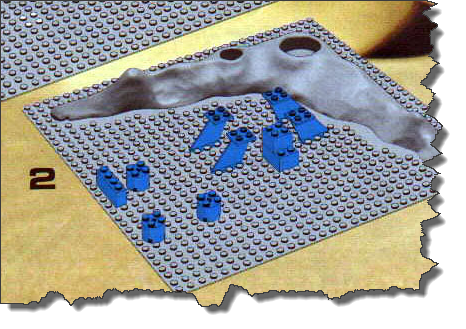 We are going to do that “left to right”, starting with the foundation elements of the ramp and then moving on to the control room later.
So we need a blue brick in 1×4 dimension and a rounded brick. Of course, we can start browsing the bricks in LDD but a quick look into the inventory tells us what we need:
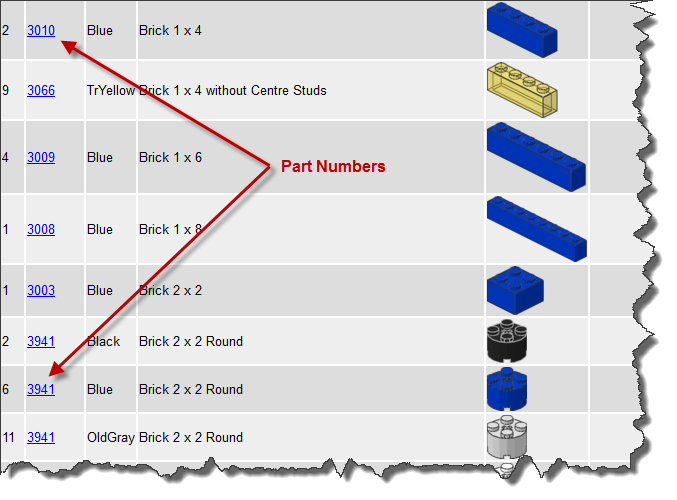 On the left-hand side of LDD, make sure you are on the Bricks tab. Type the first part number – 3010 – into the search line. LDD will now display all bricks matching the search criteria – amongst them the Brick in 1×4 Dimensions.
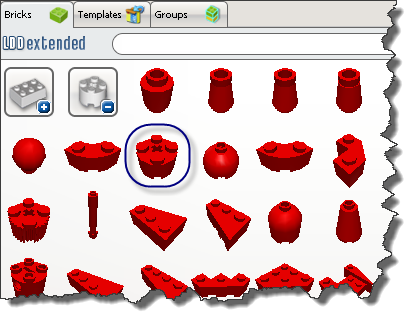
 Now we can just drag the item from there and drop it into the assembly area. Sometimes, you will not find the brick by its part number – the #3941 is such an example: is has been discontinued and replaced by a different part number. In such a case, nothing can save you from browsing the bricks manually.
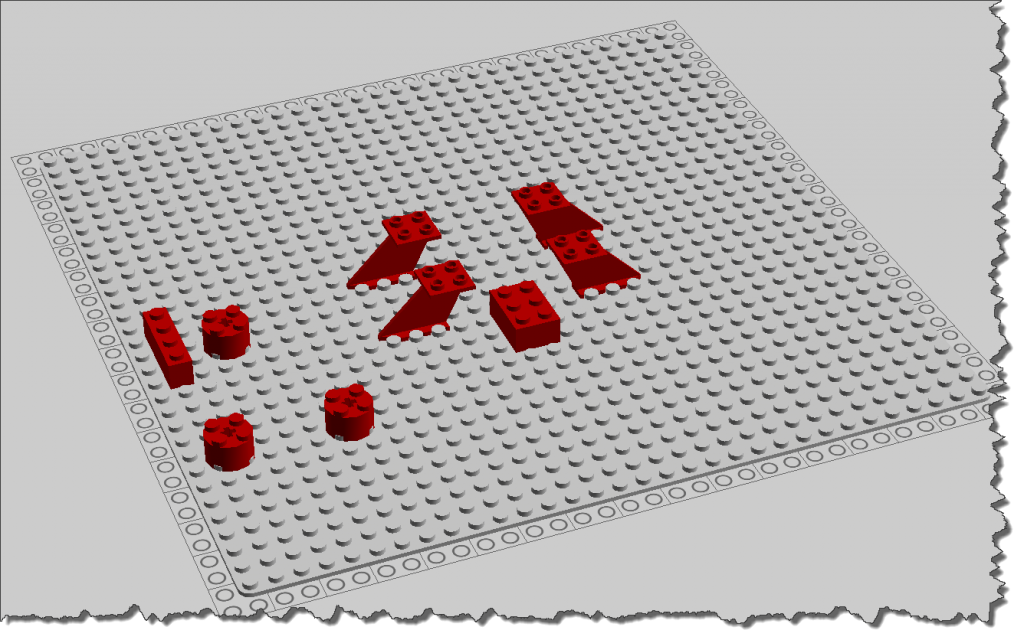
 You can now continue with the placement of the Control Room. There is a specialty to Part No 3479 – the four pillars placed on each edge of the to-become ground floor: they mount in between the studs and therefore require the previously mentioned base plate to be used (otherwise, LDD will mis-align them!). Everything done well, your assembly area should look like this:
 According to Step 3 of the Instructions, we are now to add the second layer to the foundation items as well as the base plate of the Control Room. Before we do this, however, I am going to quickly color the placed elements of Step 2 so we can distinguish them from the new ones being added in Step 3. It is an assumption but I am using Color 195 of the Legacy Colors: Royal Blue.
Step 3 again from the left to the right shows that of the four elements already placed for the launch pad, we need an identical set to go on top of the existing ones. So instead of placing them brick by brick, we can simply select the existing ones, copy them (Ctrl-C) and then past them (Ctrl-V) to position them accordingly:
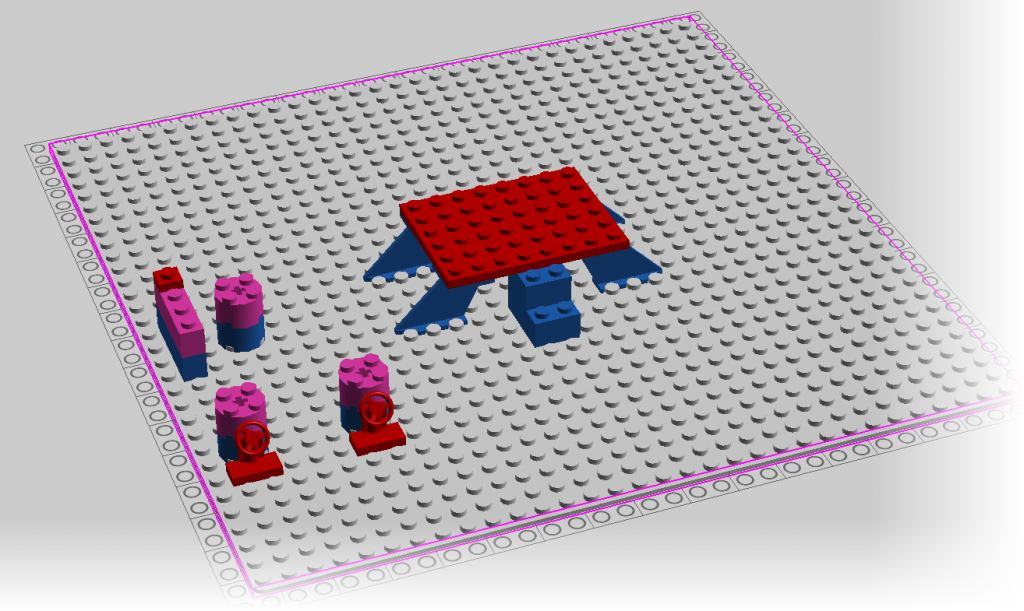
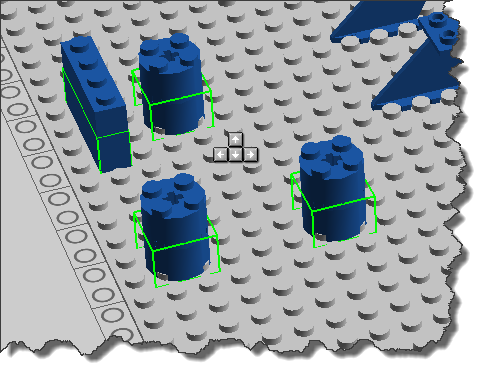 Quickly placing the base plate (Part No 3036) and the two Control Wheels (Part No 3829) completes the Step. All manually placed bricks are shown in red, the ones placed by copy & paste are prurple and the ones from the previous step are blue.
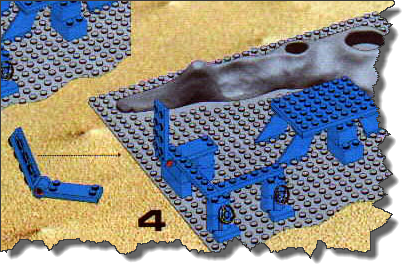
 The next step – Step 4 – brings us a first “real” problem: the item Hinge Plate 2×5 does not exist in LDD! And it has not been replaced by an equally qualified item either… so we need to consider our options for replacements.
 Searching for the term “hinge” amongst the bricks reveals several items that can be considered. Given the eventual use of the item (to hold and flip the vehicle support structure) The one that might come closest is a combinations of Part No’s 4275 and 4276:
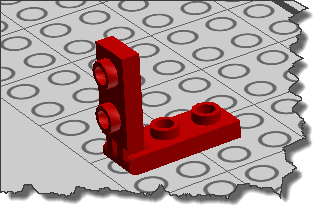 It certainly requires the hinge used twice and maybe some stabilize plates around it since this one only has two connector studs on each side which might (when built in reality) be a bit too weak and instable.
However, for the virtual world (where we do not have to worry about stability and statics as everything is connecting and holding together just “magically” the replacement will do the job.
However, in support of the smaller size of the item, the support structure built up in Step 2 and Step 3 needs to be slightly adjusted. The whole construct will then look like this:
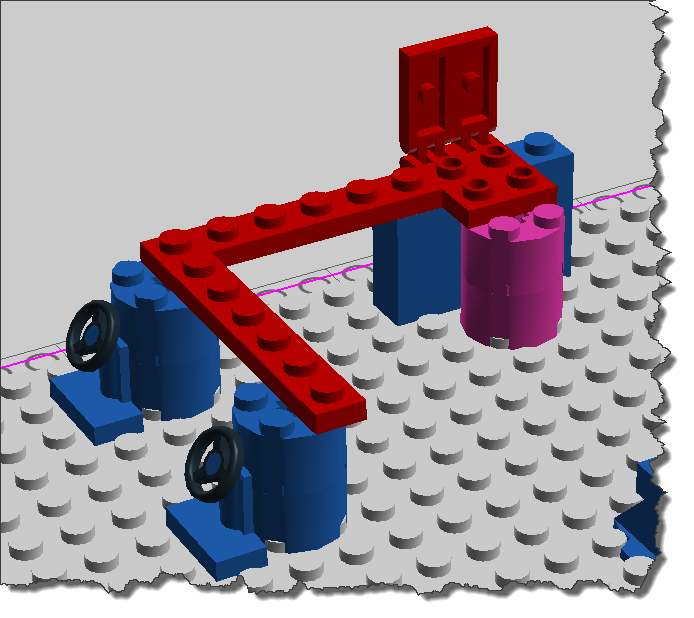 The blue bricks are from the previous steps. The purple bricks are from the previous step but have been repositioned to support the smaller hinge. The red bricks have been just added in the last Step.
Next, we are on to Step 5 of the instructions – which will show if our replacement hinge will work with the model:
 Again, we are facing an element replacement: Part No 69c01 has now become Part No 9044. I was lucky to find it using the search term “tap”. The other items are straight forward:
 In the next step, we can see the computers being placed inside the control room – which is going to be a bit funny for us using the LDDextended scheme:
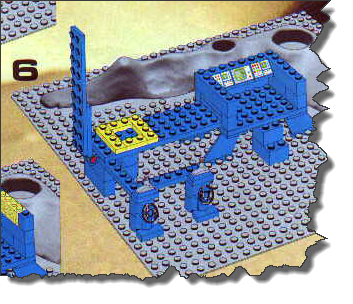 But first things first – we start on the left again, building up the Launch Pad structure. Adding the four Launch Area Markers and the vertical support structure goes easily – the Part Numbers are correct. Entering Part Number 3039, however, produces the correct brick (actually a Roof Tile) but without the computer image on the front…
Now this is the limitation of the LDDextended scheme – all bricks are basic and need to be colored manually (and being generic, they don’t have special prints either). But there are “computer bricks” available – just in a different scheme!
So save the Launch Pad Project and create a new project – this time, use the DESIGNbyME theme. You will immediately see several bricks for Part No. 3039 – including some that show computer fronts (even if not the original ones we can see in the instructions).
 The trick now is to drag & drop them into the drawing area, then copy them to the clipboard and switch back to our space station project.The remaining thing to do is to adjust the color of the “computer” to blue.
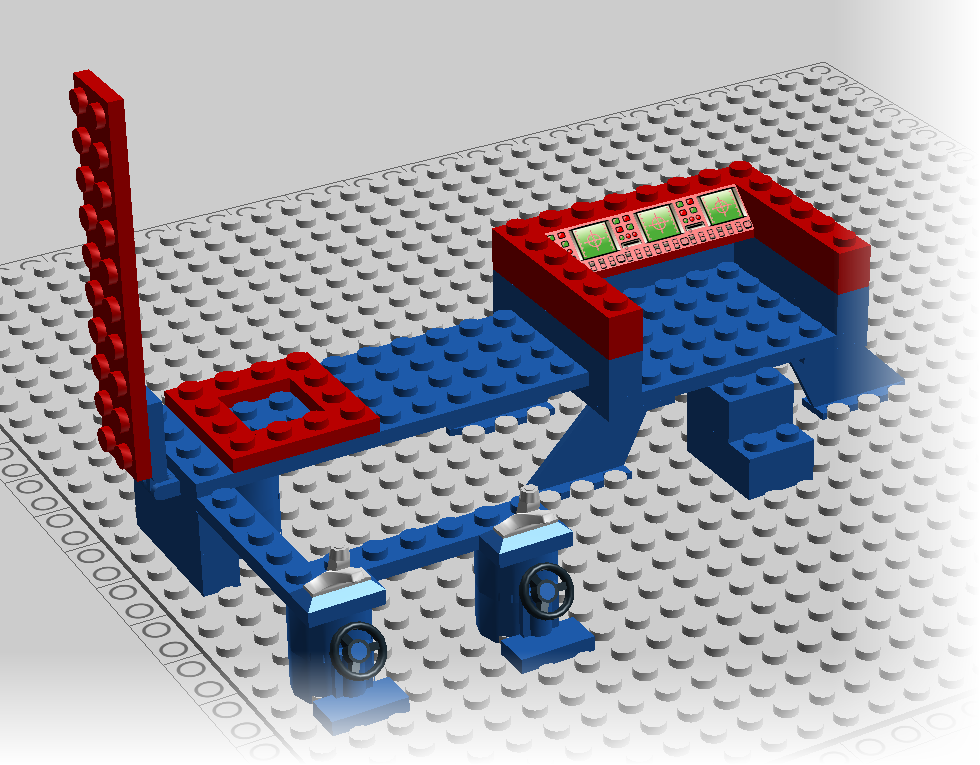 The next two steps – Step 7 and Step 8 – are bringing some more elements to the launch support structure and the control room – the only interesting one is Part No 3066 which is a 1×4 Brick without pins – these will – with a transparent color – become the windows of the Control Room. Since both steps have nothing new for us, I will just add the bricks and show the result:
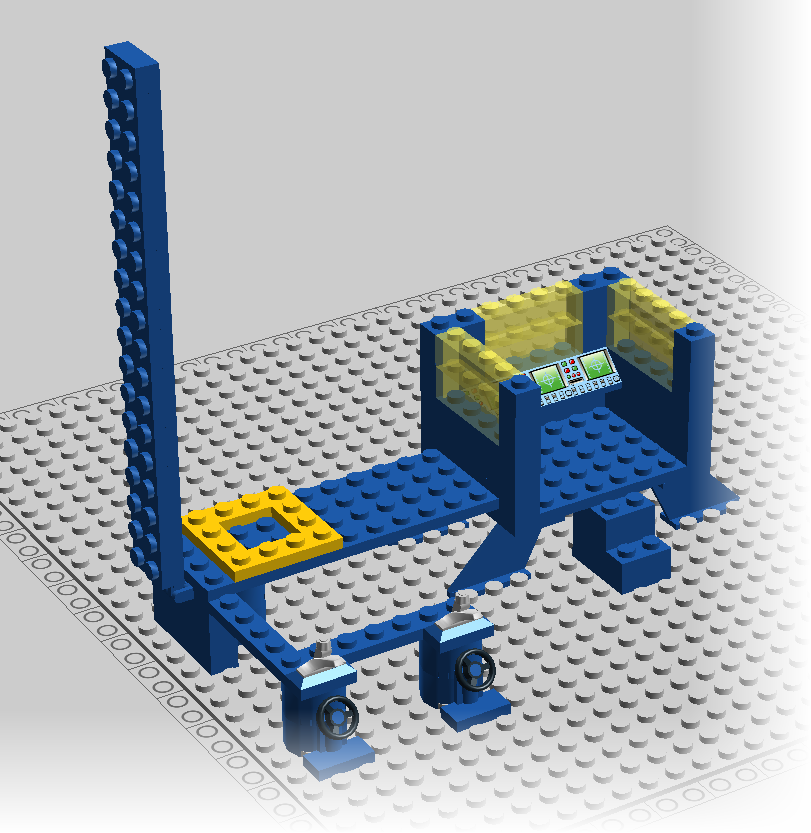 The only thing that sticks out a little bit is the need for an adjustment in the vertical launch support structure: the original instructions show two 2 x 10 plates on the outer side, with an 2×8 and 2×6 plate each on the inner side. Plus, of course, the 2×4 of the original hinge. Since we are using a replacement hinge, you need to adjust the inner plate sequence: 2×2, 2×8 and 2×6.
The next step – Step 9 – is not adding anything we do not know about already – so this is also a quick skip, we are focusing on Steps 10 and 11. The first thing to find out is that the Part No 3956 exists and can be used – but we will have a problem finding a hose for the support structure. Fortunately enough, Part No 3839 exists so we can get the launch support structure worked out just fine.
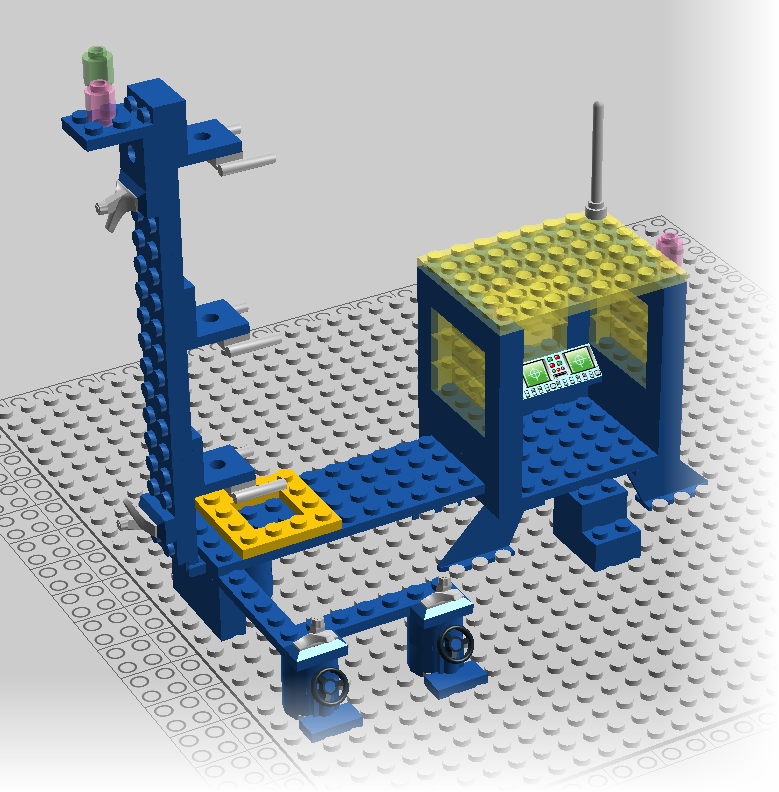 Last but not least, we need a Rocket… and a parabolic antenna to support flight control. So let’s get at the rocket first:
 The Rocket is straight forward – it really only consists of 6 different types of bricks:
- The Cone – which also serves as exhaust outlet. – Part No 3942
- The barrel style brick – Part No 6143.
- The Mini Handle which serves as antennas of the small satellite. Part No 3839.
- The Antenna – Part No 3957
- Four of the 1×1 Plates to serve as lights. Part No 3024 and
- A 2×2 Plate as cover for the lights – Part No 3022.
Putting it all together on the Launch Pad, it turns out that LDD cannot properly place the rocket in the location of the Launch Pad Area – therefore, this is moving one spot away from the support structure. The completely assembled rocket is now placed on the launch pad – red items indicate the addition in this step.
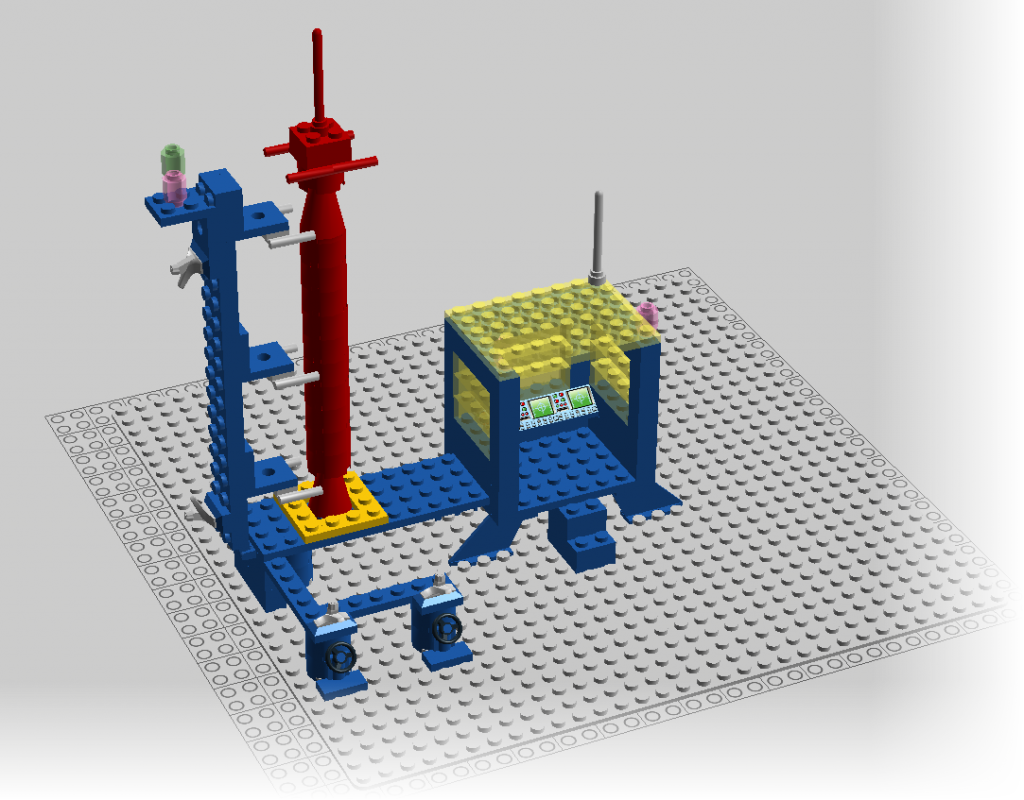 Last comes the Satellite Dish: this is interesting because it brings us three new bricks we have not used yet:
- The Turntable 2 x 2 Plate – Part No. 3680
- The 1×2 Hinge – Part No. 3937 & 3938
- The Satellite Dish – Part No. 3960
Quickly assembled, our Rocket Base is now ready for operations – just awaiting for the crew to arrive…
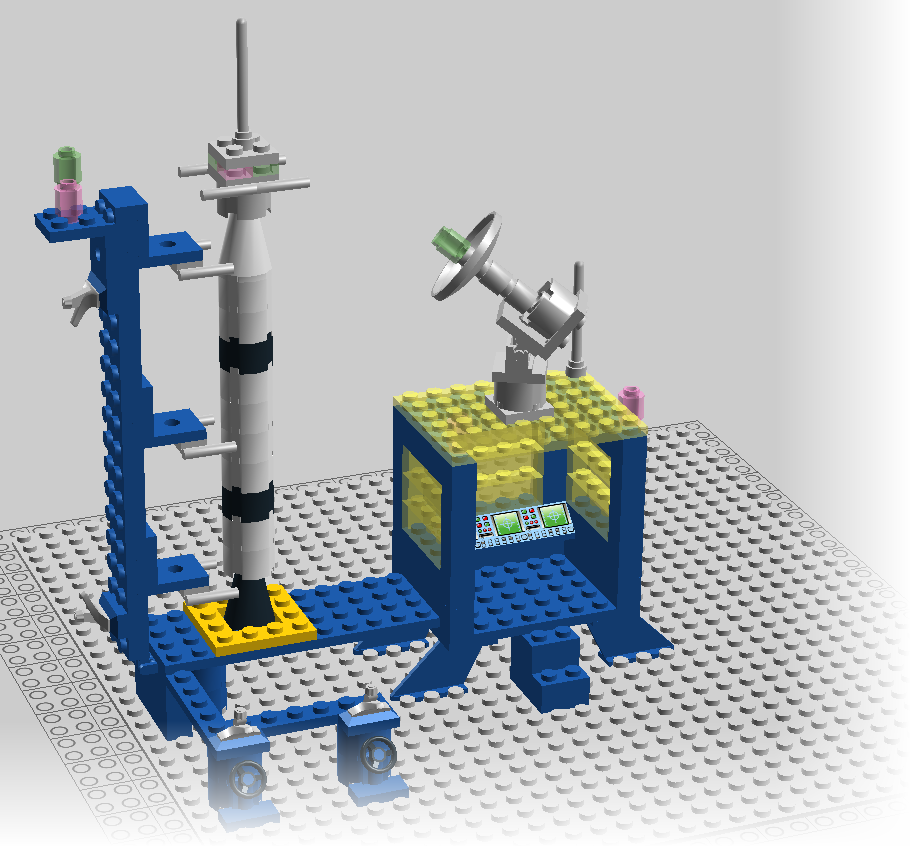 Fun playing around with old toys in new ways… and so much cheaper than way back when these have been sold… but then of course, it has always been nicer to have the real model to play with… when you were a child…
 Tomorrow, I will hopefully get a chance to add some more vehicles of the smaller and smallest sets and this will also be the time to add some of them not placed on the ground but actually flying – something you can only do in the computer-generated images…

