
I have been a Windows guy for years (actually, I have been an MS-DOS guy before Windows was around) – and I never really looked in to Linux so far, mostly because I could not see a reason to exchange a “standard” operating system for another one and live in two worlds… but it is time to look beyond the horizon and discover the “other world” as well – partially because some things I own (Raspberry Pi, QNAP) operate on Linux-based environments, partially learning never stops.
I am lucky enough to have sufficient IT Know-How and gear around to make this discovery at no cost – or very little. I will mostly work on Virtual Machines (VMWare) but there is a physical PC available to load with Ubuntu as well (some things cannot be virtualized).
So let’s get started with sizing a system – Linux requires little with respect to hardware but I would like to define a “standard machine” for my testing, just to make sure results are comparable. Here is what I am thinking of (the Virtual Machine receiving the same dimensions as my physical box where possible):
- Processor: the physical box has an Intel Core2Extreme X9650 running at 3 GHz. That is a four-core CPU so my virtual box will receive 1 Processor with four Cores as well – the host has an Intel i7-4770 with with four Cores that give 8 logical processors.
- Memory: the physical box has 8 GB installed, the virtual box will receive 8 GB as well.
- Harddisk: I will provide a first disk with 100GB to the Ubuntu Virtual Machine but I will add additional disks later to work with a multi-disk environment.
Other than that, the virtual machine will have one network card (set to NAT), USB 3.0 Controller and Sound Card.
Ubuntu Installation
I have already described the installation of an earlier version of Ubuntu – Version 12.04 LTS – in another post. Though this one was a server installation, my new box will be using the Ubuntu 13.10 Desktop Distribution – with the sizing of the machine, it will have to be the 64bit distribution.
Starting the virtual machine with the mounted ISO Image of the Ubuntu distribution brings up the Welcome screen after a few seconds.
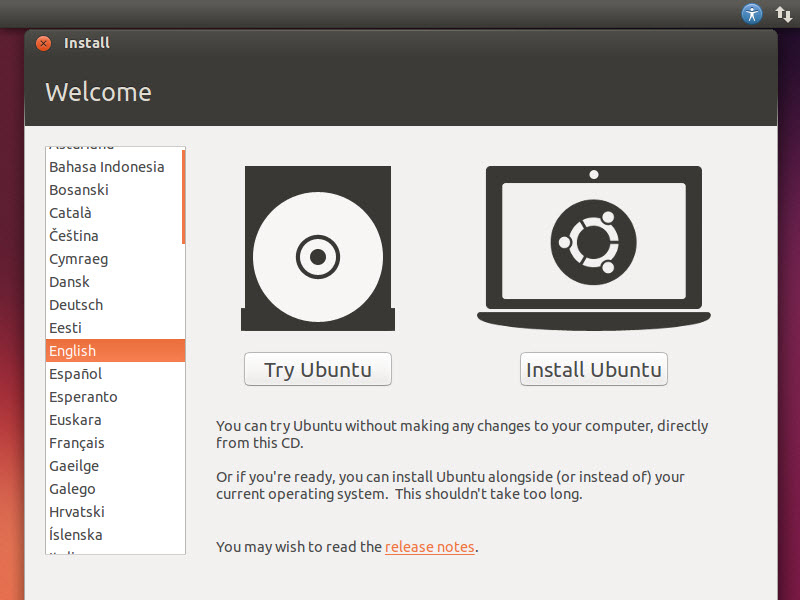 Note the option to try Ubuntu – certainly neat if you don’t have a virtual environment and don’t want to tamper with your PC just now. Me, I don’t mind… I just want to Install Ubuntu.
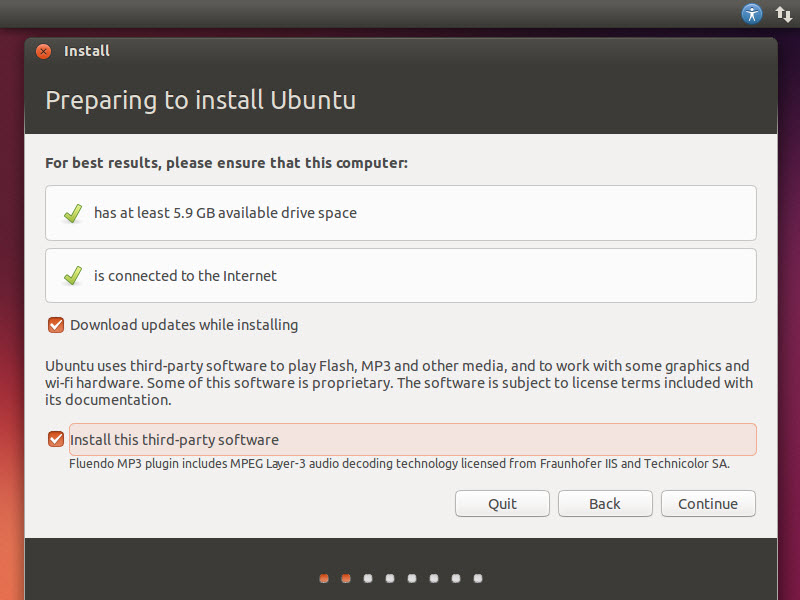
The next screen shows me the minimum requirements for the installation and allows me to automatically receive updates during the install process as well as download some 3rd Party software not included in the distribution – I activate both options.
 My options on the next screen are around disk management – I simply stick to the defaults for now which means that my disk will not be encrypted and I don’t look at LVM now (mostly because I want to discover it later…)
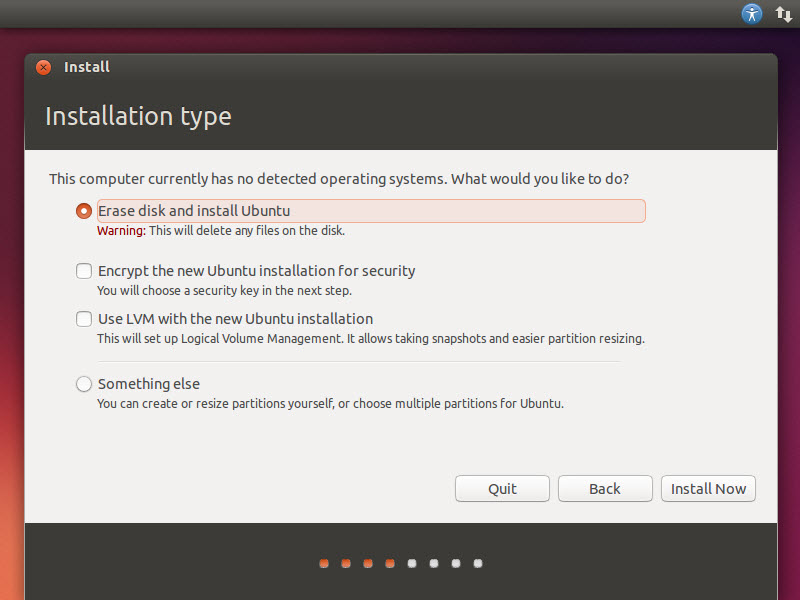 Erasing the data on my disk is not an issue – it is a virtual environment anyway but if you do this on your default PC, be aware of the impact!
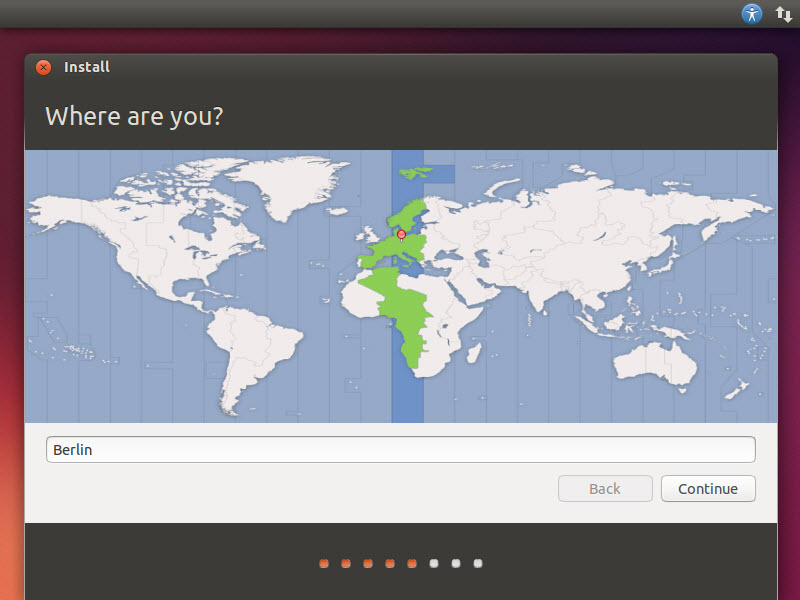
Before the installation actually starts, I additionally need to tell (or rather confirm) my time zone to the installer.
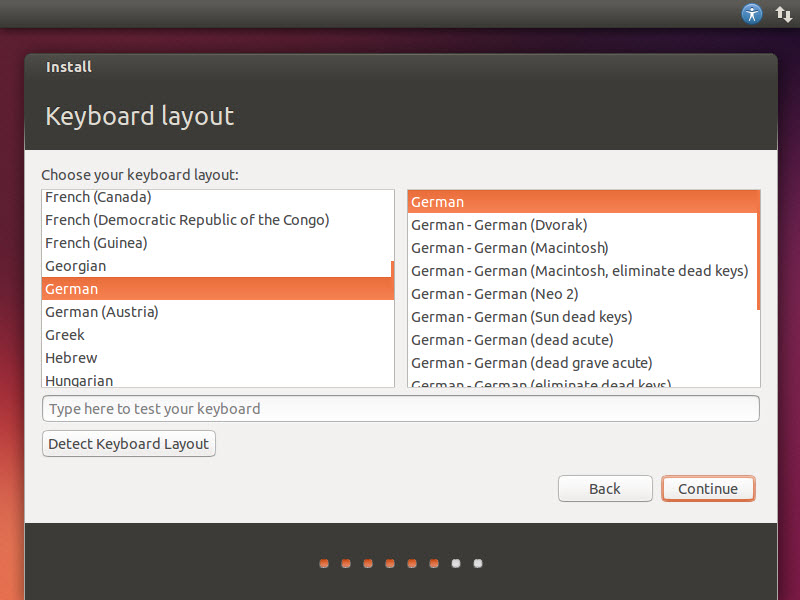
 Another important feature is the keyboard layout – although I am installing the english version, I need a German keyboard layout, otherwise I will have a bit of a fiddeling with special characters.
The option to detect the keyboard layout is pretty smart – by being asked to press specific keys, the installer figures out the keyboard layout itself – now that is user friendly!
 Finally, before the installation can start, I also need to provide some information about my intended primary user which is created during the process.
 Once more, the installer is pretty smart – it not only defaults certain values, it also provides imemdiate feedback on the correctness and quality of information.
Obviously, “the cloud” is something that Ubuntu cannot resist to support – like Microsoft Windows 8, I am asked to create an “Ubuntu One” account to centrally store certain information… I think, I will not make it that easy to certain institutions to get my data… so I skip this step.
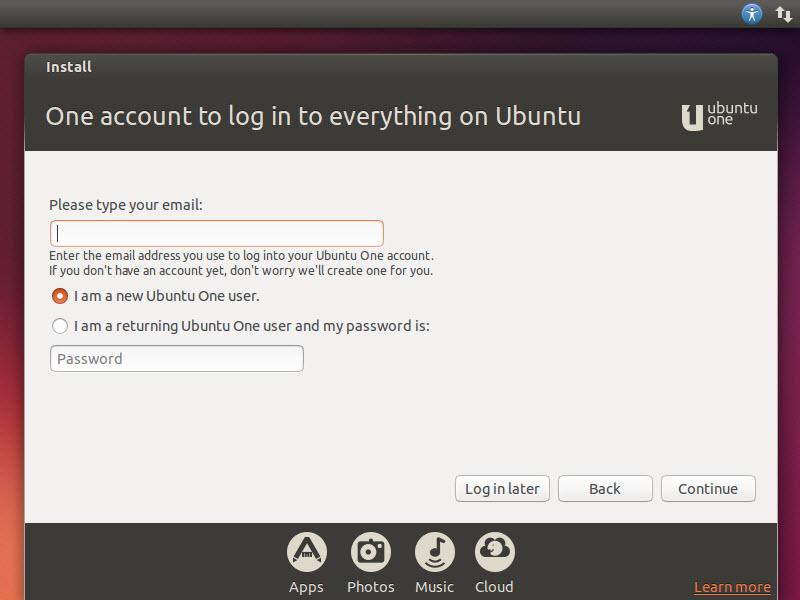 After clicking the “Log in later” option, my system actually installs.
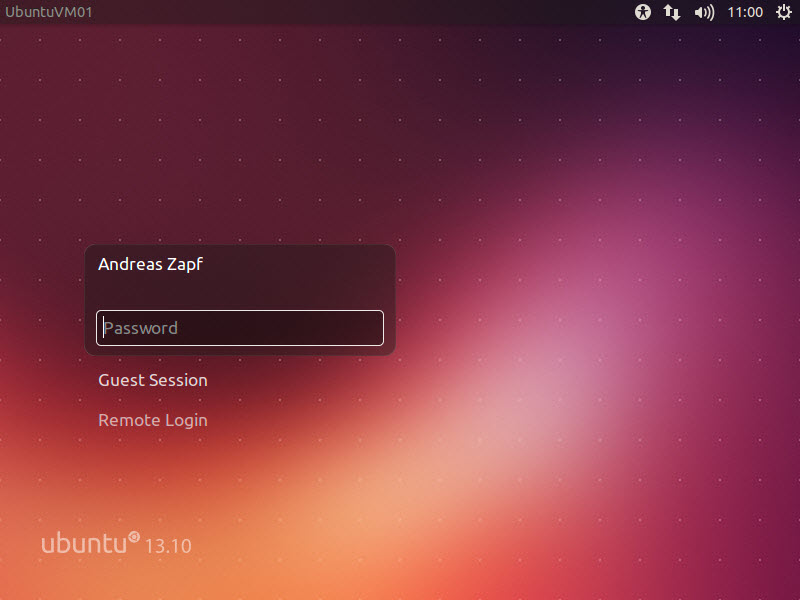
 It only takes a few minutes to install – finally, I need to restart my virtual machine to boot the newly installed Ubuntu system.
Note: the automatic reboot would not work with my installation here – there is a chance that this is either caused by the virtual machine or me, tryint to take out the ISO image prematurely. A “reset” of the machine then booted Ubuntu properly.
 So much for the installation – that was easy & straight forward. A very user friendly installer which makes me hope that using the system is as user friendly as this…