
For reasons I’ll explain later I had to dive a bit into iSCSI and Ubuntu – the background is a desaster recovery for a crashed QNAP Device but the only significant relation is that that crashed box had been used as an iSCSI Target Server and we needed to recover data.
A 10.000-Ft.-View of iSCSI
I am not going to dive into the depths of iSCSI – you can read the definition here. But it is important to know that iSCSI knows two “sides” – the side that provides the service (and the data) and the side that consumes it (the client).
The iSCSI Target generally is the “box” providing the service. This can be a dedicated NAS or a Computer running a software iSCSI solution such as Open-iSCSI or StarWind. This box can “publish” multiple iSCSI Nodes, a “node” essentially being an emulated “device” such as a harddisk or a tape device.
The iSCSI Initiator is mostly used for two things: discovering the “published” iSCSI Nodes on a given iSCSI Target and connecting to a specific iSCSI Node or several Nodes.
Ubuntu & Open-iSCSI
For my little discovery, I have chosen Open-iSCSI as it easily installs with Ubuntu and my crashed QNAP Device is also using it… choice made for me. The installation into a test environment running Ubuntu 13.10 is easy – get a terminal window, gain root-level access and issue install the iSCSI Target Service.
apt-get install iscsitarget
This installs the iSCSITarget Service into the system – and that is it (for the server). Now, the iSCSI Initiator is installed as easily:
apt-get install open-iscsi
Starting the iSCSI Target Service
Before we can start the newly installed service, we need to make at least a minimal configuration change – we need to allow the service to be enabled.
nano /etc/default/iscsitarget
You will find a very short configuration file – and you only need to change one line (at this point).
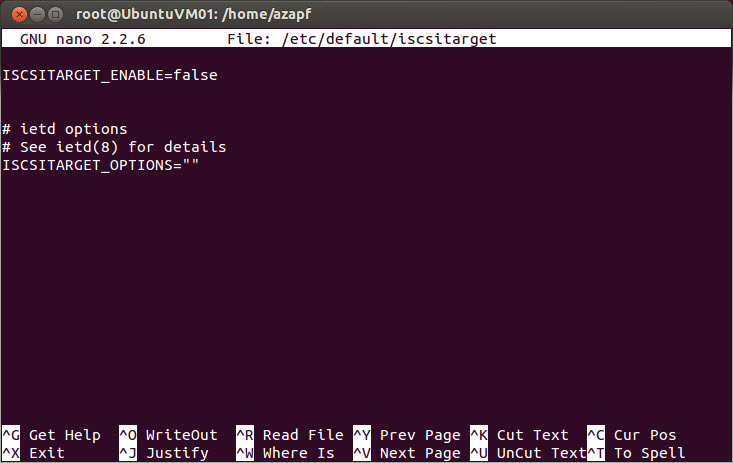 change the first line to
ISCSITARGET_ENABLE=true
and save the file. Then start the iSCSITargetService…
service iscsitarget start
You should see something like this – and not more…
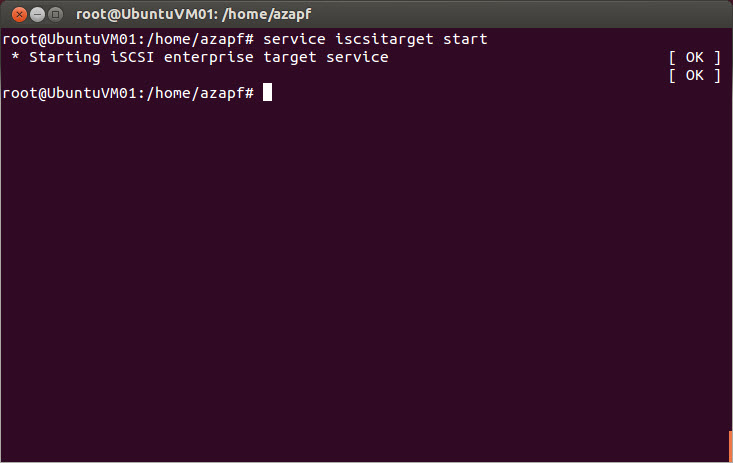 Now, this is not much yet – there is a service, well done, but we do not have anything to serve just yet… what we need is an iSCSI LUN.
The iSCSI LUN
LUN stands for Logical Unit Number – a rather stupid term for something that eventually is nothing more (or less) than a file that – through the iSCSI Interface – appears to the iSCSI Initiator like a “physical disk” available somewhere… we are basically creating and using a “virtual” harddisk.
You can store your LUNs (which are “raw device” or “image files”) wherever you want (and have access to) – to keep it simple for now, I am placing the LUNs in a directory /LUN which I have to create (as root) first:
mkdir /LUN
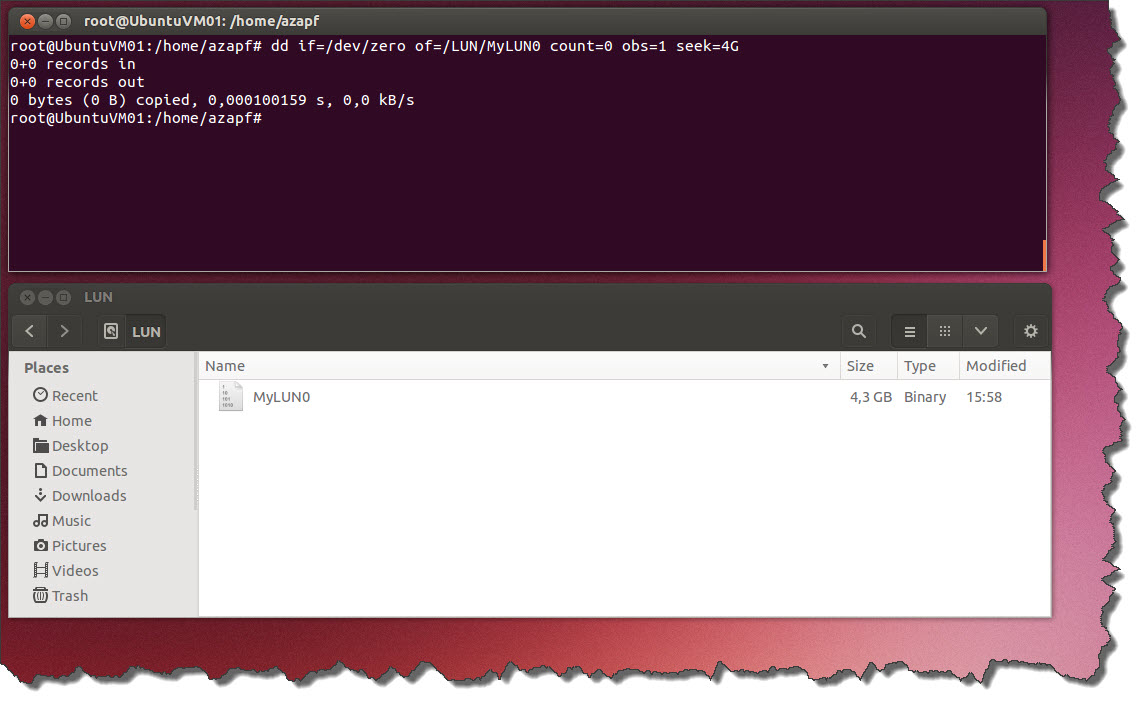
Next, I am going to create an image file – say we want a “virtual” harddisk of 4 GB (my virtual machine currently has a rather small boot volume and we have not made preparations to move the LUNs anywhere else…
dd if=/dev/zero of=/LUN/MyLUN0 count=0 obs=1 seek=4G
This creates a file called MyLUN0 in /LUN with /dev/zero (nothing) as input file (if) and the said file as output file (of). The Output Block Size is 1 (obs) and we jump 4 GB ahead (seek) which basically will create a matching but empty file.
 OK, so now we have an image file – next is to turn that image file into a valid iSCSI Target Node to serve…
Defining the iSCSI Target Node
Edit the file /etc/iet/ietd.conf – this is where the definitions what to server are made…
nano /etc/iet/ietd.conf
Scrolt to the end and add the following:
Target iqn.2014-01.com.andreaszapf:MyISCSINode
       Lun 0 Path=/LUN/MyLUN0
Then save the file and exit Nano. Finally, restart the iSCSI Target Service:
service iscsitarget restart
You can use dmesg to check if there are any errors – and next, we need an iSCSI Initiator…
Adding the iSCSI Initiator
We have already installed open-iscsi which gives us access to iscsiadm – the core utility to manage the iSCSI Initiator. Use iscsiadm to discover the published iSCSI Target Nodes on a particular machine (portal):
iscsiadm --mode discovery --type sendtargets --portal 127.0.0.1
As you can guess, we are looking at our own machine using the local TCP/IP Loop-back, 127.0.0.1…
It will – if everything went OK – tell you that you have a target available to connect to by the name of iqn.2014-01.com.andreaszapf:MyISCSINode. Exactly the name you have given your target above. So let’s connect:
iscsiadm --mode node --target iqn.2014-01.com.andreaszapf:MyISCSINode
     --portal 127.0.0.1 --login
This, hopefully, gives you a little bit of satisfying feedback:
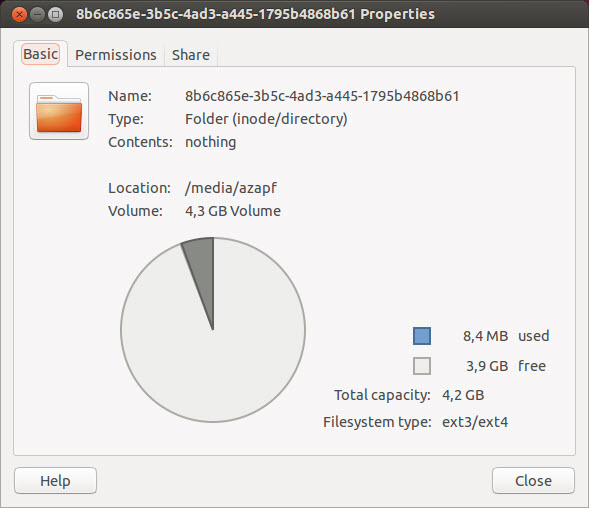
 Now, keep in mind that we have said an iSCSI Target Node, once connected, is like a virtual harddisk – so let’s examine this, the tool of choice this time is a graphical tool in Ubuntu: Disks.
 So we got ourselves a 4.3 GB harddisk as /dev/sdb with currently no contents. We can now create partitions in it and use it just like any other disk…
 For the moment, I would like to leave it as this – but in the next step, I will need to extend this disk to more than 4GB, hopefully without destroying data already placed within…