Here is the original idea: after having played (and developed) with PostgreSQL over the past months, I thought it would be cool to have the “production” database on a 24/7 environment and not running within a VMWare. That would allow me reliable, fast connections (so I hope) while maintaining my virtualized environment for further development.
I looked around a little bit and found a Shuttle system for a reasonable price – memory and a SSD were sitting on my desk anyways so I thought, I’d give it a try. Long story short, I ordered one.
The Shuttle XS35GS V3L
The system is question is a Shuttle XS35GSV3L – once the package arrived, I started putting the computer together (that is: add RAM and the SSD) and connected it. That was easy enough and I was thinking that I would have an easy go with it.
At a size of roughly 25cm x 16 cm x 4 cm, the computer is really small – and it is fan-less. Together with the SSD, there are no mechanical parts that would produce any noise and therefore, the system is just perfect as a small server.
I added 4GB DDR3 RAM – the system itself comes with an Intel Dual-Core Atom D2550 Processor.
The Operating System
Operating System of choice is Ubuntu – the current LTS (Long-term Support) version is 14.04 which I downloaded from the Ubuntu Website. Since the Shuttle does not have a DVD ROM, I had to put the image onto a USB Stick – a great tool doing that for you is the Universal USB Installer. Three easy steps take you to the desired result:
- Specify the system you want (for Ubuntu, make sure to select Ubuntu Server, not Ubuntu Desktop!)
- Point the Universal USB Installer (UUI) to the downloaded ISO Image
- Select the USB Stick to install and and click Create.
It will run a little while but afterwards, you have a bootable USB Stick – in my case, one that I was plugging into the Shuttle and powered it on.
USB Trouble
At first, things were running perfectly smoothly – the USB Stick was recognized, the system booted into the installer… and then my keyboard and mouse ceased to work 🙁
At first, I thought it might be the wireless keyboard – so I got a USB Keyboard directly hooked up but the result was the same: when the BIOS came up, it always claimed it did not find any USB Keyboard or Mouse – it always recognized the USB Stick as Mass Storage Device (so I knew USB was working) but without a keyboard, that was more or less useless.
 Now, I thought it might be a good idea to upgrade the BIOS – the version installed was not the latest and I was hoping. From Shuttle’s web site, you can get the latest BIOS for the box but one thing I needed was a program to create a bootable USB Stick with a DOS Operating system (to execute the flash procedure)… doh! I finally used BootFlashDos 1.0 to create one, threw the BIOS files onto it and installed the BIOS which went without problems. Except for it did not solve my issue…
The behavior itself was strange – when the keyboard got disconnected, it would not come back, even when I rebooted the Shuttle. But it reliably came back when I flashed the USB Stick to a new installer (same Ubuntu, just rewritten) until it got lost again?
It should not be the installer – because the BIOS comes in long before the installer kicks off. I suspect that it – for some wired reason! – has to do with the signature of the USB Stick that is written when I create a new boot stick. Very, very strange – and I did not find a solution at all… any version of Ubuntu I tried (and I tried almost any version between 12 and 14) showed the same results…
I was at the point of packing it all back together and send it back when – in one last desperate attempt – I did the following: I connected the USB Stick and the Keyboard to a USB Hub and plugged them both into the front USB Port of the shuttle… and it worked.
I am still not sure, what the issue is – and if the Shuttle would not become a server (where there is no keyboard and mouse attached) I would probably still send it back but for the moment, this solved the issue for me.
Installing the Operating System
Next step up was installing the Operating System – as I said: the system of choice is Ubuntu 14.04.1 Server – I have described the installation of Ubuntu 12.04 Server before but since some steps are slightly different, I will quickly run through it again.
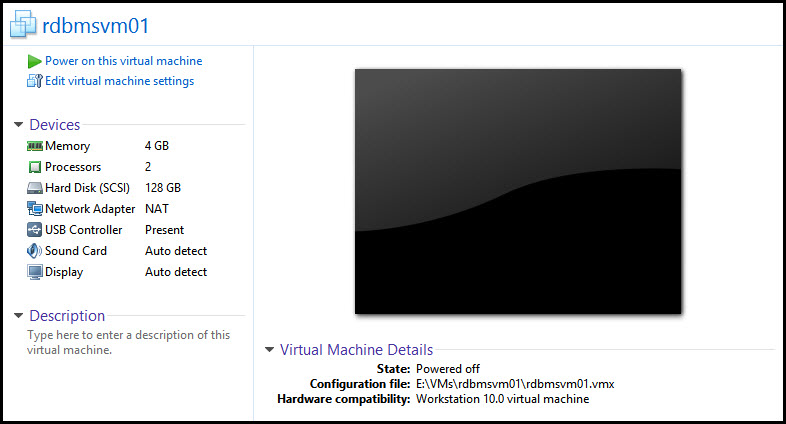 I have created a new Virtual Machine for this installation, basically trying to mimic the Shuttle PC itself – 1 Processor with 2 Cores, 4GB RAM, 128 GB Disk, etc. And I am using the USB Stick that I have created for the installation, not the ISO Image.
VMware and Boot-from-USB
The first thing that falls out: VMWare (natively) does not support booting from USB Devices… but fortunately, there is a workaround (which comes in handy if you need to test a USB Stick that you want to use elsewhere…) – the Plop Boot Manager. The whole procedure is described in this blog post so I just go ahead and give it a try. Unfortunately, this means to add a CD/DVD Device to the virtual machine for the moment – not reflecting the state of the Shuttle PC. However, this does the trick. First comes the Boot Manager
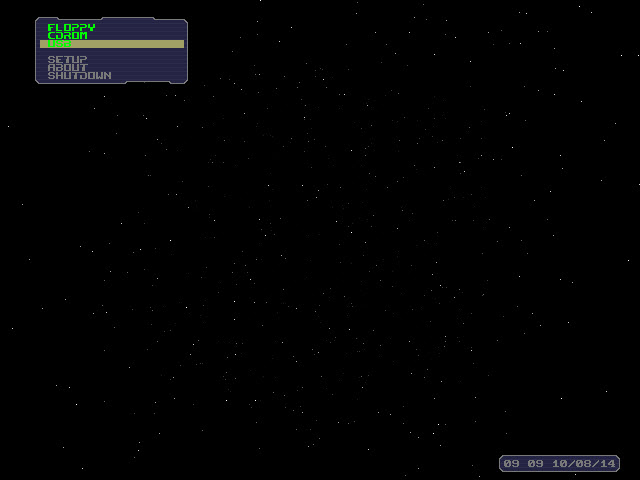 And then comes the Ubuntu Installer… perfect, I am back in the game!
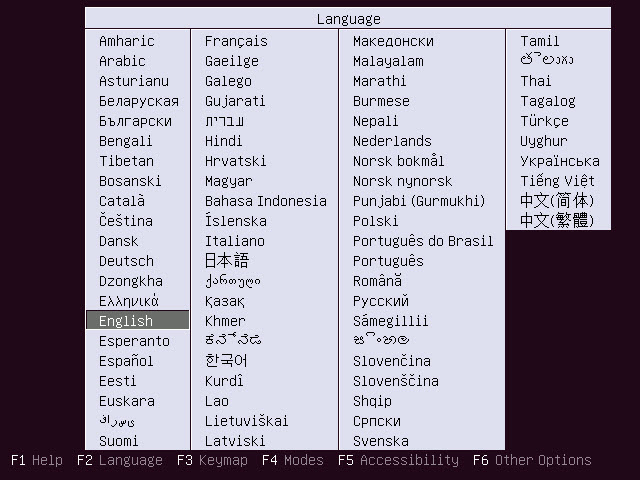 Please refer to my previous post on installing Ubunti 12.04 LTS for more details – where things are the same, I will not describe them here again although some few (self-explanatory) steps are different.
The next part of the setup I want to point out is the Disk Partitioning – because I ran into trouble there yesterday: take a look at the screen below.
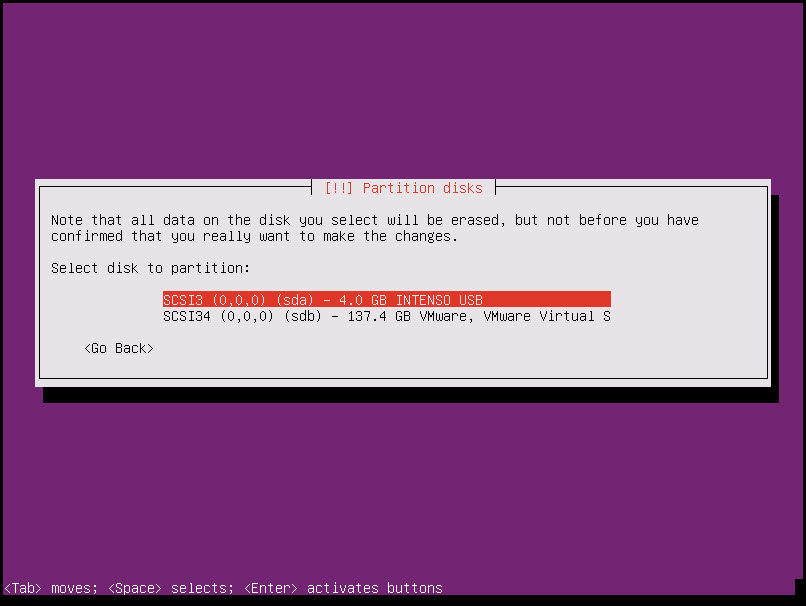 Please note that my USB Stick that I am using for the installation shows up as device sda (the first disk) – my “true” disk (the one with the 128GB) shows up as sdb. For the moment, continue to partition this larger disk – but keep the assignments in mind!
The first screen of interest is the Software Selection screen. The last time I wrote about Ubuntu 12.04 LTS, PostgreSQL was bundled into the package but at version 9.1 – with the 14.04 release, PostgreSQL has been taken forward to version 9.3 now being included. And not only that: compared to Ubuntu 12.04, a hell more options are now available.
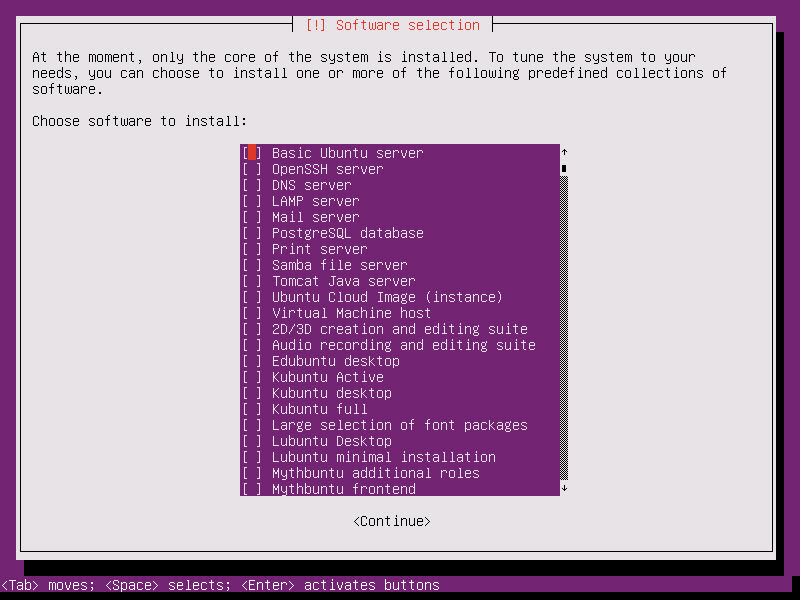 One interesting option is “Basic Ubuntu server” right at the top which is a bit confusing because that was what I was thinking to install anyway. For the moment, I’ll leave everything unchecked (including the PostgreSQL option!) to get a plain system. But I will come back to that later!
Finally, after the main installation is through, the installer tries to setup the bootloader. Since there is only one operating system on this machine (and the Shuttle), this is what you’ll see:
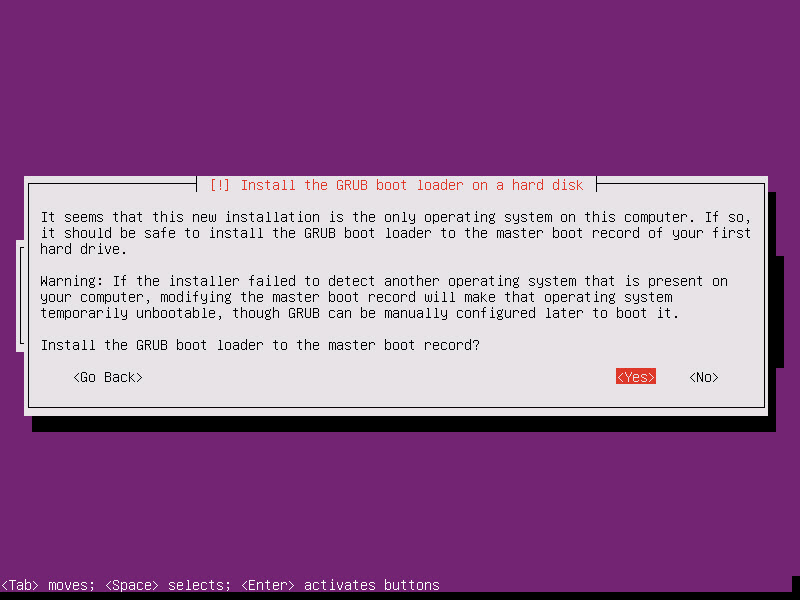 So select “Yes”, finish the installation and reboot your system… all should be fine, right? Well… why the hack do I get a black screen then?
 This happened to me on the Shuttle PC yesterday as well and I was completely stunned… I am glad that I was able to reproduce it on the virtual machine because this time I was able to see: when I hit “Yes” to install the GRUB Bootloader into the “first disk”, it took what the system knew as the “first disk” at that time – sda. Which – remember? – was out USB stick…
My Shuttle PC always started properly when the USB Stick was mounted – the virtual machine does not because of the inability to natively boot from USB. The question now is: how do I fix it?
Repairing the GRUB Bootloader
The officially suggested solution is using “Boot-Repair” – see here) so let’s do that: I downloaded the ISO Image, started the virtual machine from that image and this is what I get.
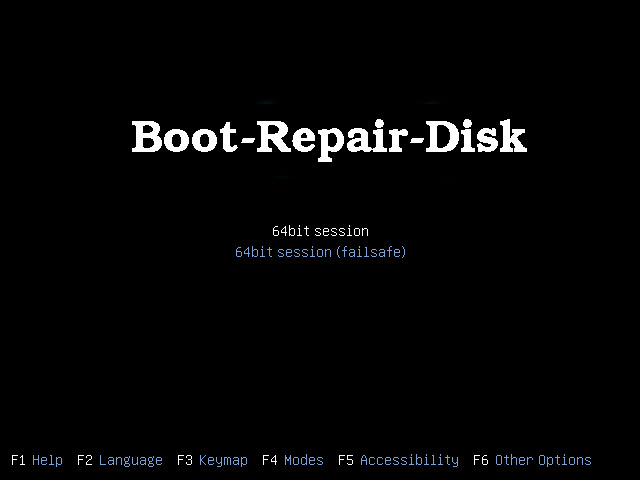 It takes an awkward moment to start up but eventually, I am presented the Boot Repair Options.
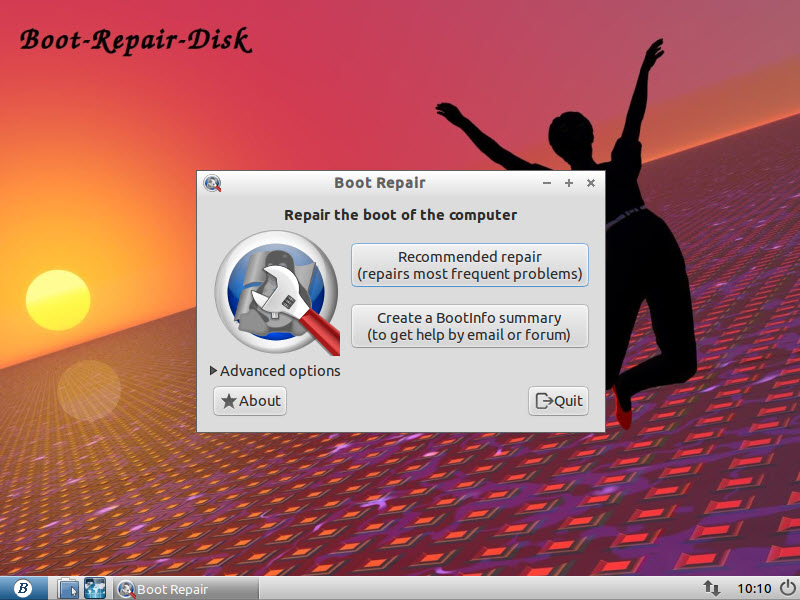 Following the instructions, the first button is “my” button – the “Recommended repair”. It runs for a minute or two and eventually provides me with some more information about where my next step would be in case my problem was not fixed.
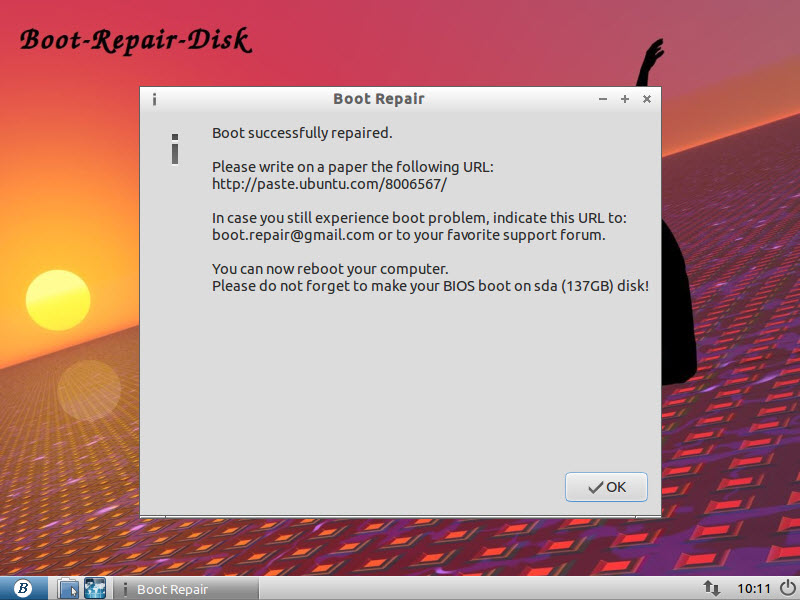 If you want to see that information posted, you can go here and take a look… I can now reboot the system and wait for it to come up.
 Remaining Installation Taks
Remember when we discussed the packages during installation and wondered what “Basic Ubuntu server” might be? Let’s find out. The first command to issue when logged in to the new system is
tasksel --list-tasks | more
This provides a listing of all defined “tasks” (which is the proper name for what we are dealingwith) and the more-part makes sure your first lines do not scroll off the screen.
 Note the first line? It tells us that the task “Basic Ubuntu server” is internally known as “server”.
We can query for the contents of that task by asking the system for the associated packages.
tasksel --task-packages server
which (probably best with a |more again!) shows us the packages defined for “server”.
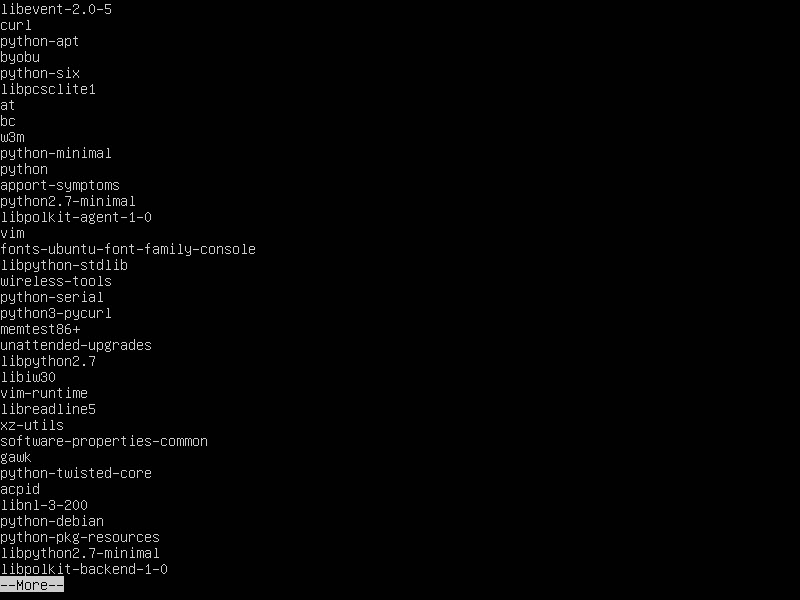 So the “Basic Ubuntu Server” task is a bunch of packages that are low-level system functionality – you can install them individually as needed or all as a set, the “Basic Ubuntu Server”.
If you want to manually install any of the packages now, your command would be
tasksel install <package name>
where package name is the internal name of what you want to install – e.g. tasksel install server. Just make sure you are superuser when you issue the command…
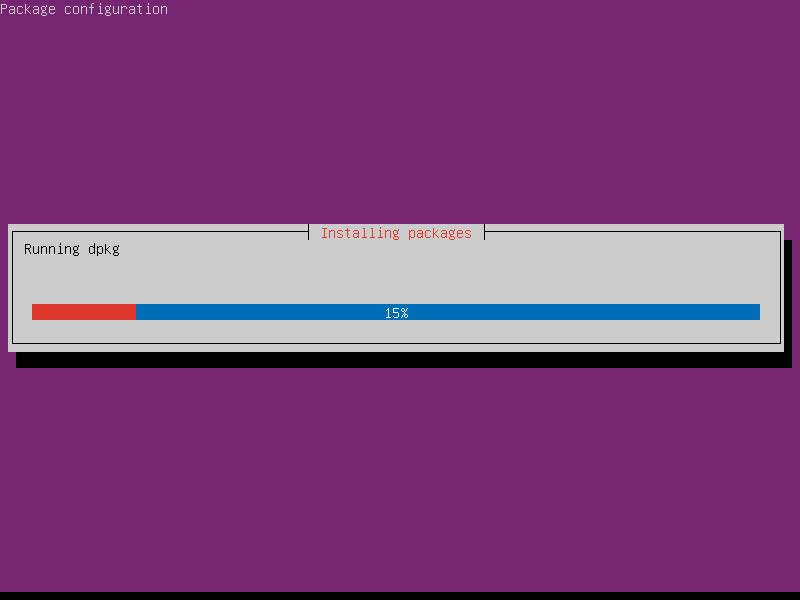 And it does not hurt to reboot the system afterwards…
sudo reboot
Moving on to PostgreSQL
Again, I have documented the installation of PostgreSQL previously, and much of what we need to do now remains the same… but some things have changed.
First of all, keep in mind that all of the following must be done as superuser – sudo su would be a great way to start.
Next, the command apt-get update would be useful to make sure the latest package definitions are available.
As PostgreSQL 9.3 is now part of the packages, the command apt-get install postgresql-9.3 does work (without adding a new source to the package manager).
apt-get install postgresql-9.3
The following feedback is given:
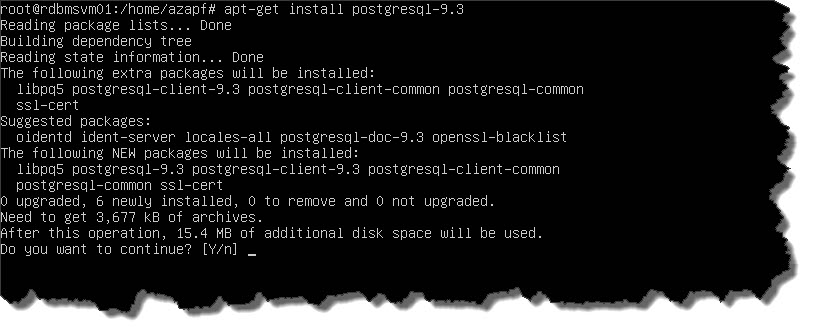 I’ll continue this (by answering “Y” for “Yes”) and get PostgreSQL 9.3.5 installed.
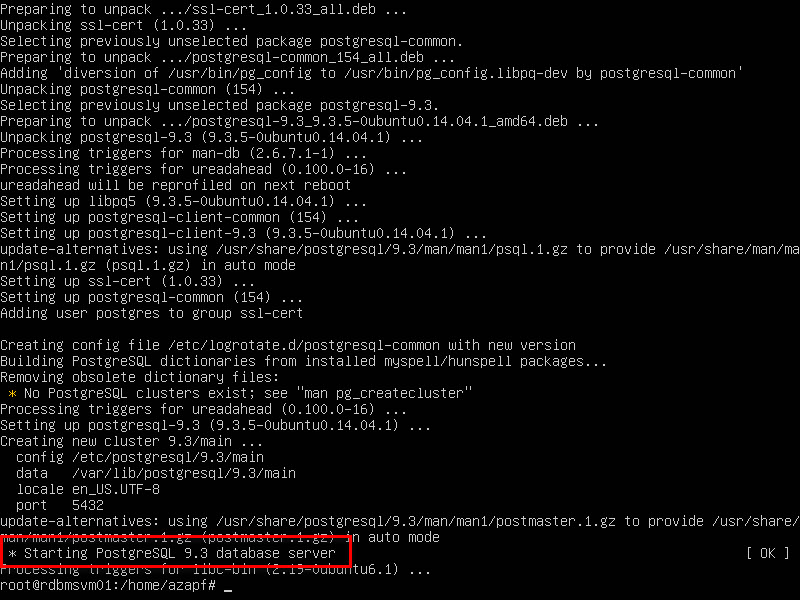 So far, so good. I still need to go through the steps described in the other post in terms of Allowing Access to the Server, setting the PostgreSQL Server’s Admin Password, Opening up for Network Access and setting up Authentication. Please make sure to look these steps up there as they have not changed.
Last but not least, I need PostGIS installed – previously described here. The difference to the previous post is an update in PostGIS itself – so the installer command is now
apt-get install postgresql-9.3-postgis-2.1
to get the latest version. The final thing that needs to be done is to install the OpenSSH Server Package – otherwise, outside communication with PostgreSQL would have to be reconfigured.
apt-get install openssh-server
And done… I think?!
PS: Although most of the post was run against a virtual machine, I can assure you that I did the very same steps (and mistakes) when installing the Shuttle PC as well – so this is comparable and it shows you how I have set up my box. Maybe it comes in handy for one or the other as well (and certainly for me when I ever have to come back to do it again…)
