
Well, I have created a few posts on LEGO Classic Space sets earlier – to name two specific ones: the LEGO Classic Space Sets until 1981 and LEGO – Some more Classic Space from 1983. But all those dealt with the “real” models from way back when – now, a little while has passed since these posts and – to my surprise – LEGO Classic Space is not as dead as I thought it was.
The LEGO Movie created huge interest in Benny’s Spaceship but in all honesty: I don’t really like it but it brought back the ideas of a “classic space theme that once was”. The second one that came up is a model born from the LEGO Ideas website: the Exo Suit. This one has actually made it all the way up to 10.000 supporters and is now on the shelfs as LEGO 21109. And finally, there is another LEGO Ideas Project that very much had an inspiring effect on me: LL 928 Comes Home.
What I really like with this set is the combination of an “old” set with new ideas and modern bricks. Wolf Leews, the designer of this idea, has really done a superb job by maintaining the “classic space feeling” but bringing the idea set to a new level. Many things that we wonder about with the old sets (e.g. “How the hell do they get into the stations?” or “How can they take off their helmets when there is no airlock?”) are not important when you are a kid – but this idea provides some interesting solutions.
Wolf Leews was nice enough to provide a LEGO Digital Designer source file for this project – I have not asked him but I hope me taking some of the ideas from this project is accepted as an homage to the work, not as stealing Wolf’s ideas. (I actually have deliberately decided to keep exactly his constructions on some parts to make it clear where they come from!)
Solid Groundwork – the Legs of the Station
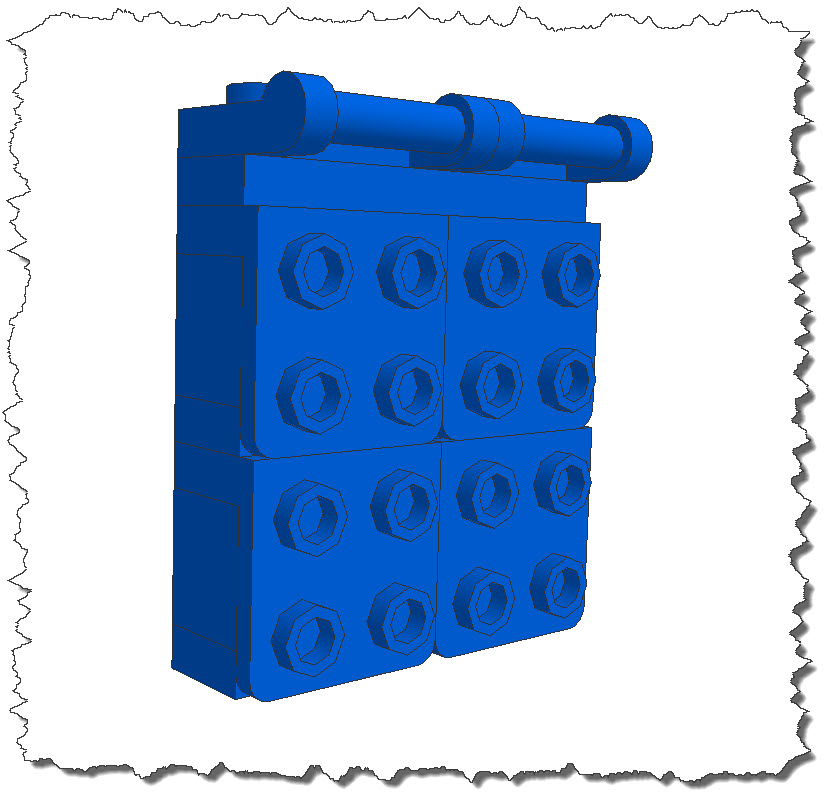
In the “old days”, the legs of the stations such as LEGO 9670 had simple gray Support Bricks as “legs” (Part Number 3940) or the classic “fins” (Part 3479). Wolf Leews has designed a new “stand” for the buildings, one that looks a bit more “elaborate”.
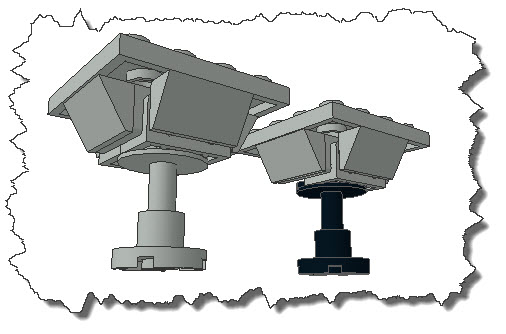 Wolf’s is the left one – all in “Light Gray”. I have checked the parts for these stands via BrickLink – turns out that the black Support Leg is easier to get than the gray one so I placed with versions here. The accumulated cost per stand (11 Bricks needed) is roughly 0,80€.
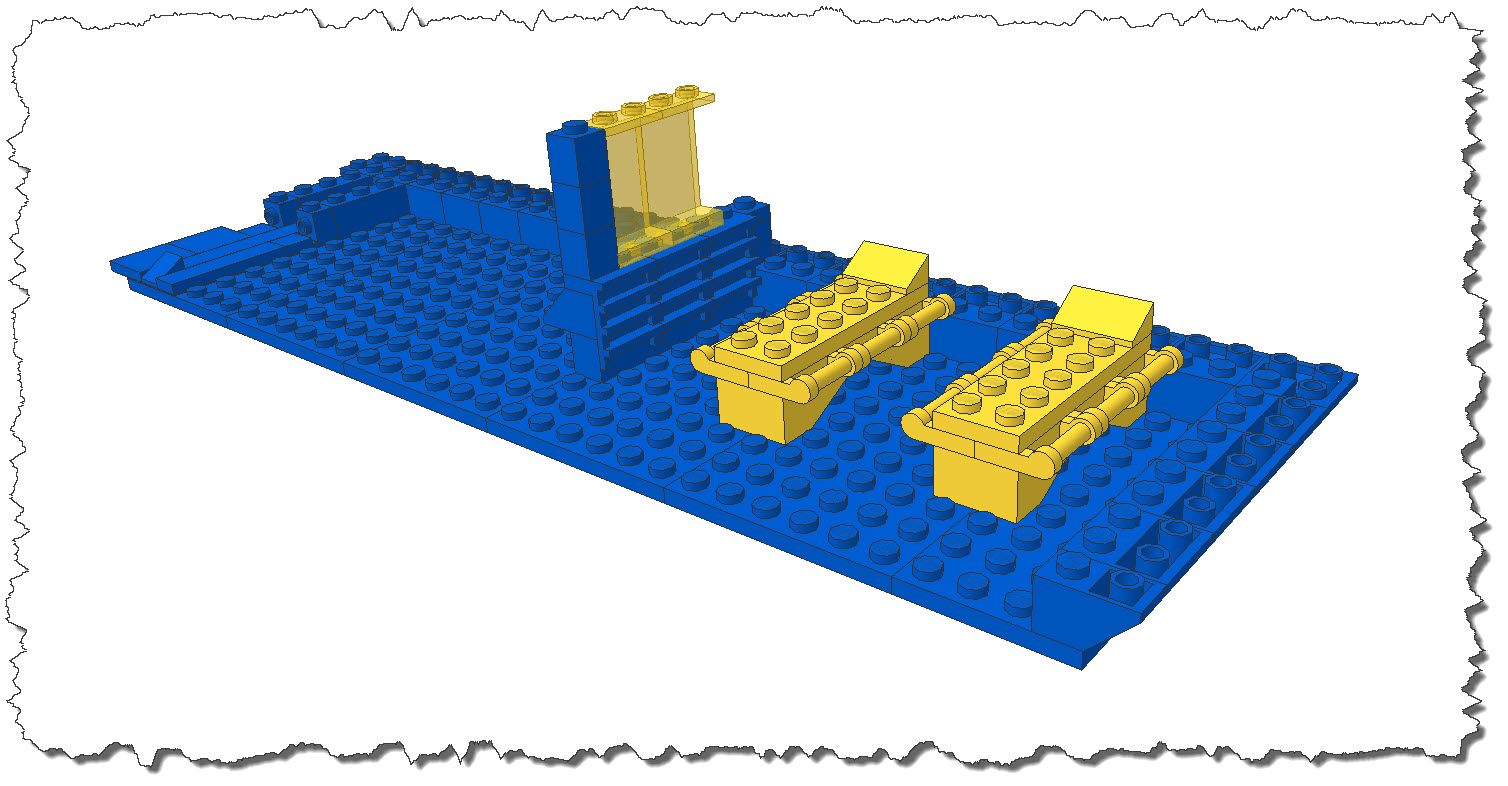
The original layout of LEGO 6970 is 24 x 8 studs. It includes a small working section and a resting area with two beds.
 The 2014-Version, nicknamed “Classic Space Command Center NG” or “CSCC NG” should feature a separate module for housing and one for working.
CSCC NG Housing Module
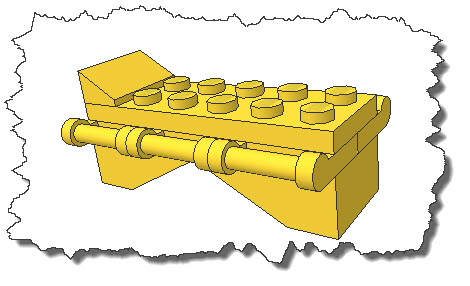
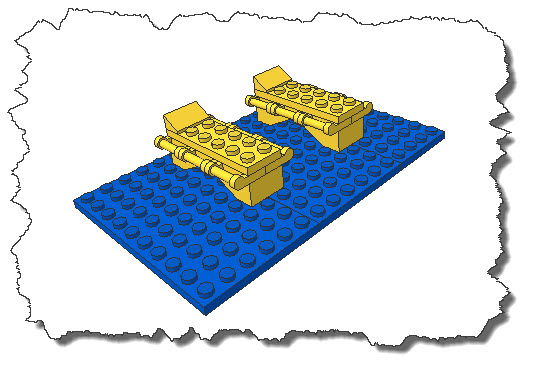
Let’s give our Spacemen some living area first. Actually, it should be more like a “Ready Room” where the crew can rest during long shifts rather than actual living quarters. First, I decided to give those beds a new design – I will keep the 6 x 2 studs for the the bed area, my new version gets a handle on each side to make it look a little “wider”.
 With the new bed designed, I am going to overcome another problem with the original sets – and that is space (as in “space in the station”). The old sets used a depth of 8 studs for the buildings, I am going to follow Wolf Leews design that extended that to 10 studs.
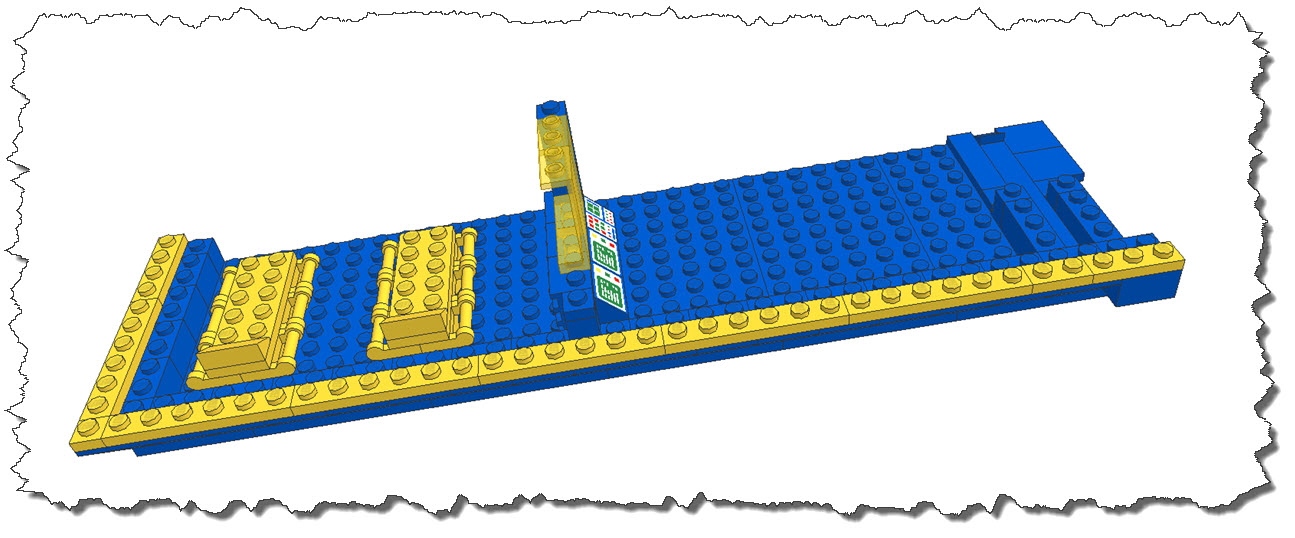
 Now, obviously there is some room for improvement. Let’s say that the two beds should be in a separate area, with some seating and entertainment next to it, divided by a thin wall with some window. We also need a foundation for an outer wall.
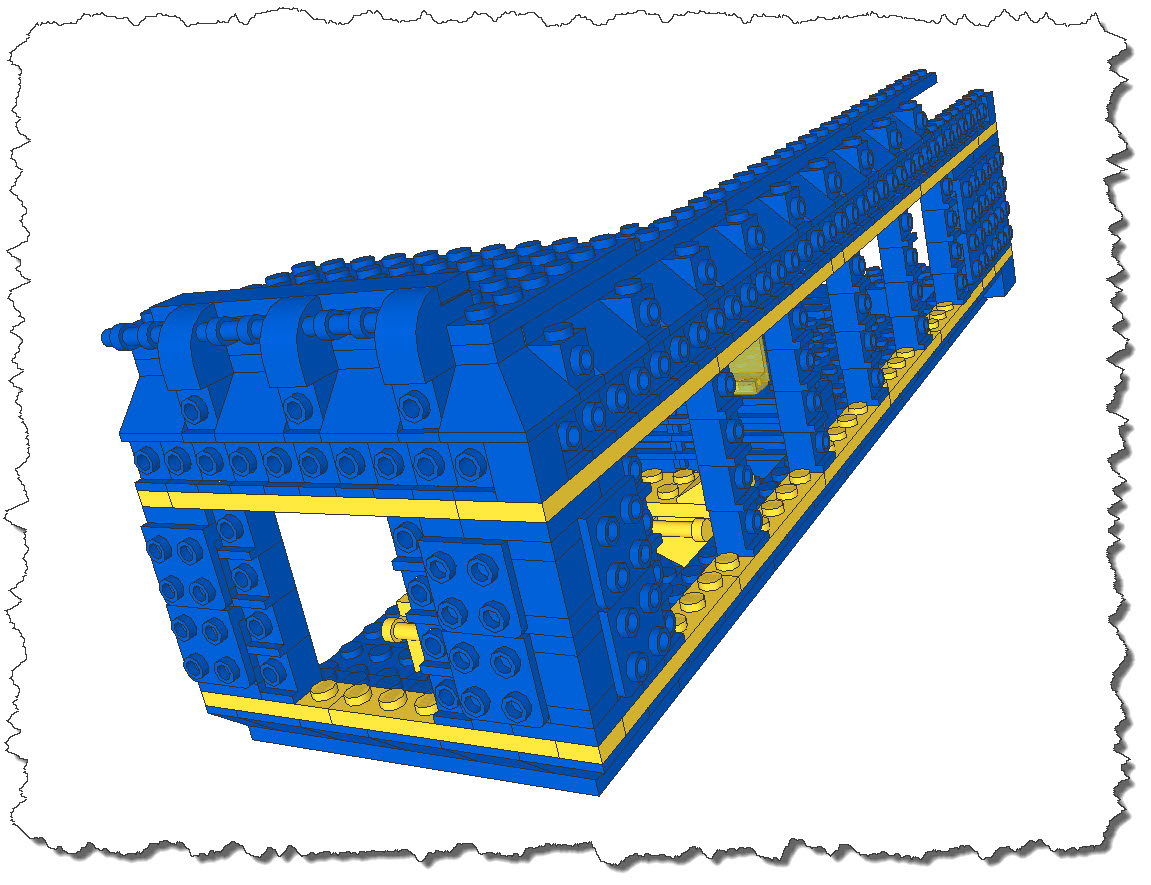
 Width 34 x 10 Studs, the Housing Module is much more spacious than in the early 80s. Also, at the far end, the groundwork for an air-lock has been laid, allowing to seal the compartment from whatever is connected as next module.
Next is bringing up the outer walls. Next to the obvious need for a stable construction if physically built is an easily repeatable pattern: modules of different sizes should not have to be re-constructed every time – the building patterns should be repeatable and interchangeable so different designs can be applied to different sections, yet they should provide a homogeneous view if multiple modules are combined.
Building up the Module
First, we are going to put in some sections with windows. But before we do that, we stabilize the current structure by applying some plates to the current foundation of the outer walls.
 If you want to make the wall foundation a yellow ribbon, following the classic “blue & yellow” color scheme, is personal taste – blue would work equally well. Important here is the offset construction approach, connecting the underlying slope bricks to each other.
Up next is the creation of the outer wall itself – the wall is divided into “section” (e.g. a window, a technical section, etc.) and the wall elements themselves. Unlike the 1980s sets, the walls of the Next Generation Modules have vertical studs to allow different bricks to be mounted on the outside.
Each section is 4 Studs wide with a separator column of 1 Stud. Towards the edges, a minimum of 3 Studs is maintained.
 The idea with the outside Studs for brick mountings is also taken from Wolf Leews LEGO Idea Project – I have just slightly adapted the spacings between sections and wall elements.
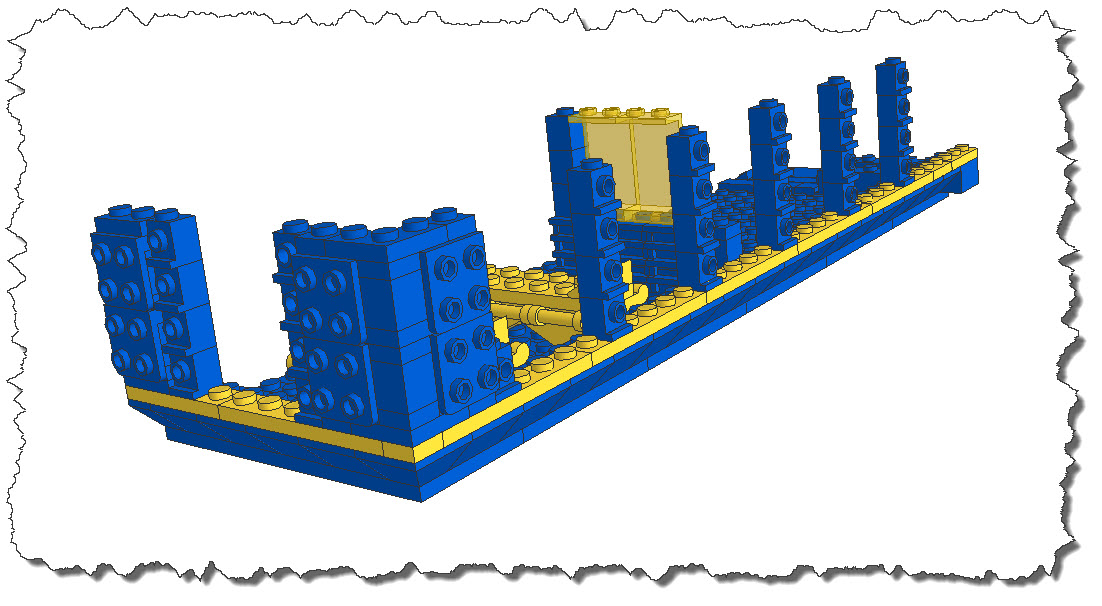
Next, we will bring back the foundation for a 2-Stud structure above the empty sections – this is the foundation for the roof. Also, the remaining wall section will be closed off.
 On this foundation we can now add three additional layer – a first one that produces a Stud-Bar running around the entire module and a second one with roof slopes and support structures that finally are topped with a combination of curved bricks and bars with handles.
 With a total hight of 7 – 8 bricks, the module is slightly higher than the original ’80 Sets – they usually used a hight of 6 bricks. But hey, a bit more room for our space men should be granted in the next millennium…
Let’s quickly finish up the missing parts, then we worry about the still empty sections.
 Now, for the sections, I want to fill them with section modules serving different purposes: the two left ones as well as the two right ones are serving an open area – they should become window sections. The central section is sitting right where the internal divider structure is – a window would not be too great.
A Service Section
Let’s assume the central one is a Service Section with supply lines coming on, maybe a handle that acts as a fuse or main power switch and some radiator to vent of the heat produced in an electrical module.
 Our Service Section is clearly defined – 4 Studs wide and 4 bricks high. The setup is simple: a 1×4 plate is combined with a 1×4 brick and a bracket part (44728) on top of that. This is repeated, giving a nice 4 x 4 vertical mounting plate. Another 1 x 4 plate and two handles finish it off, with a height of exactly 4 bricks.
If you need more vertical mounting on the inside, e.g. for computer panels, etc., you can replace the 1×4 plates by additional brackets in reverse mounting. That way, you produce a double-sided mounting area. With the items mounted on the outside, you can be creative. In MLCad, I am doing the Service Section as an independent item and include it into the overall multi-part project. That way, I can easily reuse these sections wherever needed.
A Window Section
Next up is a Window Section. And given that my space men in the past always complained about not being able to close the windows, this time, the Window Section will come with shades.
Again, the window makes use of 1×4 plates, handles and yellow transparent glass. The construction is quite straight forward, no magic here. But it does look good…
Completing the Airlock and adding Doors
Now, we need an Air Lock. Ours is made up of two parts: the door to the actual compartment and the door to the outside world. The inner one is a sliding door – just as Wolf has created it in his LEGO Idea Project.
The outer one is a hydraulic door that opens to the outside and at the same time provides the steps for the crew to safely walk down.
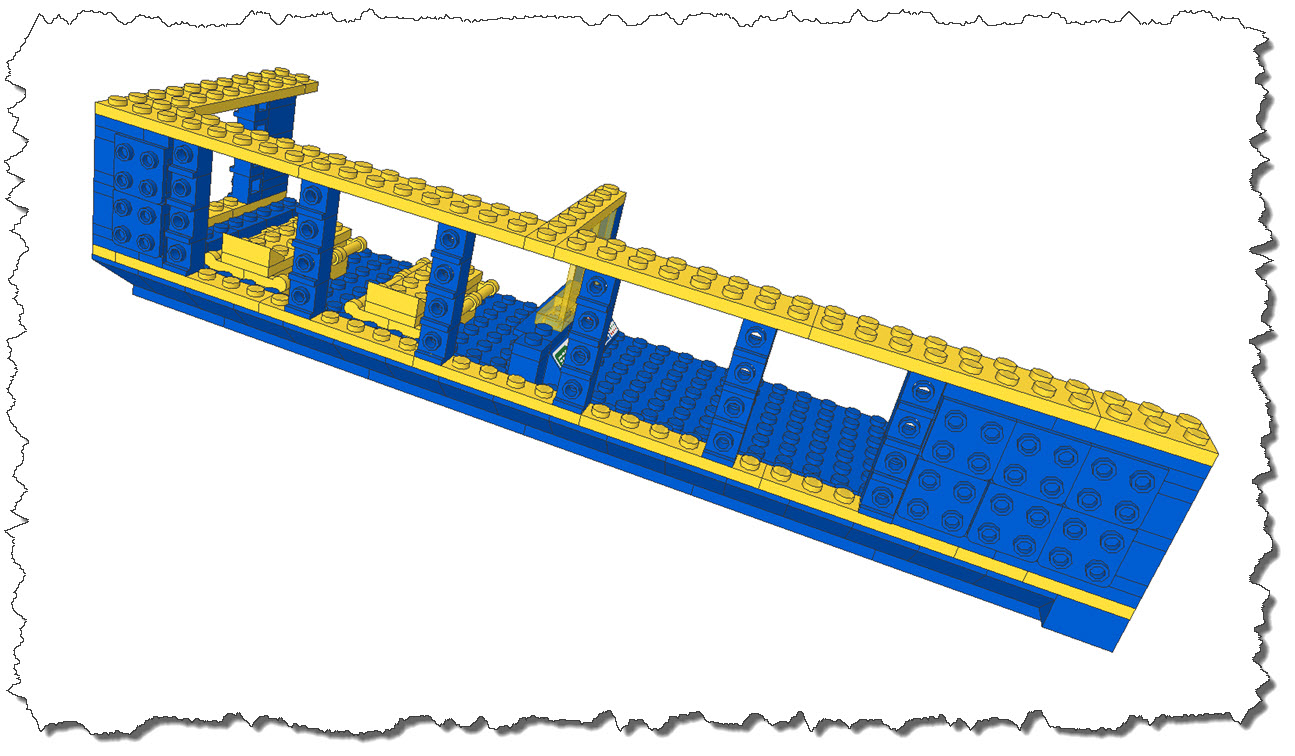
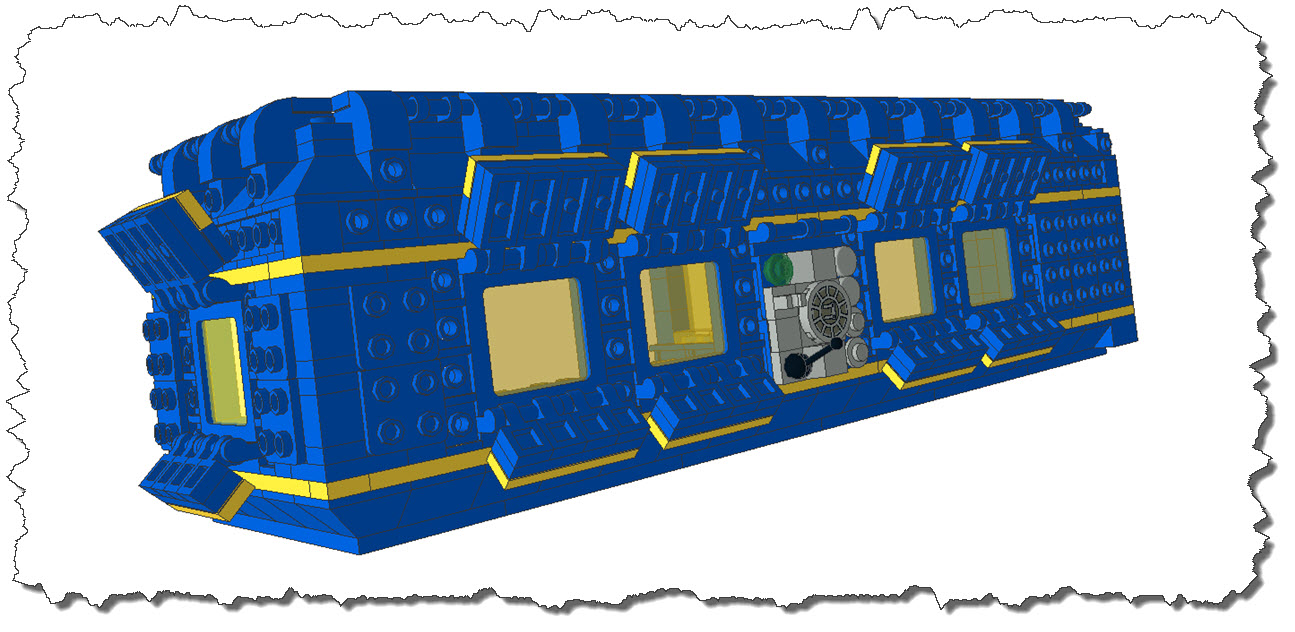
 The above shows the module, extended with the Air Lock section. The idea for this section is that it is a module by itself meaning it can easily be replaced by a module with similar size, e.g. a connecting hallway in case one wants to link multiple modules in a row. The small side – again – has a free section for a service module: appropriate for an airlock is maybe something that looks like some more powerful vents and handles. Also, we need to add a door to our exit as well as an internal door, separating the airlock compartment from the living compartment.
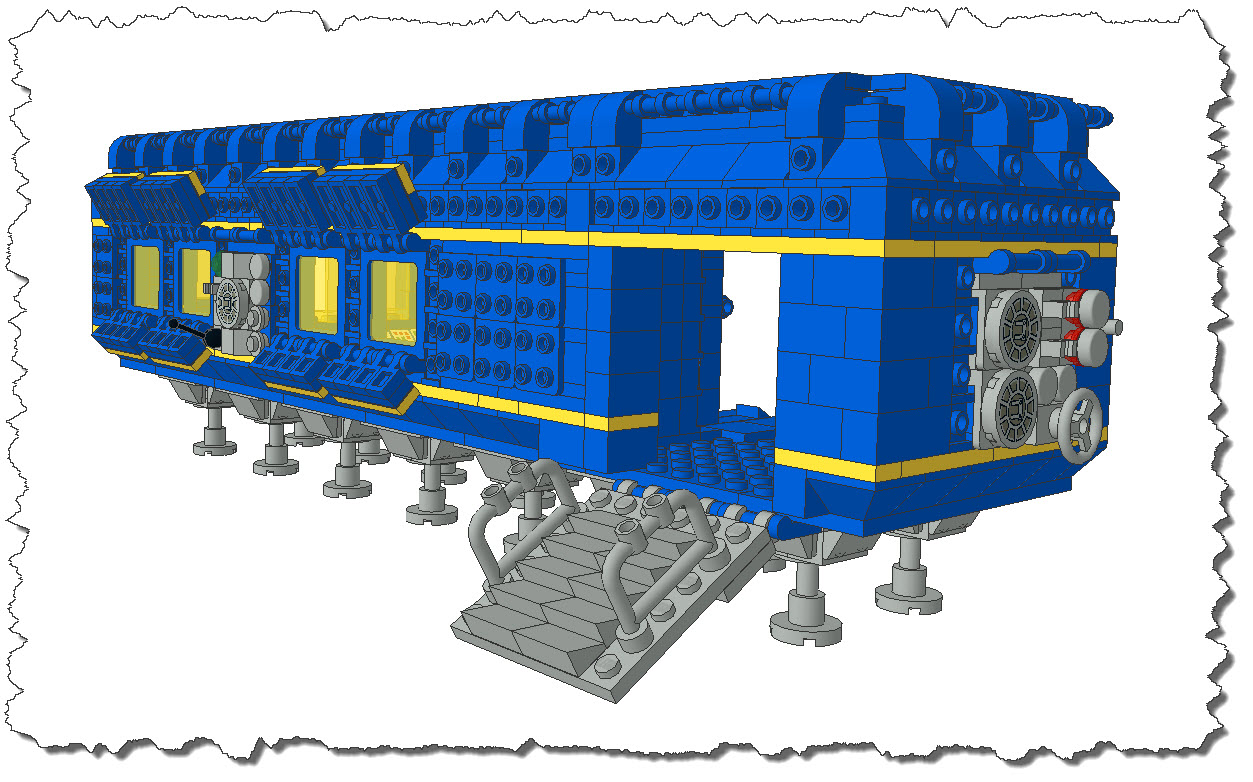 I agree: the exit could be a bit more elegant but hey, those guys need to walk down there with some clumsy suits on and maybe that is just what the need! But I am happy for some more elaborate ideas…
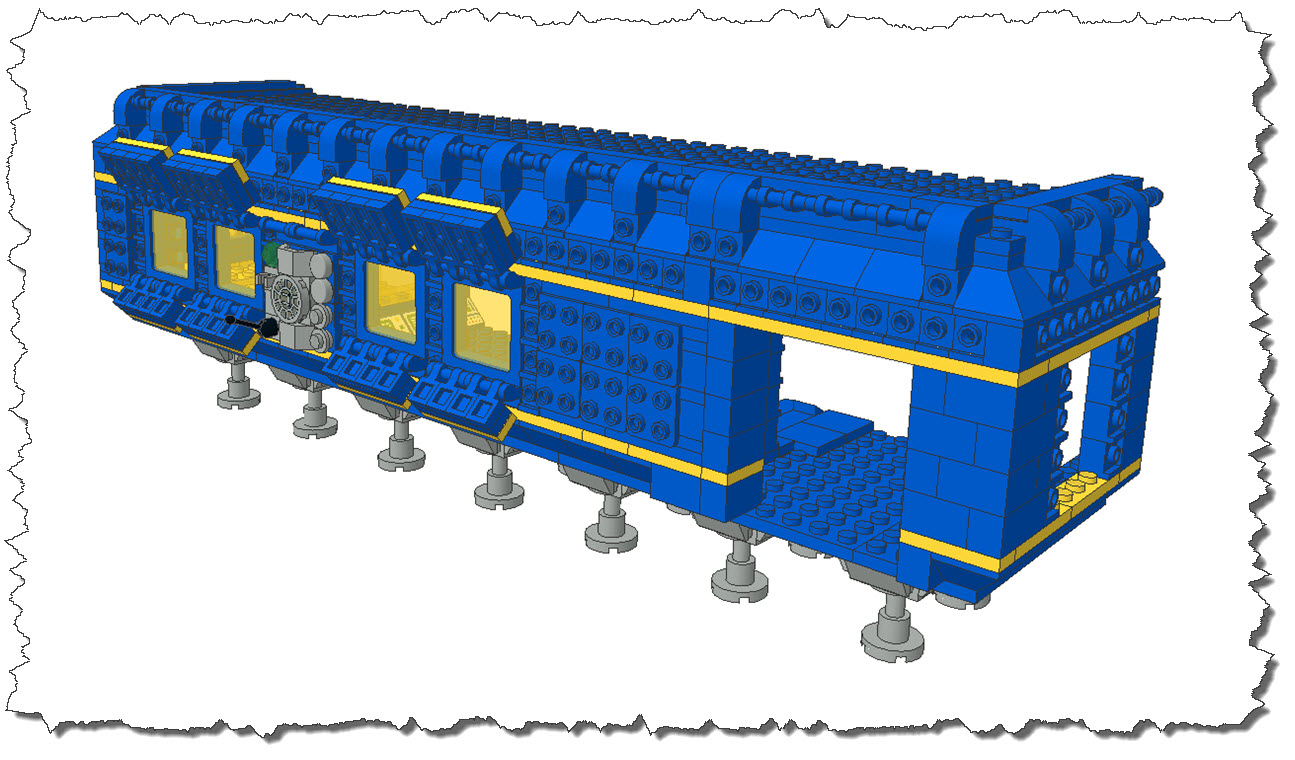
On the other hand, we now have a completed compartment – although it is pretty empty at the moment and it still needs it roof reinforced and setup with some communications and supply equipment.
 But the entire setup is quite flexible – if I would rip out those two beds and the dividing wall, we would be left with a huge general purpose compartment. You can also see the earlier mentioned “inner mountings” where I have put in the airlock’s technical section.
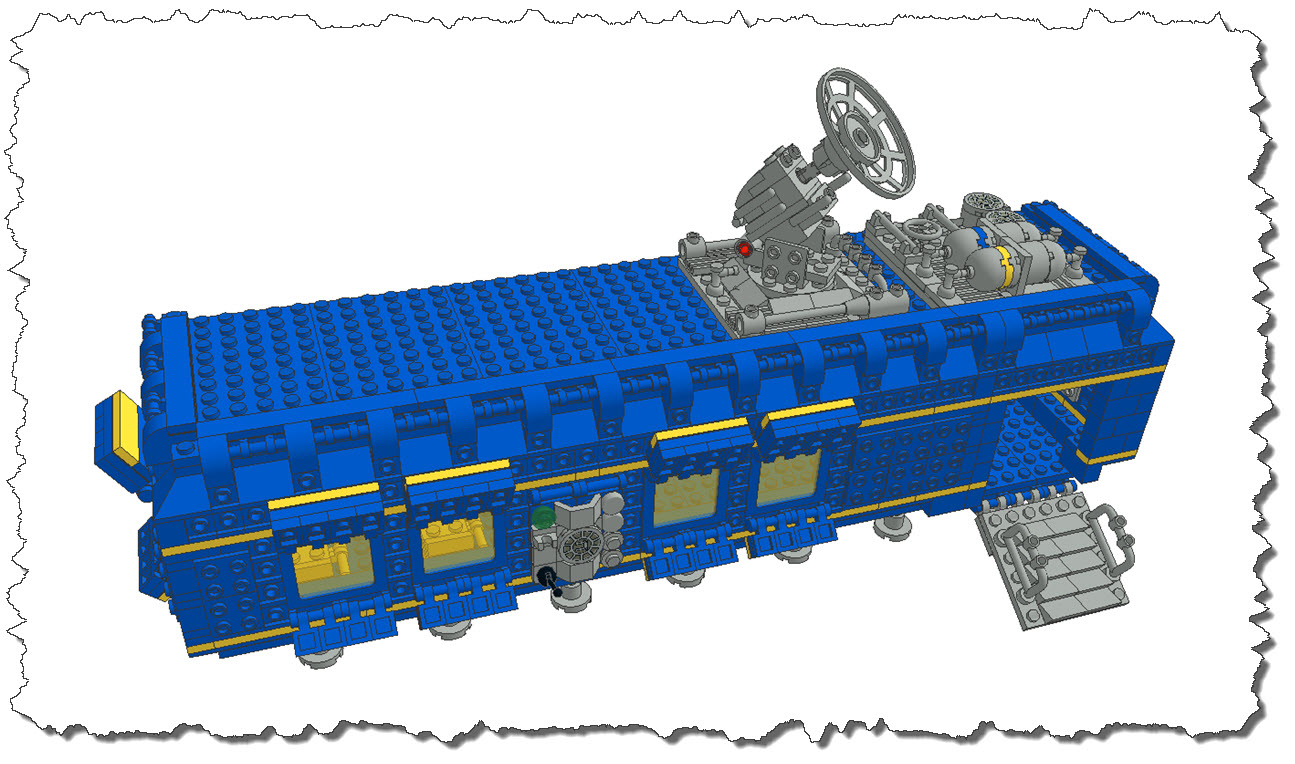
Completing the Roof
The roof so far is not more than a bunch of plates – and if this would be build physically, it would be pretty instable. But here comes salvation. We will reinforce the roof structure and make it more “space-like” at the same time.
The original LEGO Classic Space sets have been rather uninspired when it comes to the roof structures: most models that do feature some will have different satellite dishes of various sizes and that is it. The occasional antenna and some lights add to it in some models – end of story. With todays bricks, there is so much more to be done.
Again, I will build the technical sections for the roof as “modules” – that way, I can easily re-use them in MLCad. Also, in a real-world scenario, our space men would benefit from easy-to-build, standardized modules – it would make their space station cheaper to construct and safer in operations.
The foundation of my technical modules is a 8×8 gray plate. The plate itself will be placed in the typical “offset fashion” and that alone will stabilize the roof structure.
 For the moment, this is the last image of the day – it will be a few more days until I will find time to get back to the project. So far, enjoy what you have seen and don’t forget to vote on Wolf Leews’ great LEGO Idea LL928 Comes Home.