
By now, it has been 18 months since Covid-19 brought me back into Amateur Astronomy and Astrophotography. Time to recap a little bit and go back to the first sessions taken from my backyard.
I have kept all “not completely messed up” images taken – way back when with my old Nikon D90 – but my post-processing software and skills have developed a little bit.
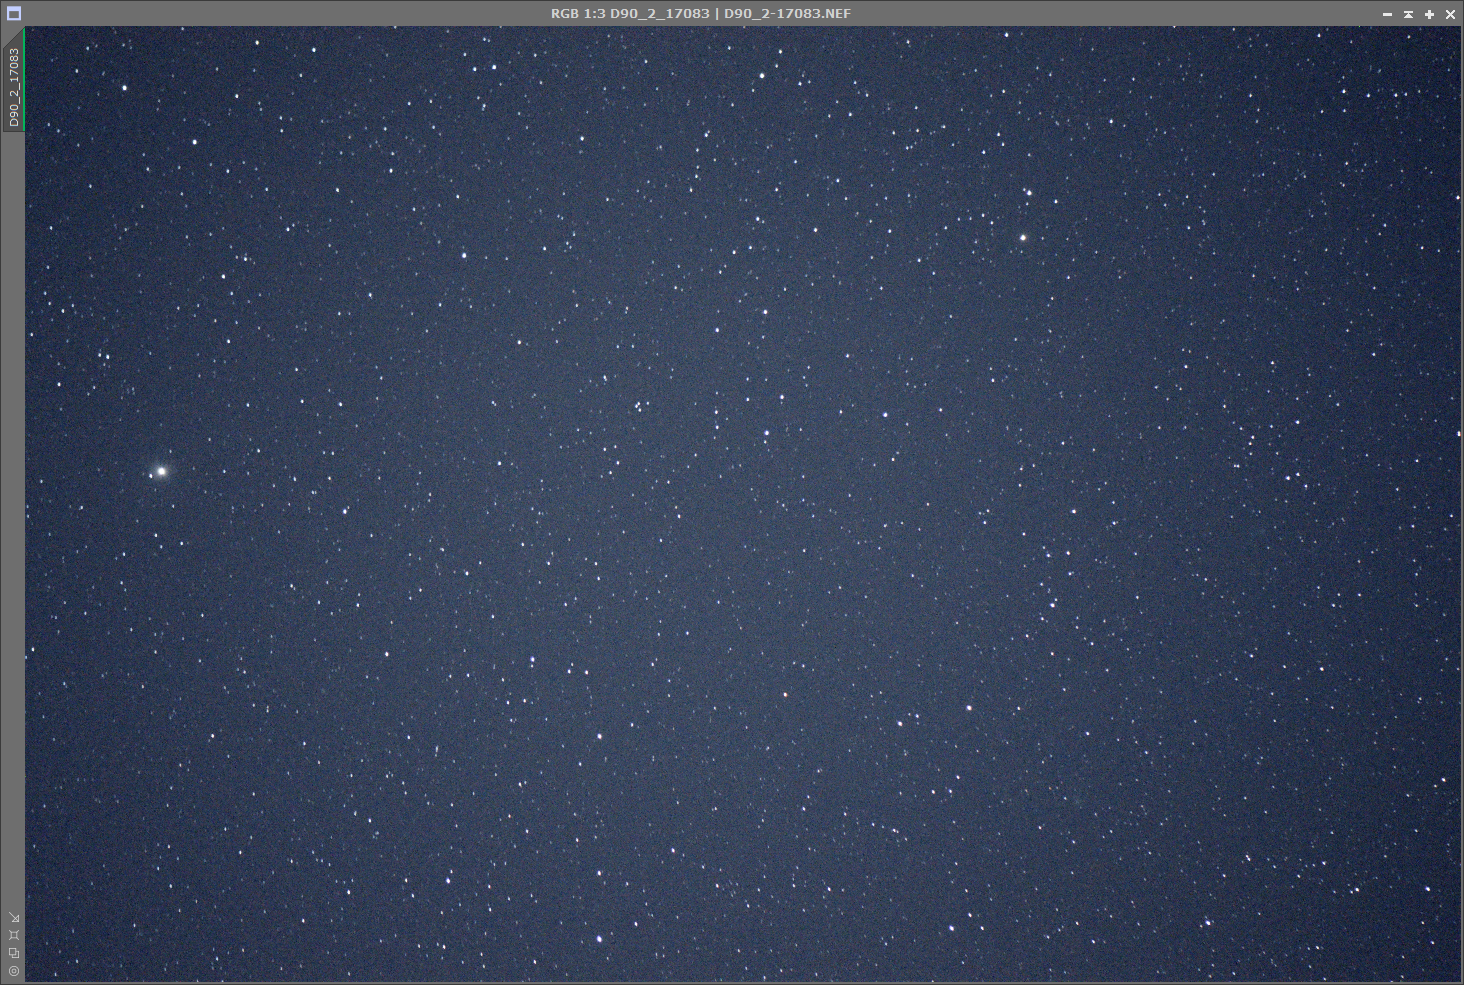
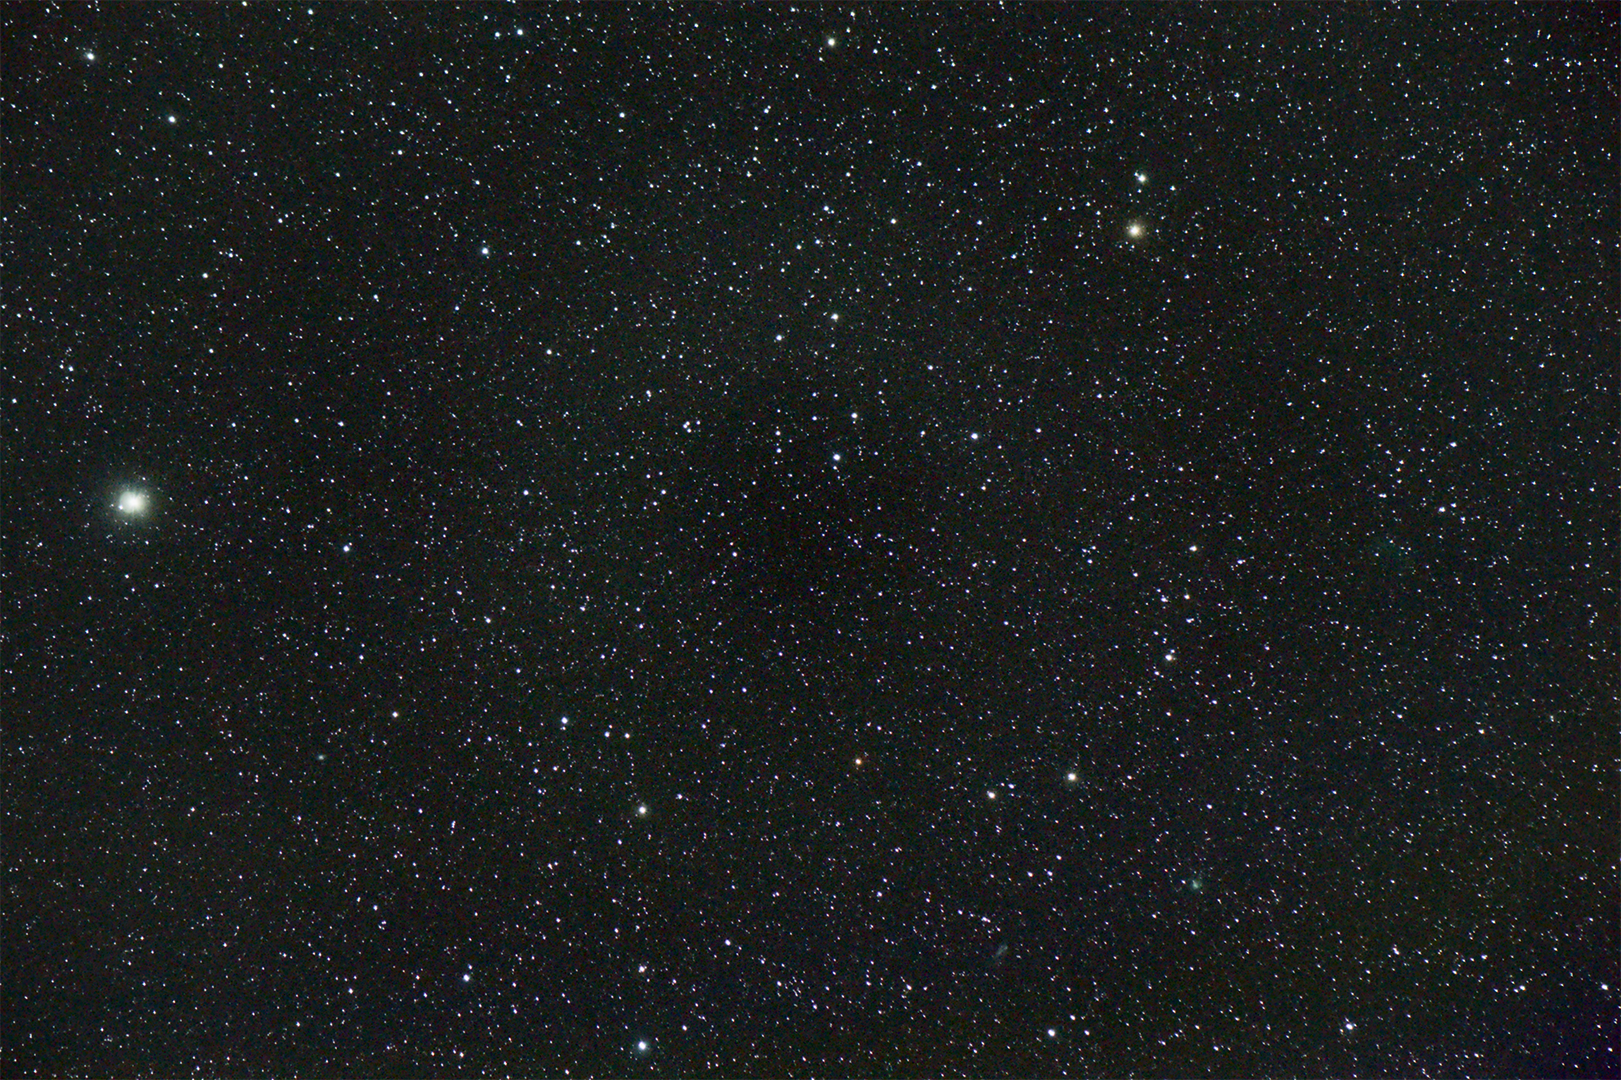
The single exposure above is one of a set of 33 – and the only information I have about it is that I tried to aim at the Ursa Major area. What exactly the image is showing? I don’t know. The easiest solution to get an idea of what is in that image is http://nova.astrometry.net/ – simply upload the file and wait for the result.
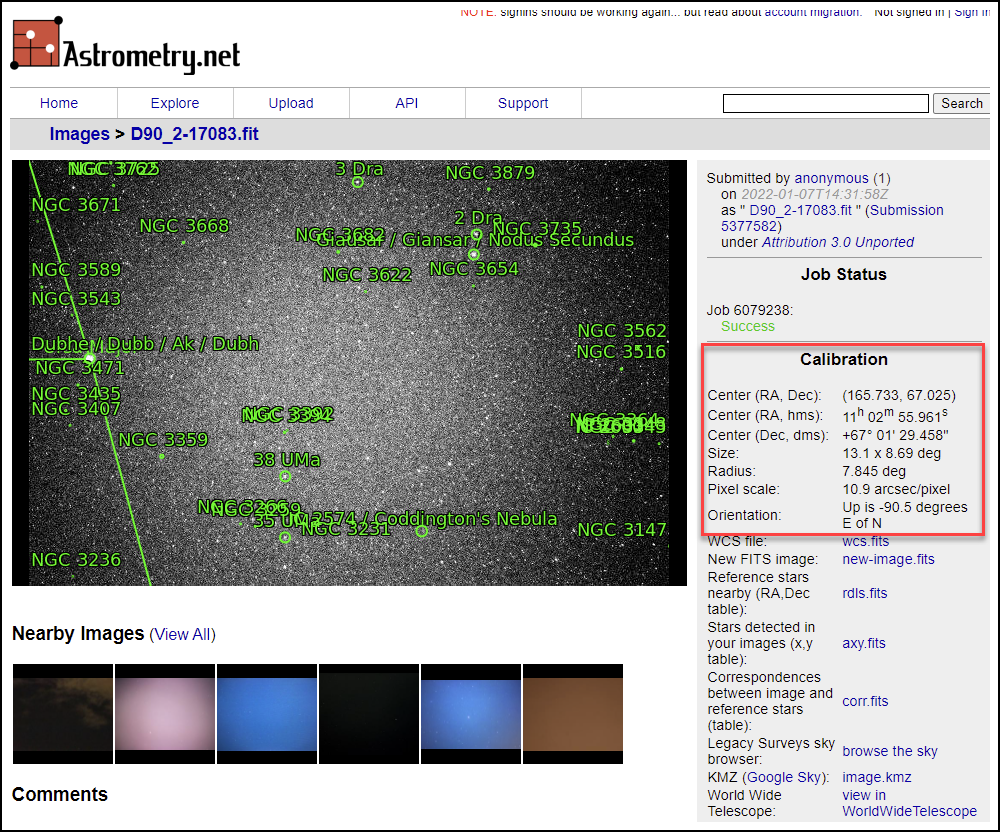
The beauty of Astrometry.net: it blind-solves without you having to install a platesolver locally. Once done, I can continue to work with PixInsight (which from my perspective is a “must have” when it comes to working with astrophotos).
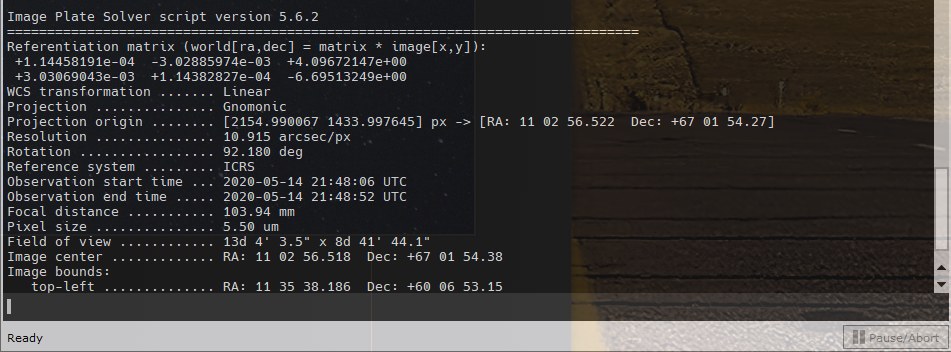
With the center coordinates now known, I run the Imagesolver process in PixInsight, provide the coordinates for RA and Dec as well as the Focal Distance (105mm) and the Pixel size (of the Nikon D90 Sensor – 5.5 micrometer) and hit OK.
Why performing the step (again) in PixInsight? So that I can update the image with the relevant data and re-use the information in other processing steps – such as creating the Finding Chart straight from within PixInsight.
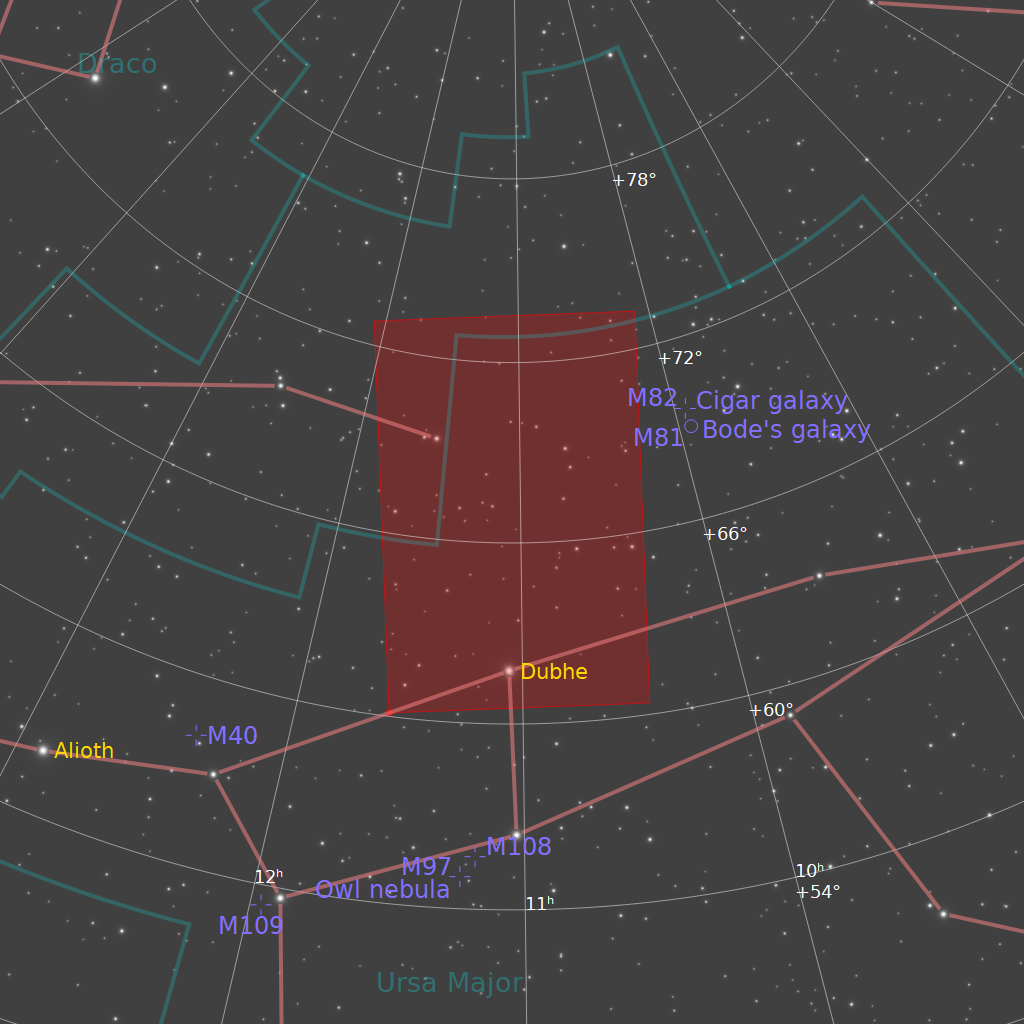
Looking at this, it seems that I had aimed at M81 and M82 but missed by a tiny fraction. Back then, I was simply using my tripod and “visual aiming” – a close miss but still a miss. So what else is in that series of images (after all, I did spend time on it so why simply throw them out?)
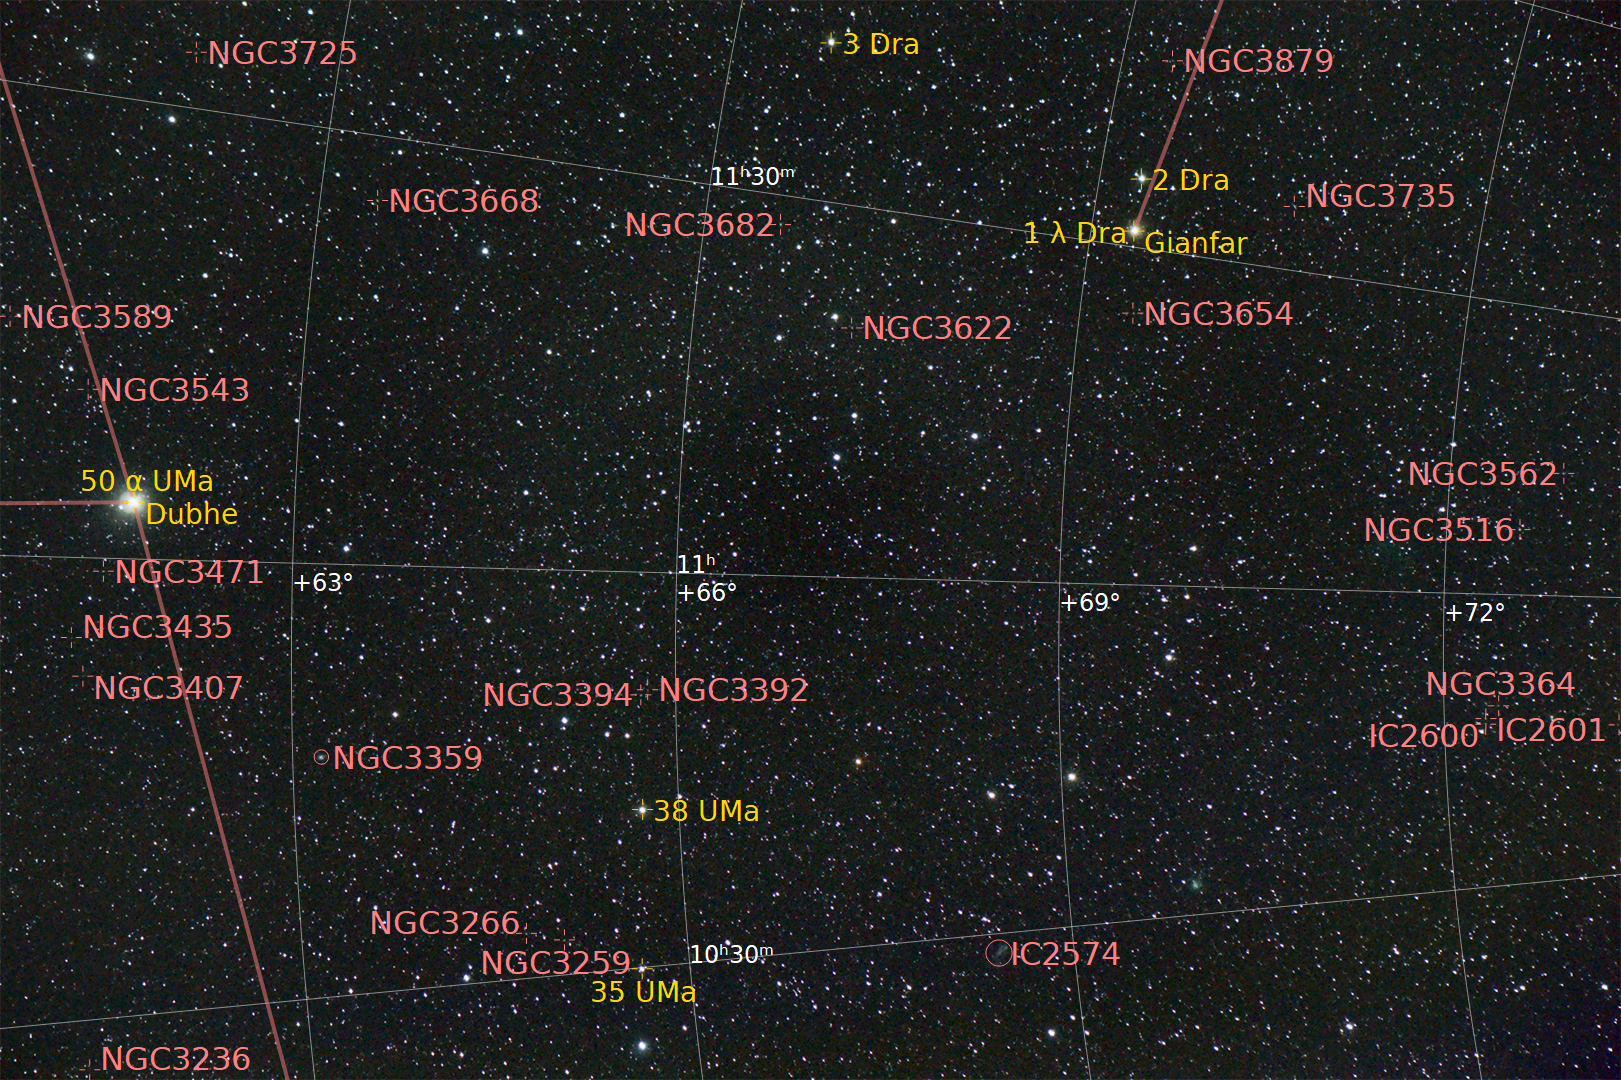
First of all, the Platesolver has also “told” us that the image is rotated by 92.1° – but PixInsight can take care of that as well, so I rotate the image by 90° counter-clockwise. And have to repeat the Platesolver because the rotation screwed up the earlier solution. Then, the AnnotateImage process put an layer of object annotations over the rotated image.
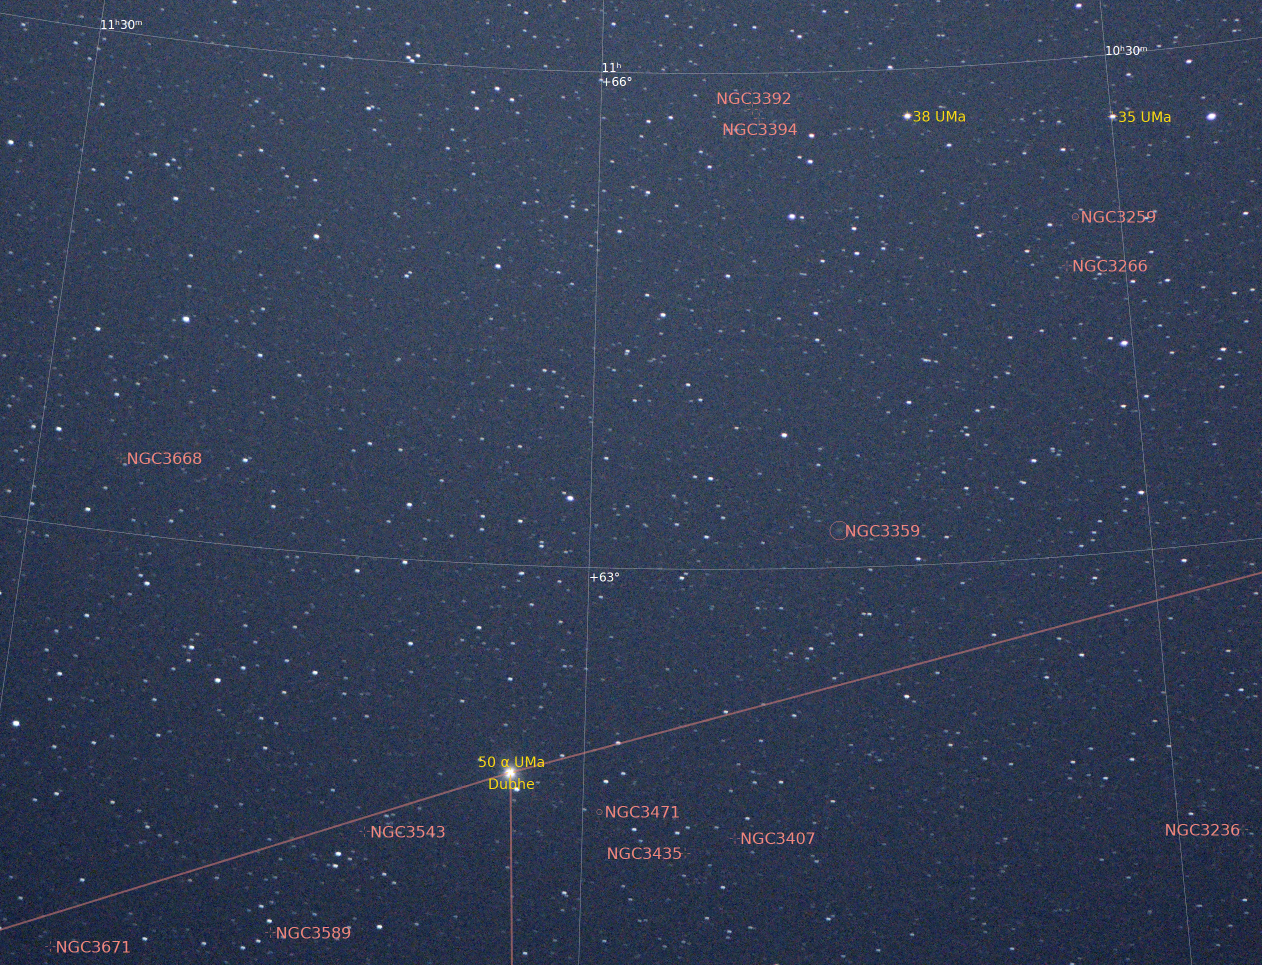
Well – I have missed M81 and M82 but I got NGC3359 and and IC2574 (not in the cropped image above) in the overall image. Time to “develop” the image…
Pixinsight – DeBayering and Stacking
Since the images were taken with a color camera, the first thing we got to do now is taking care of the so called “Bayer Matrix“. PixInsight can do this – the process is called Debayer. Given that I do not have any matching Dark Frames, Bias Frames, and Flat Frames, this is the first step prior to aligning the images that can be done. The good thing about PixInsight is: it does not alter the original images but instead creates a set of new images so if something goes wrong (or if you later want to come back to old data) you have unchanged originals to start over with.
Now, we got 33 images of the same area – what we want to do is “placing them over each other” to enhance the signal. However, the Earth rotated during the process of taking these images and therefore, the stars in them do not “align” in each of the frames.
A process called StarAlignment is what solves this “problem” – again, it can be done inside PixInsight.
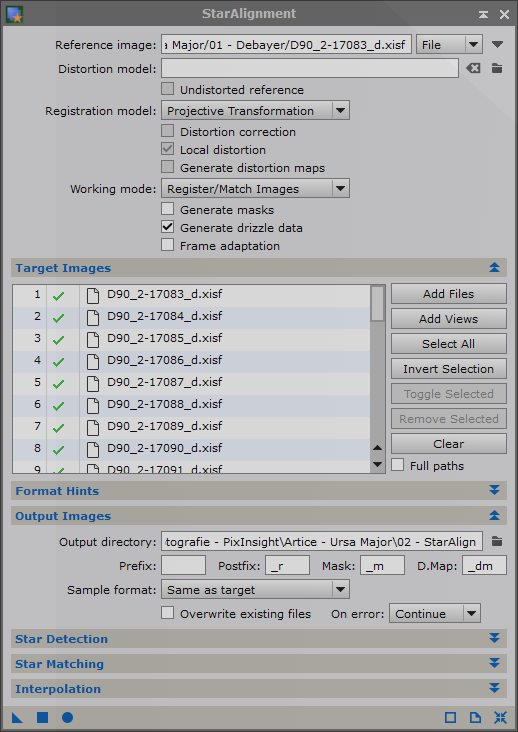
Again, the aligned images are written to a dedicated location, creating yet another set of images along the line. The process can take a little while, depending on the number of images and your processing power (or rather that of your computer) – in my case, all images were aligned after roughly 2 minutes.
Stacking the aligned Images
With all the images debayered and aligned, we are ready to “stack” them on top of each other. While it is not “as easy as just that”, the ImageIntegration process in PixInsight takes care of that.
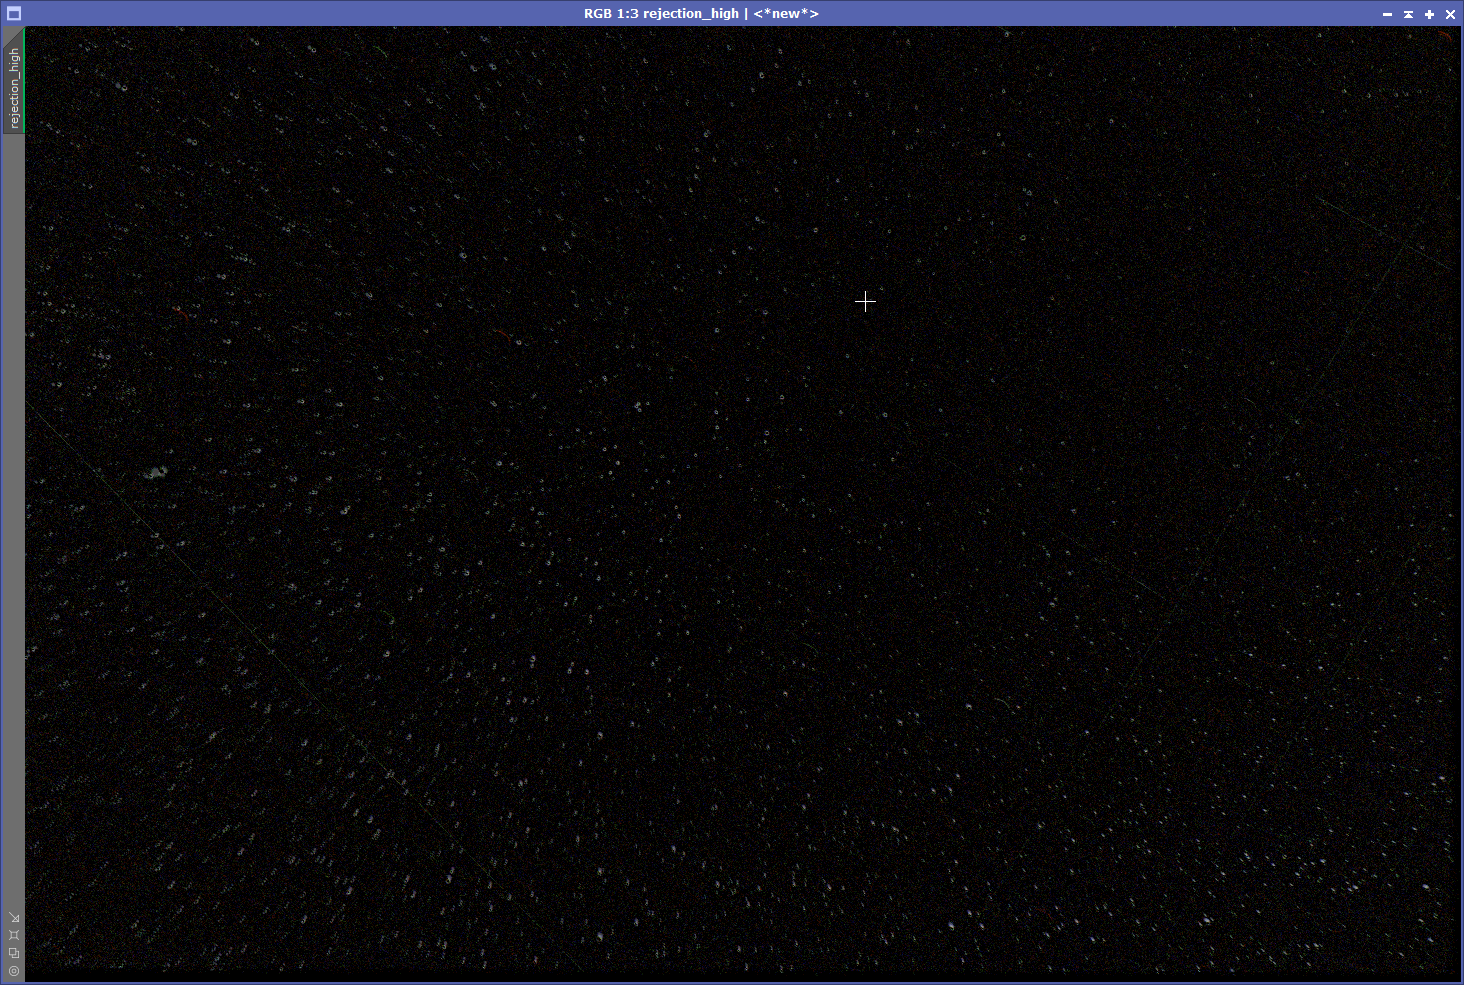
Other than adding the input images, the only other setting is the Rejection algorithm – this is what takes care of “unwanted information” such as satellite trails and other disturbances.
The stacked image itself now looks like this:
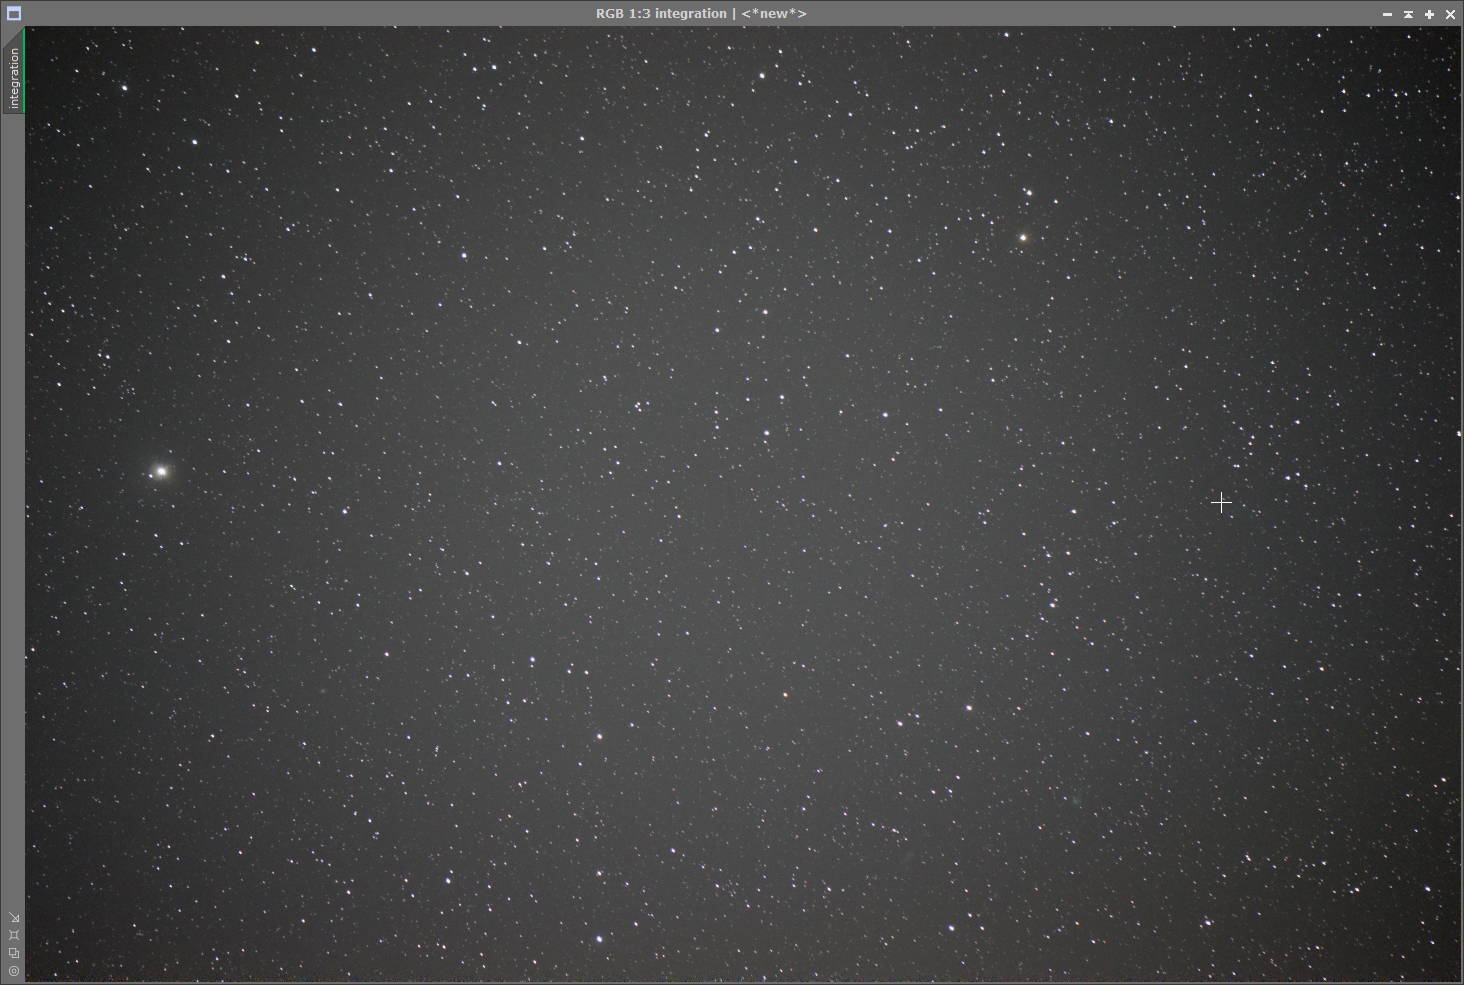
Noticed that “dreadful” background pattern with the image getting darker towards the edges? This is caused by the Nikon lens and if I would have taken flats, it would probably not show. But again, there is a solution in PixInsight called AutomaticBackgroundExtractor.
It is the “lazy approach” to a “not-so-great” image – I ask PixInsight to automatically place a grid over the image in regular intervals, determine the background brightness, construct a background map and then subtract the background map from the actual image.
Removing the background has a stunning impact on the image…
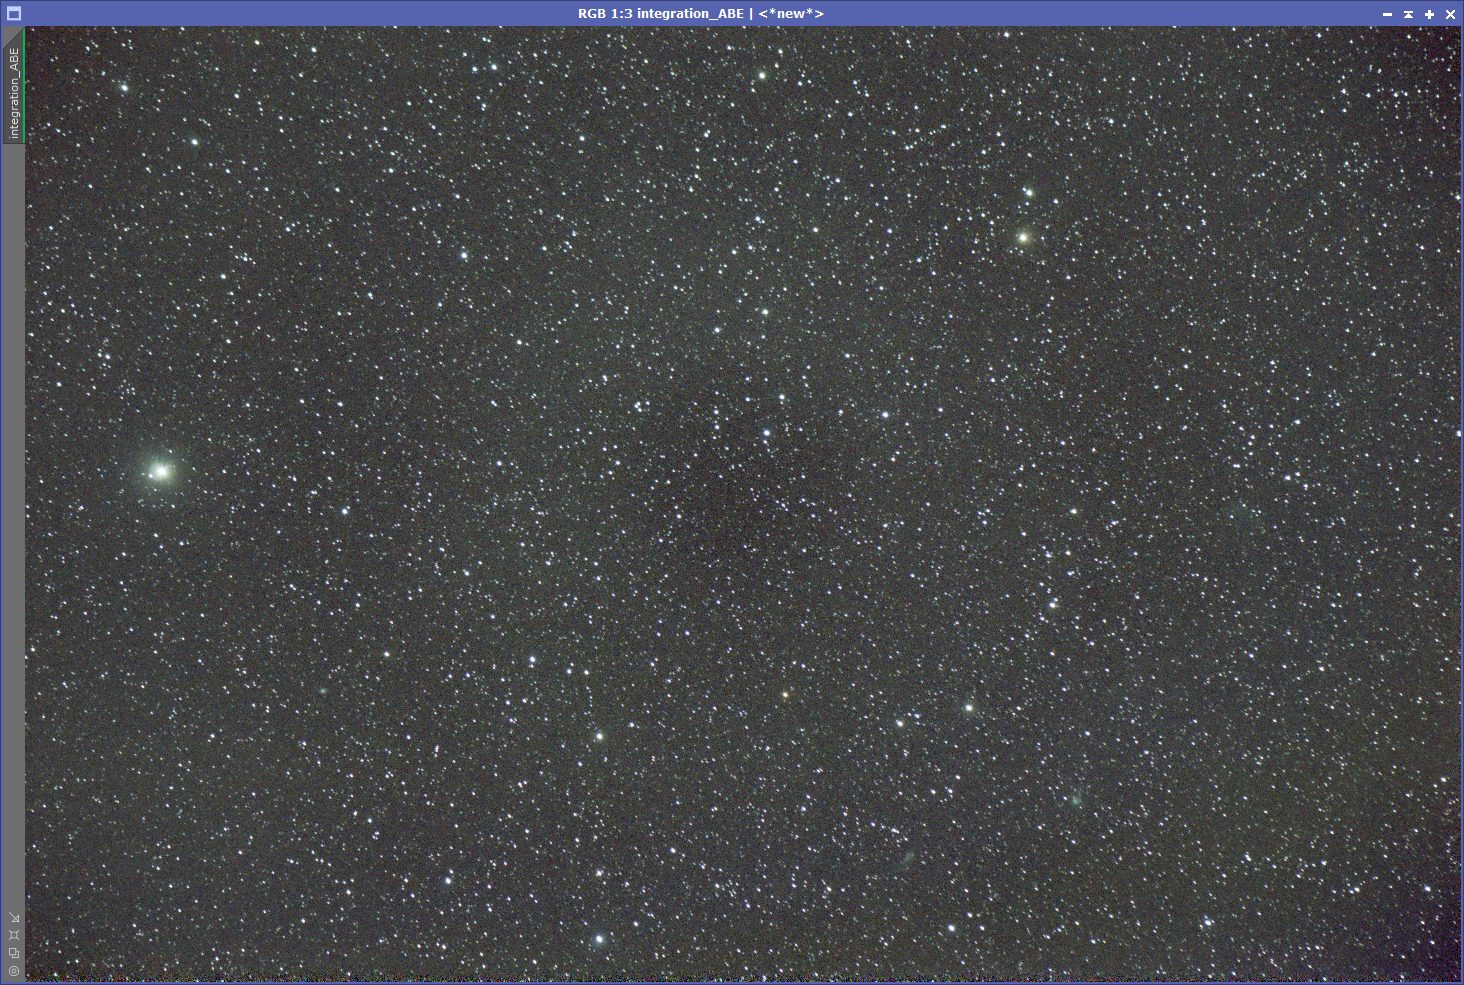
Even though I used the automated process, the impact is significant – the number of stars visible has suddenly jumped up and the circular pattern is (mostly) gone.
Performing Color Calibration & Noise Reduction
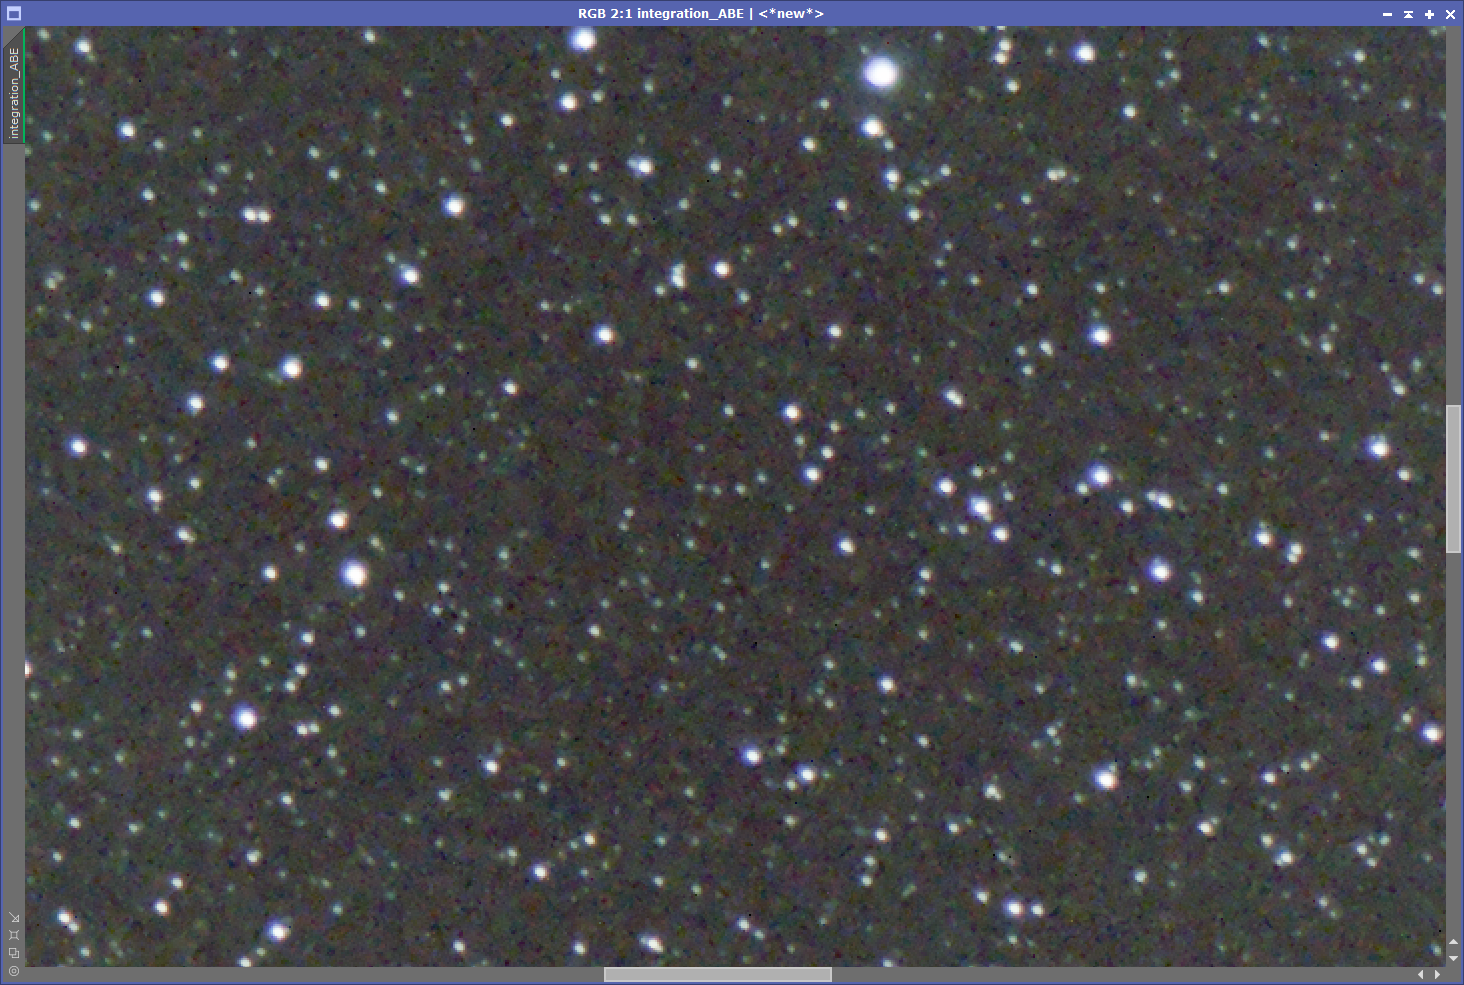
Next steps – although on this image not really required – is color calibration and then (necessary) Noise reduction.
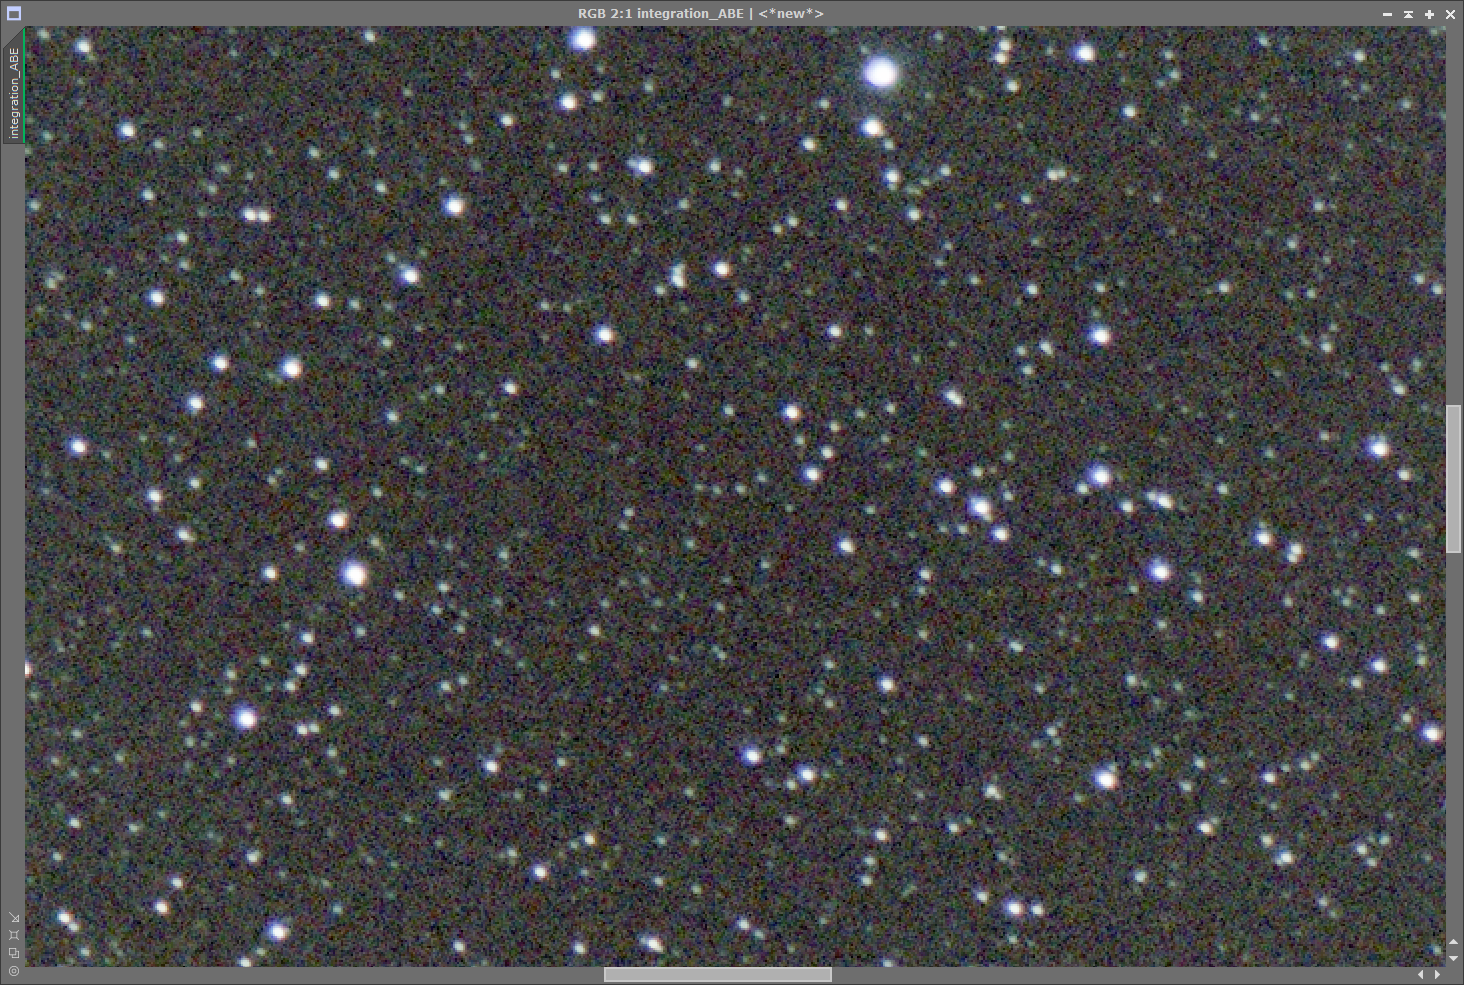
The camera sensors are never providing a clean and clear colorized area – instead, the background noise is fluctuating at a low level, represented by the various shades of dark blacks, blues, greens, etc.
This could be reduced significantly by using dark frames and flat frames (which I do not have to that session) but PixInsight comes with a series of (complex) Nose Reduction algorithms that require a bit of time to understand and test…
Stretching the Image
The data in the image is generally “very dark” – most of what was photographed is “black void”, after all. Which also means that the image’s histogram shows very little “dynamic range”. “Stretching” the image from its linear state to its non-linear state means adjusting the histogram without losing too much information. At the end, some slight transformation of the luminance curve increases the contrast, some morphological transformation can help to reduce the visibility of too many stars (to pronounce the ones that are remaining) and there we go:
And the annotated version as well:
The “rest” is an artist’s freedom of image development – leaving the image “as is” for for example using PhotoShop filters to add star spikes and flares to the stars is up to every photographer herself or himself… there is no “right or wrong”, there is only “taste”.

Conclusions: well, for a very first image, this was not bad. Especially not if you consider that the camera used was a regular DSLR with a 105 mm lens that is usually used for macrophotography. Also, the camera was mounted on a regular tripod, which means no compensation for Earth’s rotation at all.
There are some very faint objects in that image – but IC2574 and NGC3559 are the ones that are clearly visible. Obviously, at 105mm not in any detail. But one should consider: IC2574 is a dwarf galaxy some 13 million light years from us and IC2574 is even further out: approx. 50 million light years…
Pingback: Photographing the Leo-Triplet with a Nikon D90 and 135mm Lens | First Light