When I originally came across the LEGO Digital Designer, I thought (and still think) that this is a pretty cool toy to create LEGO models virtually.
However, it quickly turned out that there are some limitations:
- the availability of bricks – some bricks just don’t exist in the LEGO Digital Designer
- the rendering – while LDD can render images, the quality of the results is far from presentable.
So I started looking into other options – and came across LDraw which is an open standard for LEGO CAD programs. Unfortunately, the first obstacle to overcome with LDraw is the installation – which is all but easy.
Downloading and Installing
The easiest way to start is an LDraw Package distributed as all-in-one Installer. You can download it here – but be prepared to wait, the site is pretty slow at times. What you are downloading is a ZIP-File which itself contains the installer – a single file so unpack it to somewhere, e.g. your Temp directory, and start it. The Installer will greet you with a Welcome dialog.
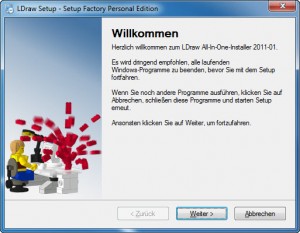 Just click the Next button. This will bring you to an Information Dialog about De-Installation of previous Versions – click Next again. You will then be presented with three(!) License Agreements where you have to click Next on each one.
At the next dialog, you can enter a Name for LDraw Projects – keep the suggested default and click Next. This brings up the Component Selection dialog.
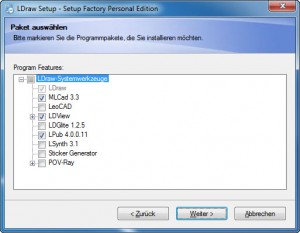 Keep the defaults again – unless you want one of the additional components (e.g. LeoCAD).
- LeoCAD and LDGlite are additional Editing Application (just like the selected MLCad),
- LDView is a pure Viewer for LDraw Models,
- LPub is used to create Step-by-Step Instructions from MLCad files,
- LSynth is used to create “bendable” parts for use with LDraw and
- POV-Ray is a free Raytracing software to create high-quality 3D Images from the LDraw files.
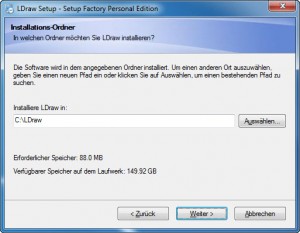
So with that default, click Next. You are now being asked where to place the installation – and the default is pointing to your Program Files or Program Files (x86) directory. And this should change! Many parts of LDraw are pretty old – and I had issues with these files trying to write into the now protected application directories. So it is better to install LDraw separately – e.g. to C:\LDraw:
Now, click the Next button again. You will be asked about the Start Menu Item Name. Keep the default and click Next. This will bring you to the Options dialog. Just keep the defaults and click Next to advance to the Summary dialog. Review the information and then click Next again to finally(!) start the installation.
The installation process itself will take a few moments – this is owed to the size of the included Parts Database – a set of all supported LEGO Bricks you can use with LDraw. When the installation is done, click the Finish button.
Adding POV-Ray to the Installation
You may have wondered why I skipped POV-Ray on the Installer’s Options dialog. The reason is mainly that I wanted to make sure to get the latest version of POV-Ray installed by downloading it directly from their site. Once downloaded, start the POV-Ray Installer and you will see the Welcome dialog.
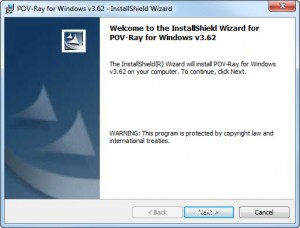 Click Next to get to the License Agreement dialog. Click Next again and you will see the Destination Folder dialog. I am not sure about POV-Ray but given that it is defaulting to install into my private user directory, I suggest to change that and install into C:\POVRay or so. Then click Next. You will now see the Ready to Install dialog – click Install to kick of the installation process.
In order to get POV-Ray to work with LDraw, there is one other step we will need to do – but later. First, let’s get the hands dirty and build something.
A very simple Model – Classic Space LEGO 885
Making it ea sy at the first go, let’s look at the Classic Space Set 885 – the Space Scooter.
This model is probably among the most simplistic ones out there – it consists of 19 individual pieces but already shows a couple of typical items used in several other Classic Space kits: the Antenna, the Mini Handle serving as front-end, the Wings and the Slope Brick with Classic Space Logo.
From before, we know that we could use the LEGO Digital Designer to create the model in LDD Extended Mode but we would not get the Classic Space Logo, for example. And we would not get a high-quality image rendered from the model… so let’s try LDraw instead – and use MLCad as our editor of choice.
The Space Scooter is very quickly and easily built – I will have a more detailed post about the how-to’s later. For now, let’s just assume we have built and colored the model in MLCad properly.
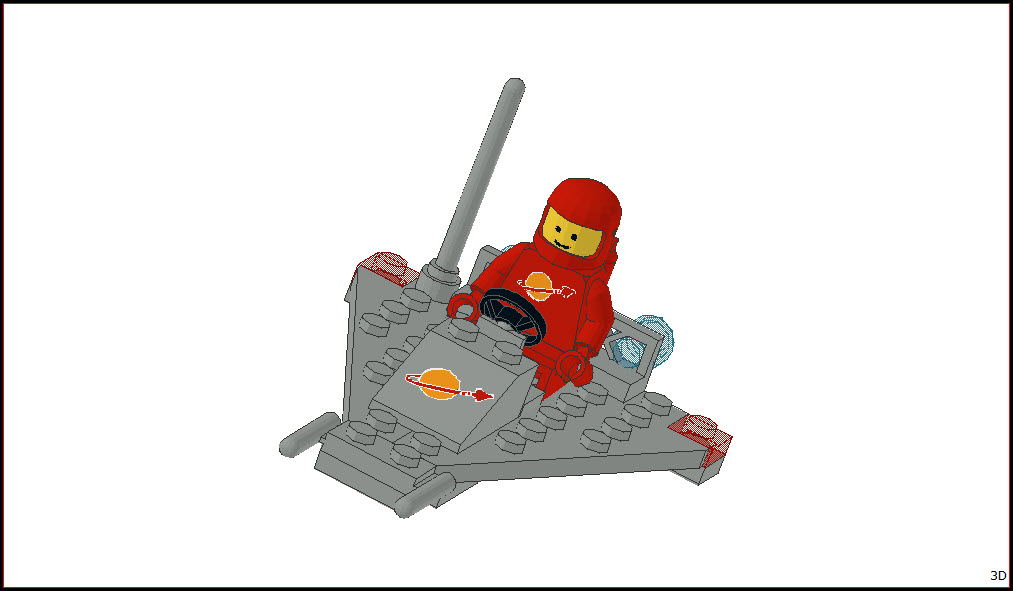 The one thing that sticks out immediately: we got our Classic Space Logos! Yeah! Other than that, the model looks complete, reasonably represented but not anywhere near the high-quality rendering that we have been looking for… and this is where the final piece of software we are still missing comes in.
Using POV-Ray to render the Model
We have previously installed POV-Ray to render the models we are going to create. However, POV-Ray does not understand the format that is created by MLCad. Nor can it directly be called from MLCad. We need some piece of translator software in-between and that is where L3P comes in.
L3P is the piece in the middle – but it is not a software that comes with your usual Windows frontend, the buttons and sliders and these things – it is a command-line tool. But don’t worry – for those of us that like the comfort of the Windows world, there is another bit called L3PAO which gives us the user interface and calls the command-line tool for us. Both we need to install…
So download L3P first – it can be found here. Simply search for the term “Download” and then load the most current package available for your operating system. You will actually get a ZIP File containing a single binary file – lp3.exe. Since there is no installer, you need to place the file manually: as we have installed LDraw into C:\LDraw, create a sub-directory named L3P in C:\LDraw and copy the binary there.
 Now go to here and download L3PAO – or L3PAdd-on. The ZIP File contains an installer which you are going to run. This will show you the Welcome dialog.
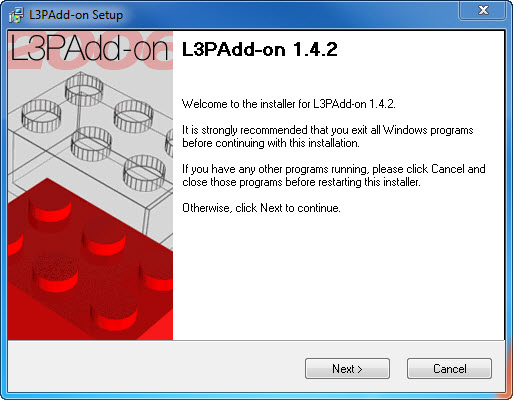 Click Next. On the User Information dialog, you are asked to enter your name – do so. Then click Next. You will see the Installation Folder dialog – again, the installer is defaulting to the Program Files directory – I prefer to have it on the C:\LDraw directory.
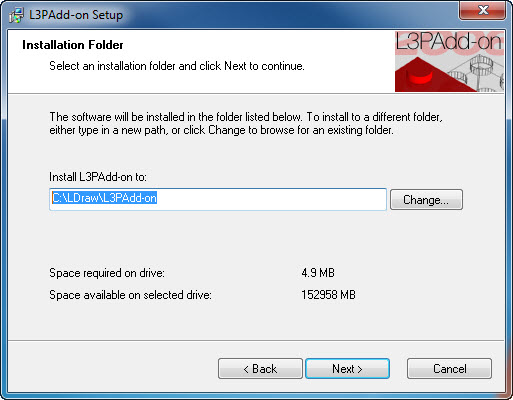 Click Next. You will be faced with the Shortcut Folder dialog – keep the defaults and click Next. Now, you will be on the Ready to Install dialog – review the information, then click Next to kick of the process.
The installation will only take a few second – when done, you will be able to click the Finish button.
LGEO POV_Ray Library
Before we can start working with POV-Ray, we need to provide it with a library that tells it just how to render the LDraw bricks. This library can be downloaded from the LDraw website under the section POV-Ray Utilities. There, click on LGEO POV-Ray Library and use the link in the upper right corner – it took me a while to find it… download the ZIP File and extract it into C:\LDraw.
L3PAO’s First Start
When you first start L3PAO, it will need to learn about the location of some files – and it will be very insisting. If you cannot locate a file it thinks it needs, it will not start.
The first one it is asking for is l3p.exe – well, we know where that is – in C:\LDraw\L3P – so locate it with the browser and click OK.
Next – if it cannot find it – it is after lg_defs.in – now that one has come with the original LDraw installation and is in C:\LDraw\lgeo\lg.
Finally, we are asked for ledit.exe – and here, I am drawing a blank: I cannot find ledit.exe anywhere – it is not in the LDraw Installation, I have not found a separate download. I know that ledit.exe was the original LDraw Editor – I just don’t know why it is not included in the All-in-one Installer anymore nor why L3PAO needs it – after all, we are using a different editor altogether.
Now, I have come to help myself and just copied an executable into the C:\LDraw directory and renamed it to ledit.exe. In other words: I faked it just to be able to select it when starting up L3PAO… after that, L3PAdd-On comes up.
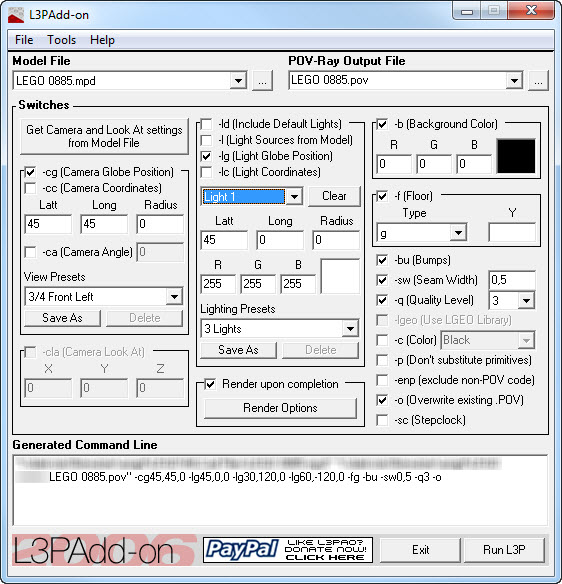 We will have to look into that a bit more some other time – for the moments, just note that selecting our LEGO 885 Model at the top and setting the Switches creates a POV-Ray file in the specified location. So all that needs to be done is to click the Run L3P button at the bottom…
Because I have installed POV-Ray manually, I have not yet figured a way to have L3PAO locate it properly – so all it will do is create the .pov file in the defined location. So I need to start POV-Ray manually.
Before any rendering can be done for the first time, you need to tell POV Ray where the LGO Library is located: go to Tools -> Edit Master POVRAY.INI and add the following line at the end of the INI-File:
Library_Path=”C:\LDraw\lgeo\lg”
Then save the file and restart POV-Ray. Remember – this is only required the very first time after installation.
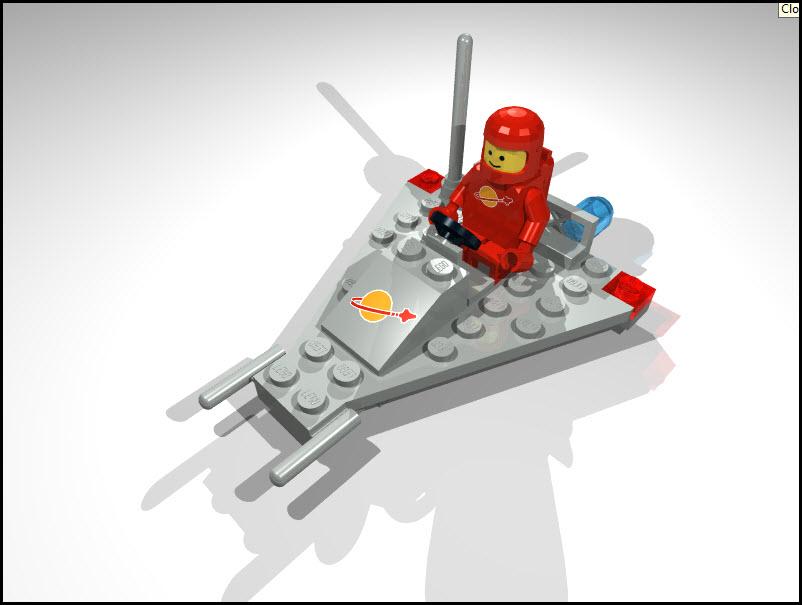
Now we can open the generated LEGO 885.pov file in POV-Ray and click the Run button in the toolbar. The result is…stunning. Here is your high-quality rendering of LEGO Models.

