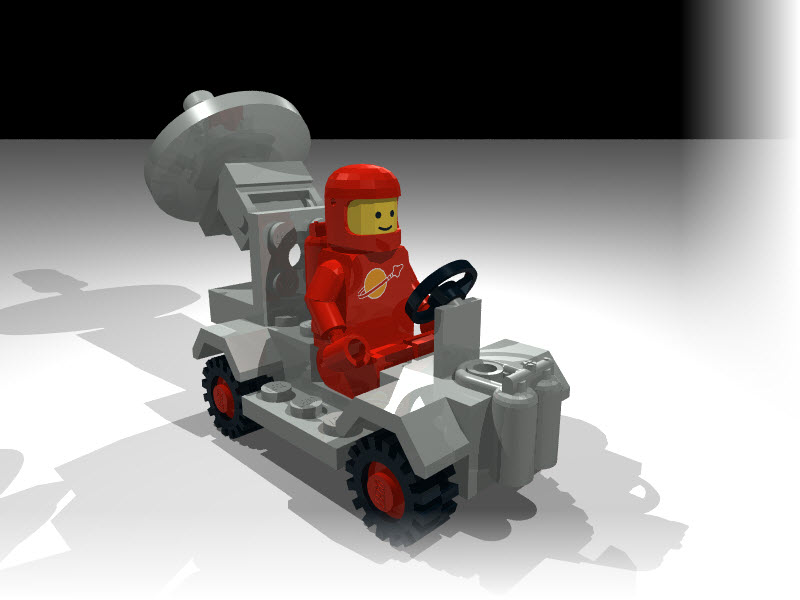
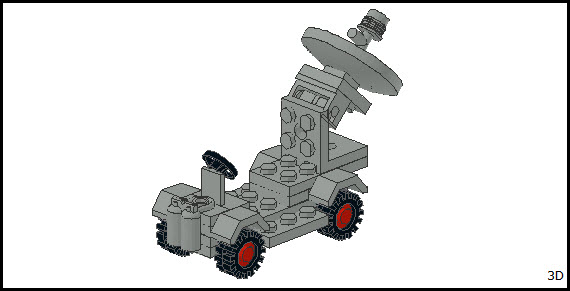
Sometimes, when building LEGO Sets, you come across items that require a “twist” – hinges or cars with trailers, for example. The LEGO Set 889 – the Radar Truck – is such an example.
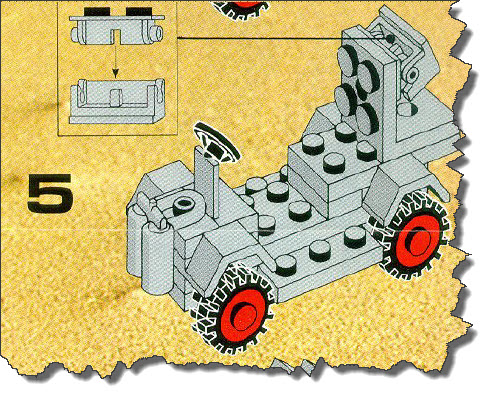 So let’s fire up MLCad and quickly build the Radar Truck – at the same time, we can also explore how to separate our construction into logical steps, mimicking the step-by-step approach in the instructions.
Adding some Structure to the MLCad Project
When MLCad is fired up with a new project, the screen more or less looks like this:
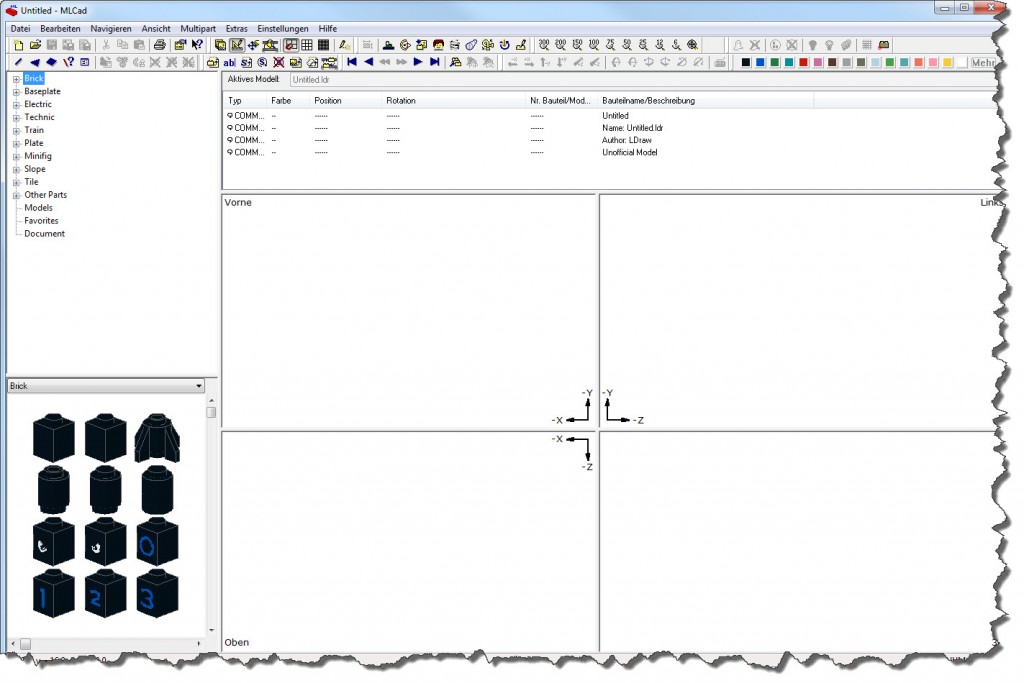 Across the top, you will find your Toolbars, the left side is taken up by the Parts Tree and the majority of the right side is dedicated to the 3D Construction Area. Just above the Construction Area, you can find a small frame with four default entries – this one we call the Model Part List.
The Model Part List currently holds four entries which are marked as Comments. If you want to add some information to your model, this is the way to do it.
 You can change any entry by double-clicking it and you can delete one by either hitting the Del Key or using the Erase command.
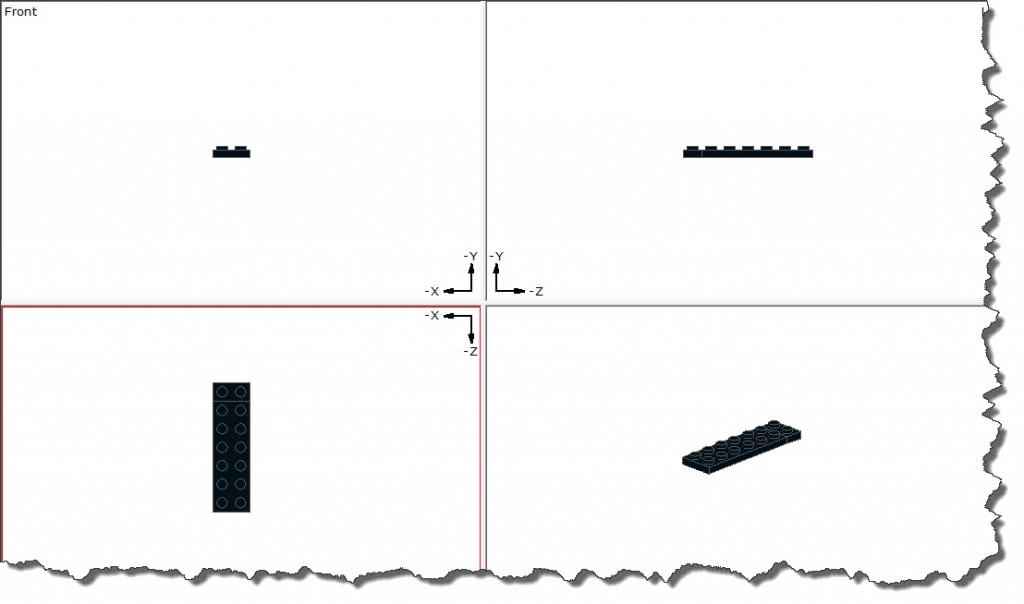
Now let’s place a first bricks of the model – Step 1 asks for just two bricks – a Plate 2 x 6 and a place 1 x 2. Adding them gives you the following screen:
 However, we are currently more interested in the Model Part List window. This is now also containing the two items we have placed in the model:
 Each one of them is identifies as PART, showing it’s Color, Position and Rotation Information as well as the Model Definition File. Finally, it specifies the Part Name.
Now, let’s add the three items from Step 2 of the Instructions – two mud covers (#3787) and a Plate 1 x 2.
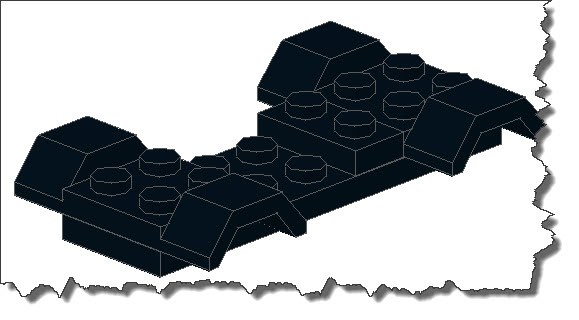 Our Model Part List also show the additional bricks – however, there is no way to distinguish the two steps from each other – we are seeing all bricks used in the model…
 What we can do is to add a Step using the Edit -> Add -> Step command. The Step is added after the Item that is selected in the Model Part Window – so you need to select the Plate 2 x 6 in our example above.
 As you can see, the two mudguards are included in the Step – but the Plate 1 x 2 (which I have created by duplicating the existing one) is not part of this Step. But you can drag & drop it within the Model Part Window to make it part of this Step. It will be moved before the Part you drop it on. Finally, you can select the last Part and add another Step:
 Now, this is bringing some sequencing and structure into our Model Part Window. It will be helpful with other things later as well. So let’s continue to build the Radar Truck. The next steps will add the wheels and the base construction for the Radar. Eventually, we need to place the Hinge – constructed of two elements, #3937 and #3938 – but without any rotation for the moment. Eventually, we can color all the bricks in the Model Part Window Light Gray now. The current model looks like this now:
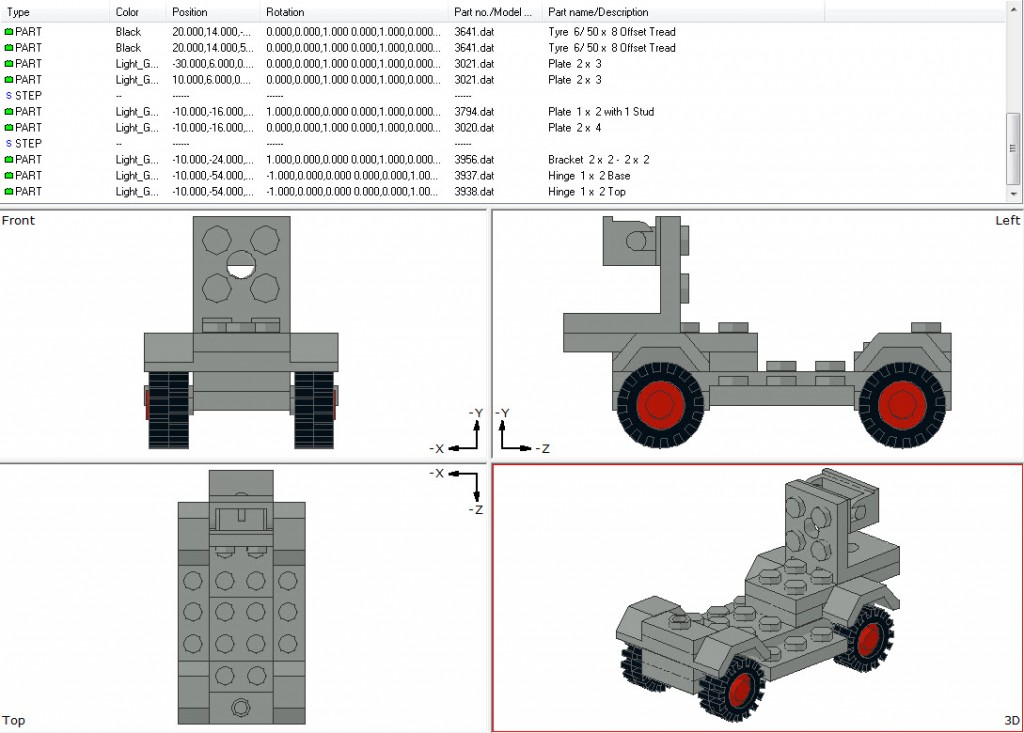 Since we have previously forgotten to add the Steering Wheel and the Oxygen Tank, we add them to the previous step by selecting an appropriate Part there and then add them (remember: they will be added after the selected part).
Finally, we add the Radar Dish, the Mini Torch and the support structure (two plates, 1 x 1 and 2 x 2).
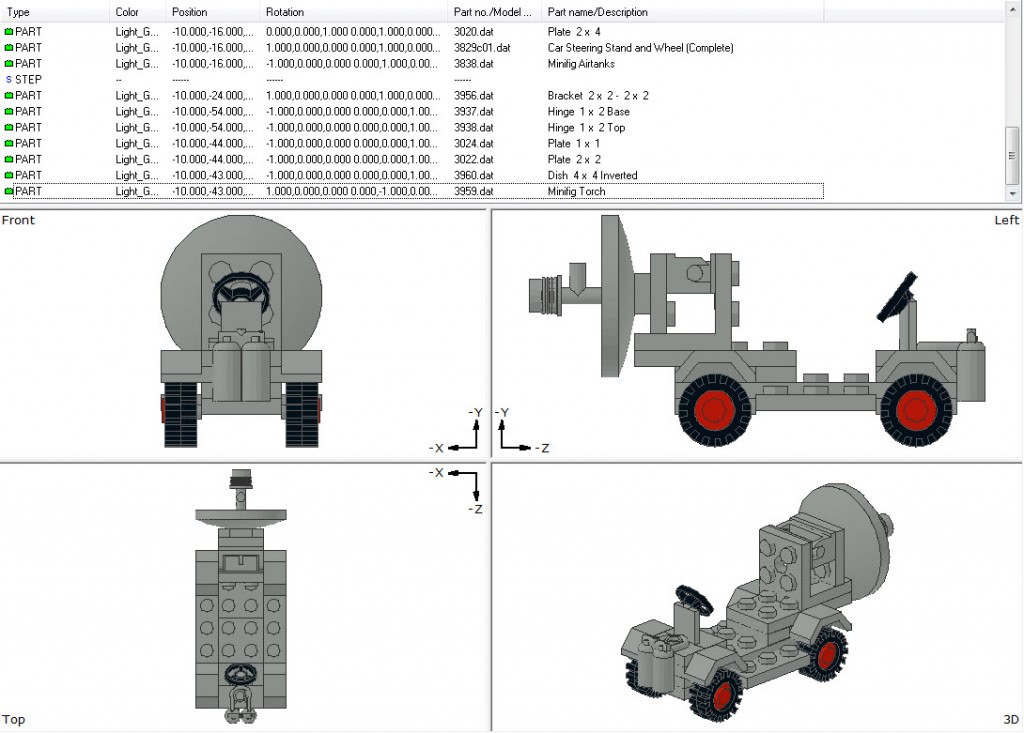 Not it’s time to worry about the rotation – but first, if you have not done so yet, save your project! I have actually gotten used to saving after each Step so I have regular points to fall back to.
Adding Rotation to the Radar Antenna
When adding rotation to the Radar Antenna, the logical point – the “joint” – is the hinge and it is the Hinge Base that needs to rotate upwards, let’s say 45° (this is specific to this case, in many other models, you would rotate the Hinge Top!).
If you simply select the Hinge Top and rotate it along the X-Axis, you will not get the desired result – instead, you will see something like this:
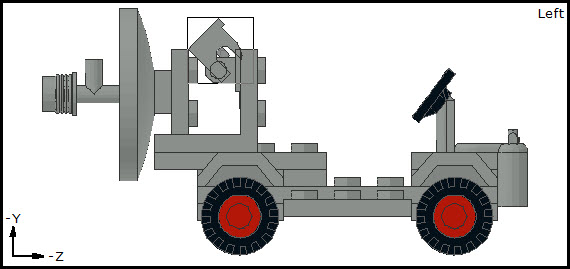 Of course, we have just selected the Hinge Top so we just rotated the Hinge Top – so let’s rotate that back to its original position and then select the entire set of elements with the Hinge Top being the first to select and then the other ones added by holding down the Shift Key and selecting the last one.
 Selecting the Hinge Top first is crucial – because MLCad has the ability to rotate the other elements and re-calculate their position in the X-, Y- amd Z-Axis in relation to the first element rotated!
 If you want, you can download a little rotation helper from this website – it does not change any of the described functionality but adds a visual indicator of Joints which might be a nice thing to have for some:
 The Installation and usage is explained on the site pretty well – I think, it is a neat tool to work with but only if you like. You can achieve anything we have done so far without it.
By the way – I again rendered the resulting scene – with an added Red Spaceman bearing the Classic Space Logo for final satisfaction…

