By default, the Pi’s Operating System is set to work with a dynamic IP Address – assigned by a DHCP Server in your network upon request. While this is very handy, it also is an issue because the IP address is not “guaranteed”. In many cases, your device will receive the same IP Address than during the previous session but it may change.
First of all, it needs to be determined which IP Address is currently used by the Pi – the command do list the information is
ifconfig
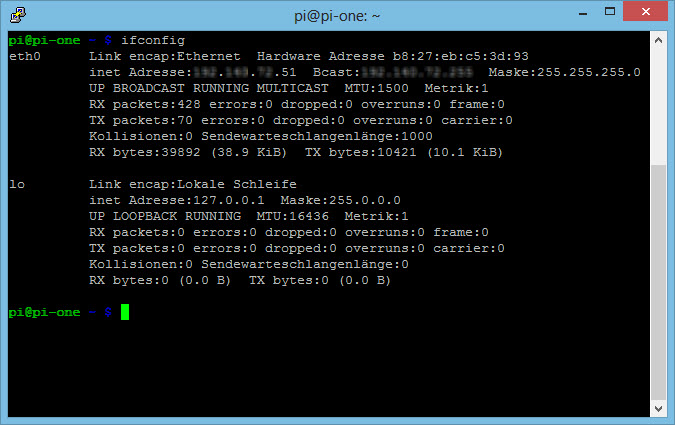
and it will produce an output similar to the one below.
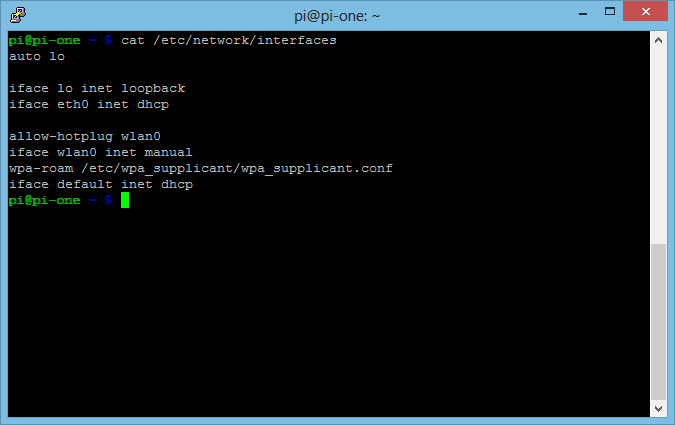
 Notice where I have masked by private information – the first interface listed is eth0 – the first Ethernet Network Interface Card (NIC). The second line gives the inet – the IP Address. You can also take a look at /etc/network/interfaces – use the cat command:
cat /etc/network/interfaces
and you will see all defined interfaces listed.
 See the definition of eth0? It specifies the IP Address is assigned via DHCP. Dynamically… now let’s see how we can assign a static IP Address. And to do that, you need to edit the configuration file:
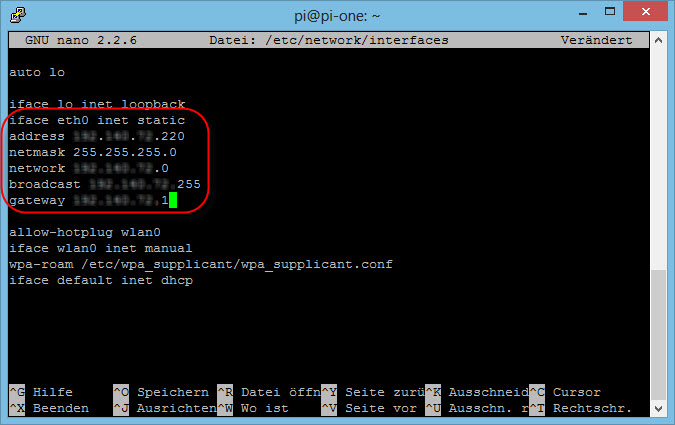
sudo nano /etc/network/interfaces
 Obviously, you need to specify your own network settings – I have masked mine again but you get the scheme, I think. Finally, you need to reboot the Pi:
sudo reboot
and now you should be able to see the new (static) IP Address using ifconfig. If everything is all right, the two network LEDs on the Pi should light up and you should be able to work – if not, you will (in case you did the configuration remotely via PuTTY) have to connect a monitor 🙂
