ZX81 – The Oregon Trail

Although the ZX81 was not much of a computer and any game or program it was capable of running looks primitive today, some just kept their place in history – The Oregon Trail was one of these items (maybe because I cannot remember ever having succeeded at the time).

Educational Software

There are some sites out there that blame The Oregon Trail to be boring and stupid. But one thing should be kept in mind: the purpose behind the game was probably more education than solid economical calculation – Wikipedia holds a bit of the background story.

The Oregon Trail on the ZX81

Unlike other computers of the time, such as the Apple II or the Commodore C64, the ZX81 did not have much or a graphical output to offer – and the game shows it.
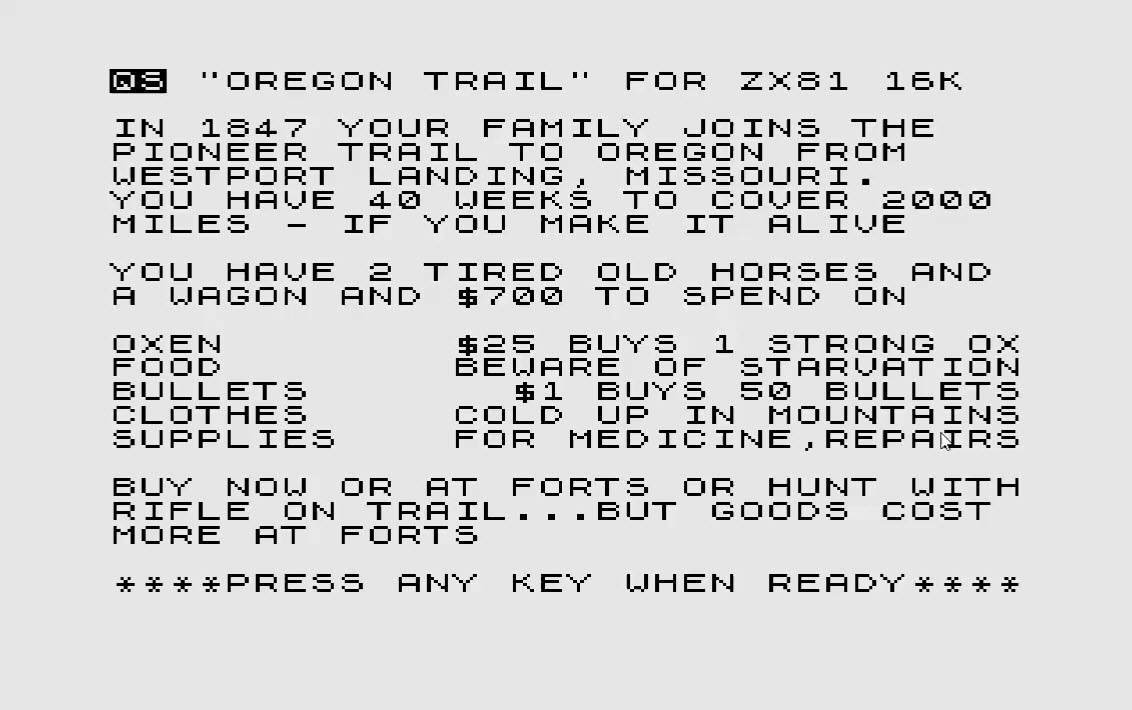
01 - Opening ScreenSo that is the outfit – 700$ to start with and a choice of five good to buy. Unfortunately, there is not much information on what the individual item gives you but in the course of the game, I found the following:

  • Oxen most likely add to the speed you can travel at and influence the miles traveled each round. This is based on the guess that the message “a lame ox slowed you down” is the negative side of things.
  • Food is required and can either be purchased or hunted – it decreases by the amount of food you are willing to spend each round and intermediate losses.
  • Bullets are required for hunting and self-defense – no bullets, no shooting…
  • Clothes seem to be required for cold-weather situations – there is a random event in the game that calls for “cold weather” and checks if enough cloths are available.
  • Supplies are general-purpose-goods which need be be present for a variety of incidents from illness to repairs.

Before the game play starts, you are allowed to practice a little bit on the rifle range – it is easier these days as you only need to hold down the key that is indicated in the middle of the target. The faster you kill, the better the results are (in hunting and defense)
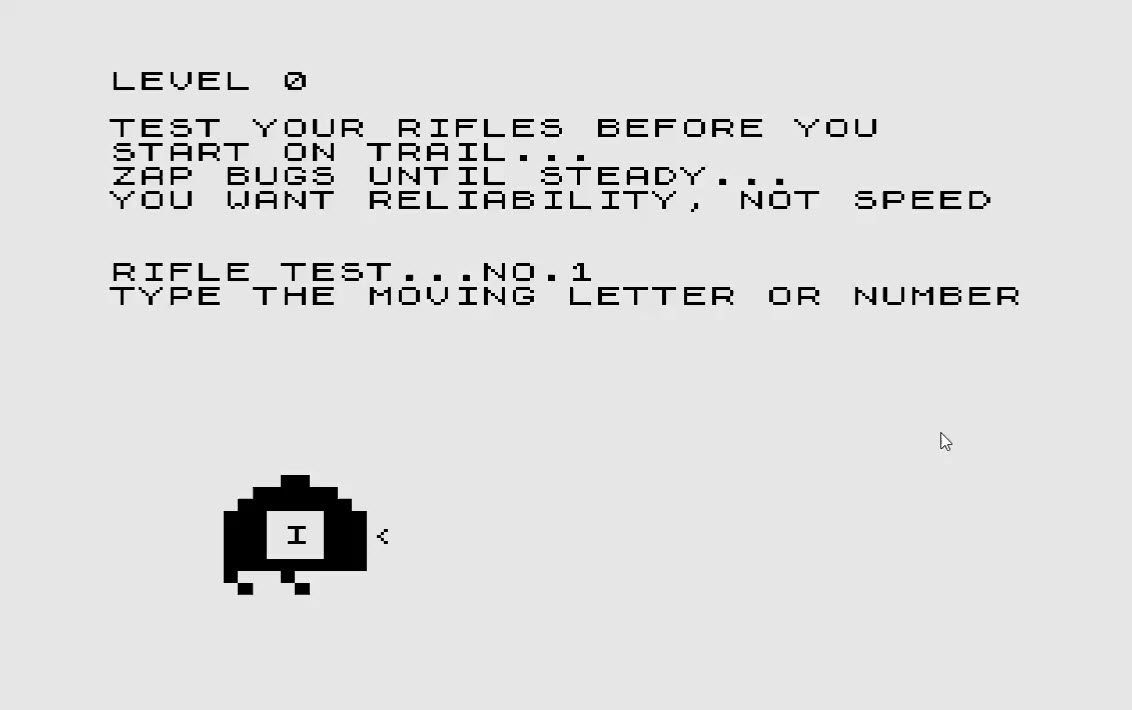
02 - Shooting RangeNext is the initial outfit – basically spending some of the 700$ on the five categories of items discussed above. Under the assumption that I want a fast travel and that is mostly based upon the number of Oxen and large food rations, I have opted for the following:
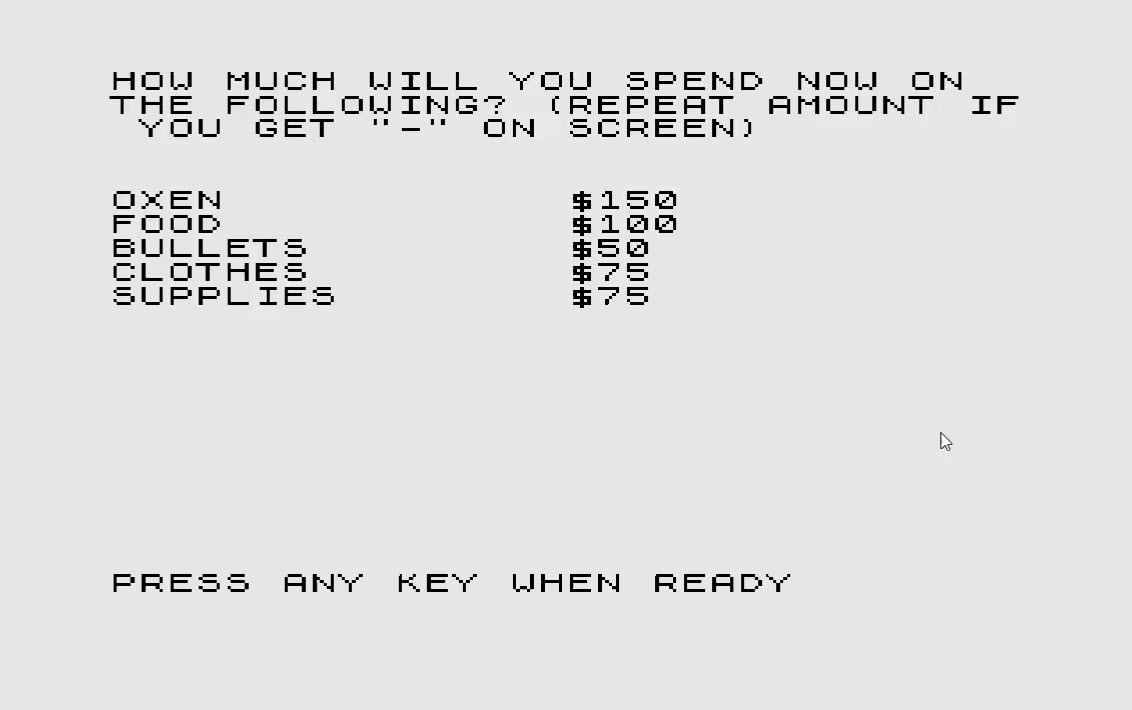
03 - OutfitterHaving done this, I am all set to head west – each round is started with a presentation of the current resources (except the Oxen, which I cannot see anywhere).
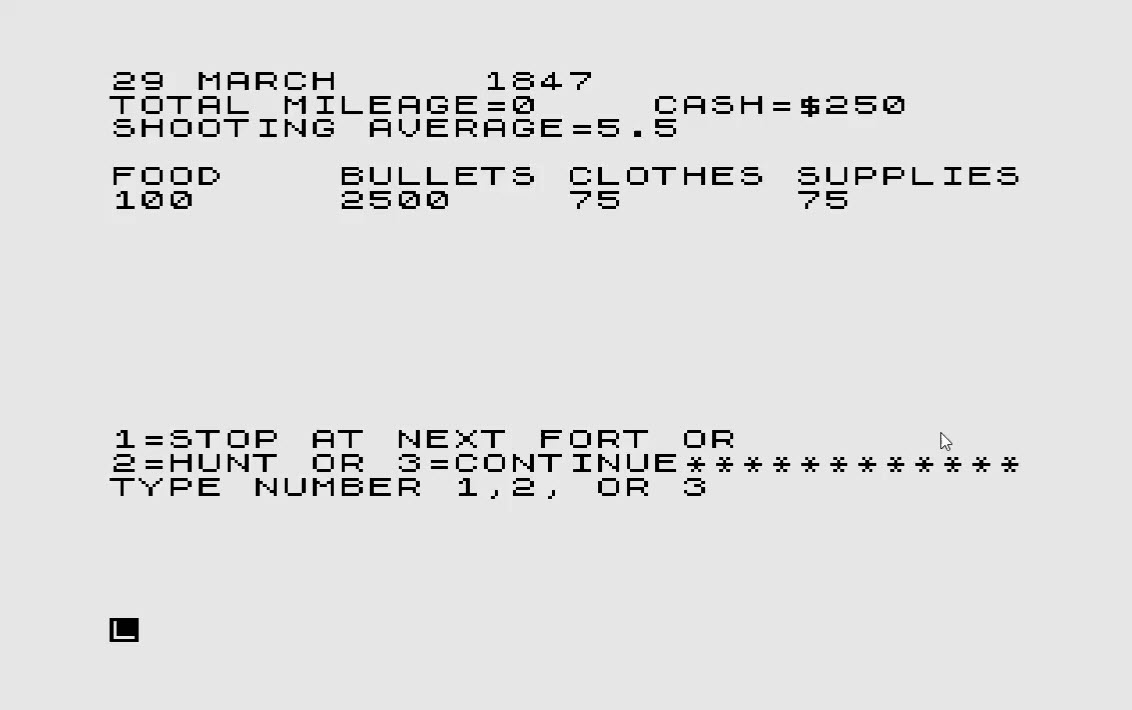
04 - Getting ready to goSo we are leaving on March 29th, 1847 with a remaining cash-base of 250$ and a choice to stop for shopping (1), hunting (2) or moving forward (3). To me, it is not clear if hunting or shopping reduces the amount of miles gained for the turn (it would seem logical but I am not sure about it). Since I am well established on resources, my choice is to continue.

The next choice to make each round is the size of the food rations – from 1 (low rations) to 10 (feasts). Under the assumption “the more, the merrier” I try to keep up the 10s.
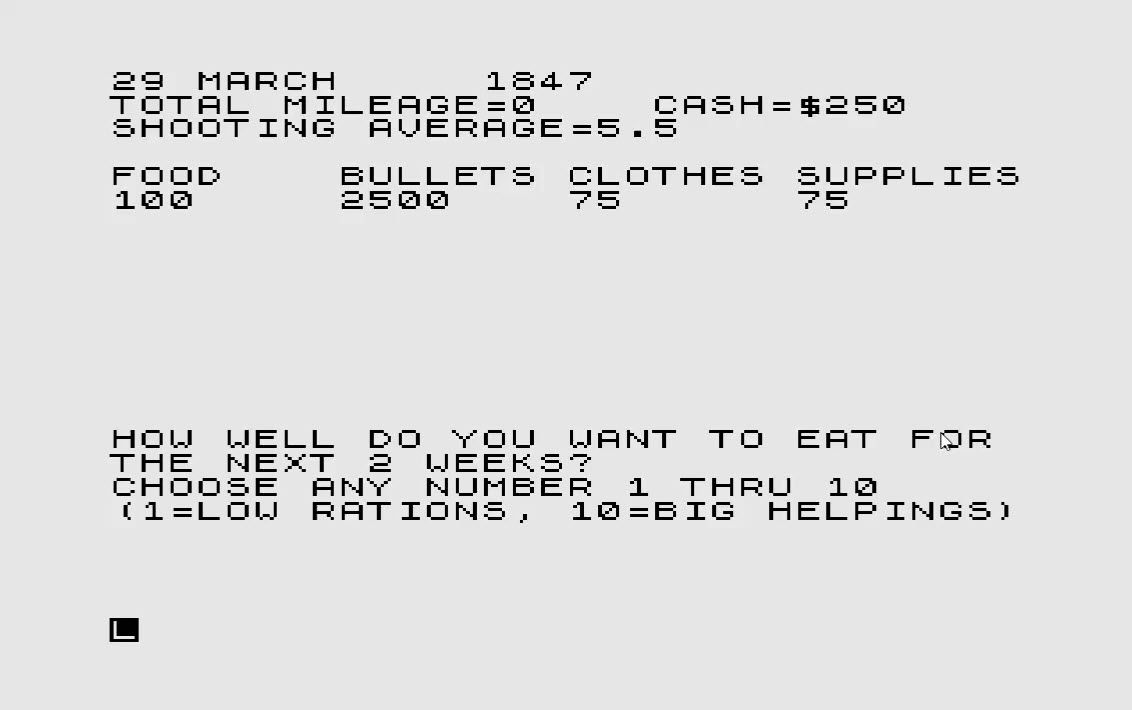
05 - Food RationsAfter taking care of the meals, the next event each round seems to be a randomized “you have met someone” event – in this case, a bunch of characters that “do look hostile”.
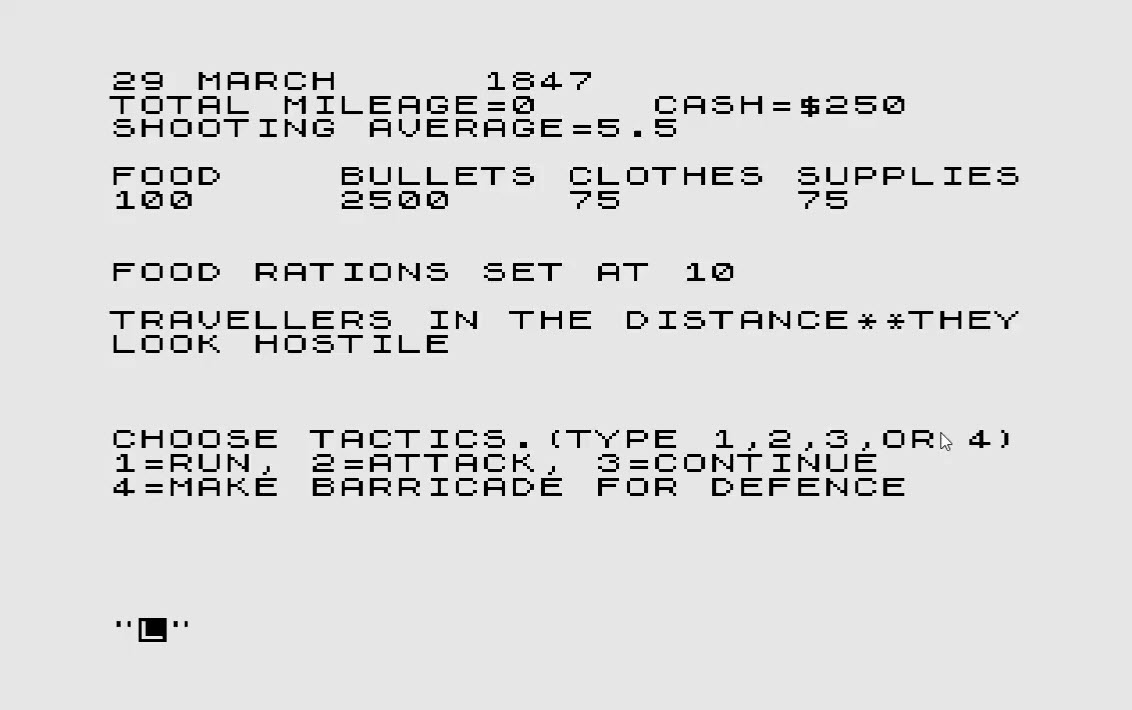
06 - EncountersBeing no coward (and knowing that the “shooting” will be much easier than on the original ZX81 keyboard) I decide to take a stand and fight.
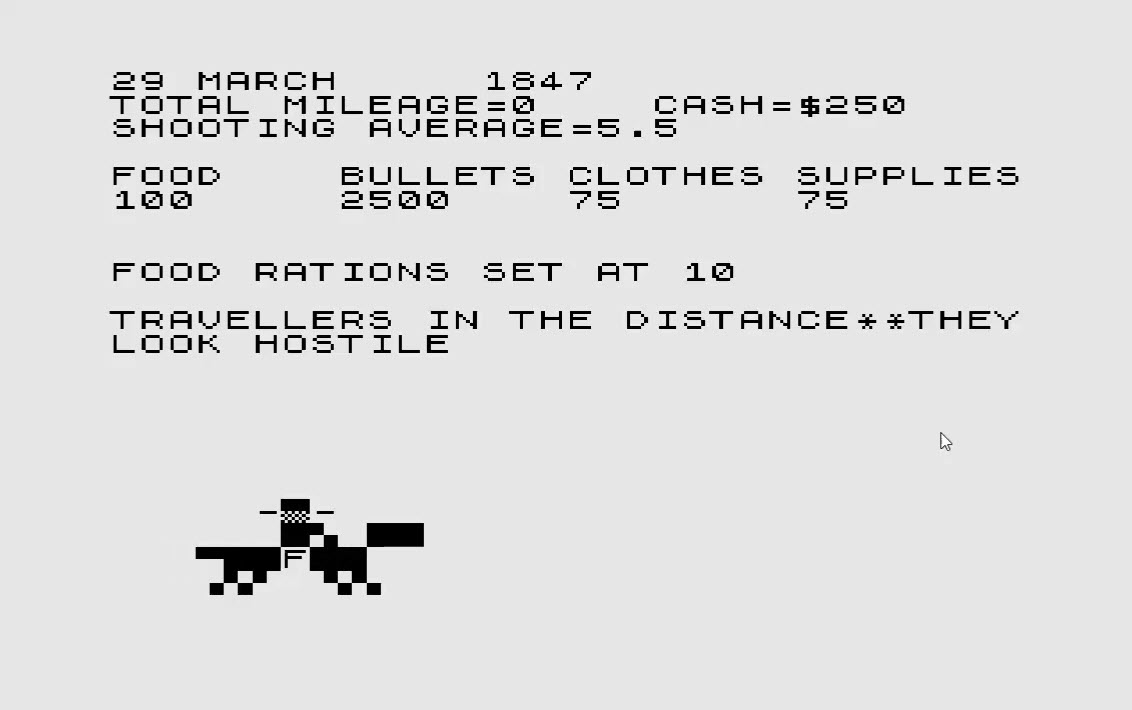
07 - FightingThe result is evaluated (I hit them hard) and additional randomized events occur which will effect the speed and/or my inventory.
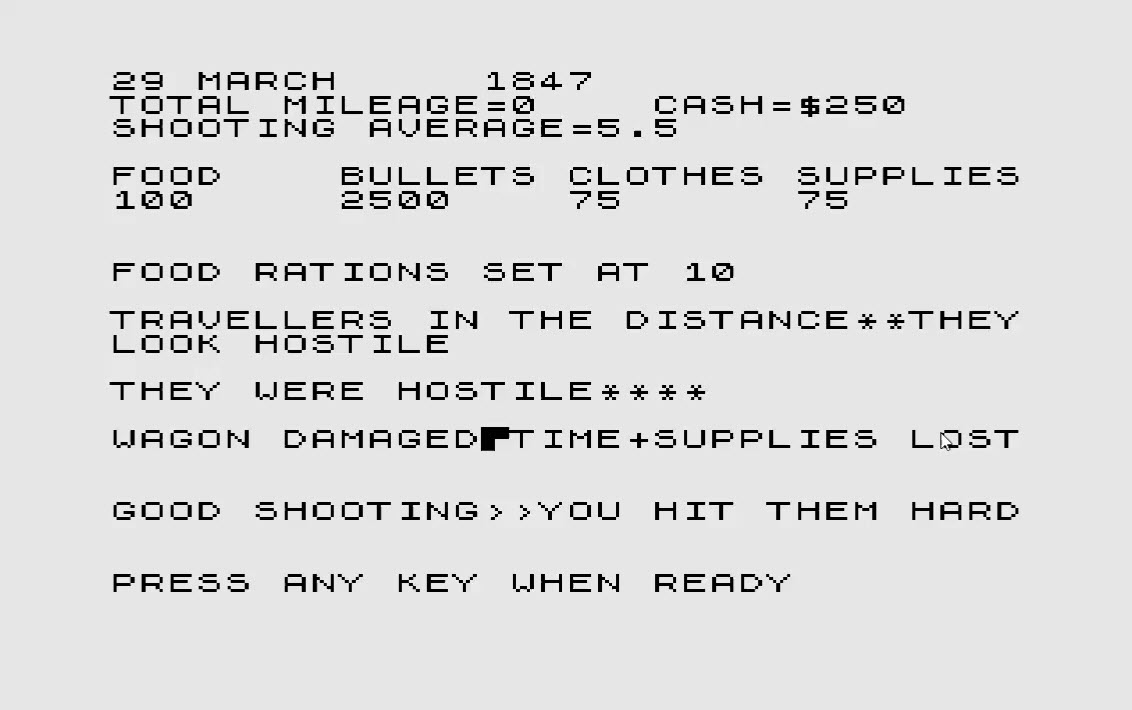
08 - End of RoundIn my case, I have lost some time and supplies but fought off the attackers. This basically concludes the round and I am back on my original opening screen for each round (“Shop”, “Hunt”, or “Continue” – where shopping is not always available).
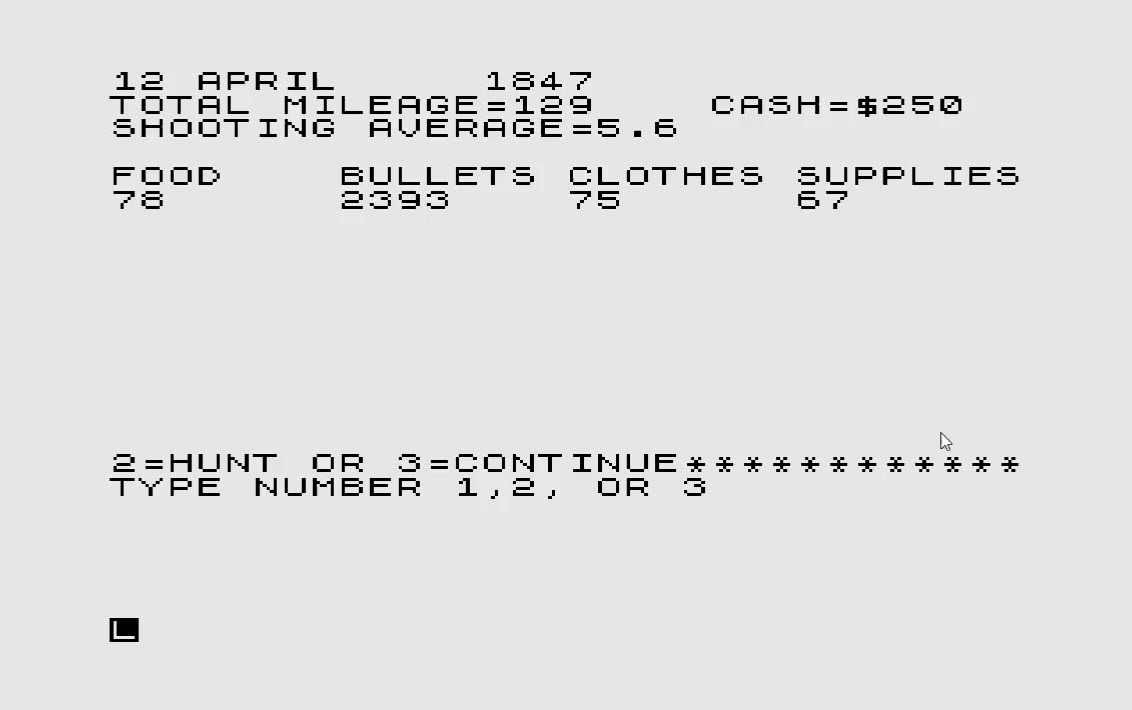
09 - Next Opening ScreenAnd – whohoo – I made a full 129 Miles in two weeks! I continue the next round and decide on hunting the round afterwards. Again, hunting is performed by pressing the indicated keys as quickly as possible – the sooner the four different keys are found, the better the result of the hunt.
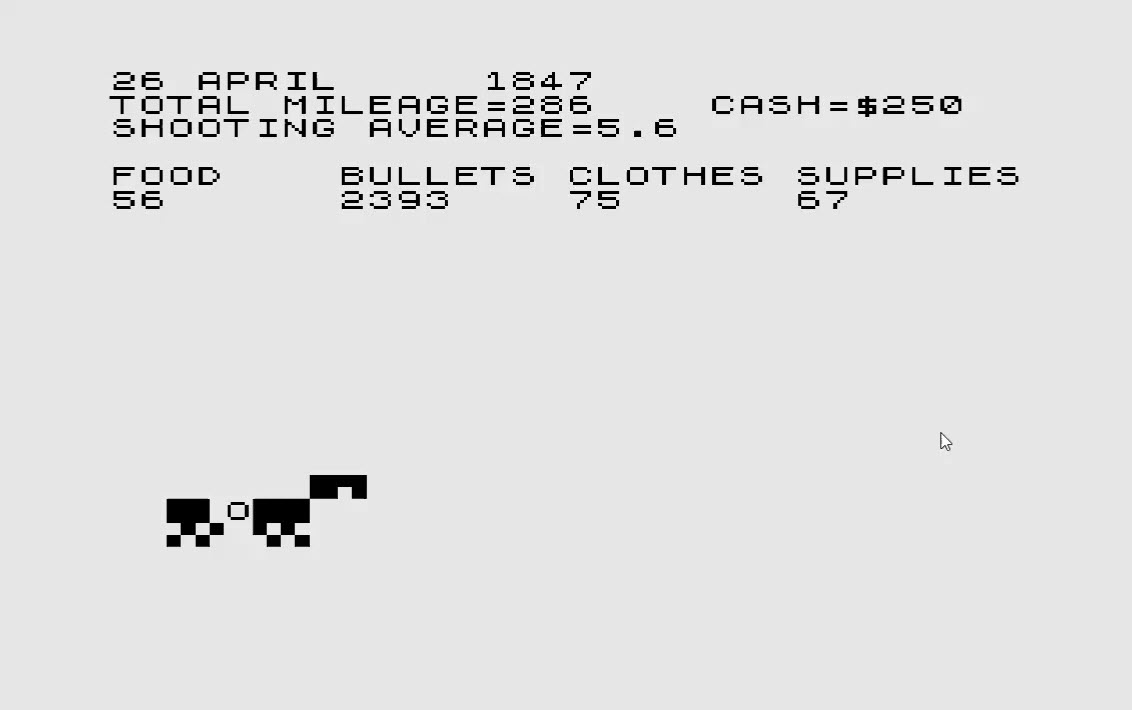
10 - HuntingSo it continues like that – here is a list of different random events occurring:

  • “Wagon swamped, stuck in river”
  • “Child missing – but found safe”
  • “Wild animals attack” – another “shoot’em up round
  • “You were slightly ill”
  • “Rattlesnake – you killed it!”
  • “Wild Mountain Trail – slow progress on rough ground”
  • “Blizzard – Time and Supplies lost”
  • “Wagon damaged – Time and Supplies lost”
  • “Fire in Wagon – Food and Supplies lost”
  • “Hailstorm – Supplies damaged”
  • “Thick Fog – Lost your way and Time”
  • “Time lost finding stray Oxen”
  • “Slow travel with lame oxen”
  • “Your child broke an arm, you used supplies for a splint”
  • “Bad water – you found a spring”
  • “Cold weather in the mountains”

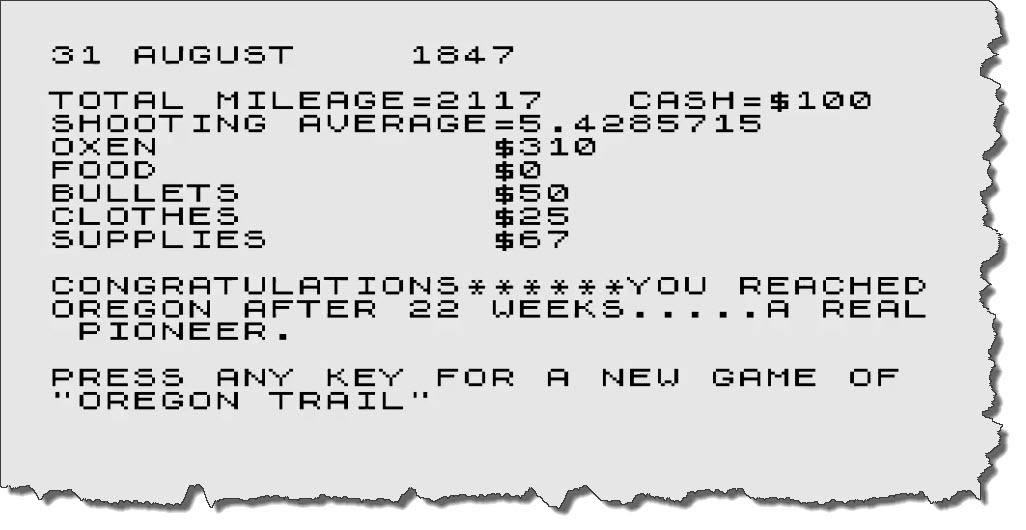
Making good progress with my approach, I managed to get through to Oregon (reached when 2000 Miles have accumulated) in time (max. 40 weeks, 20 rounds per 2 weeks).
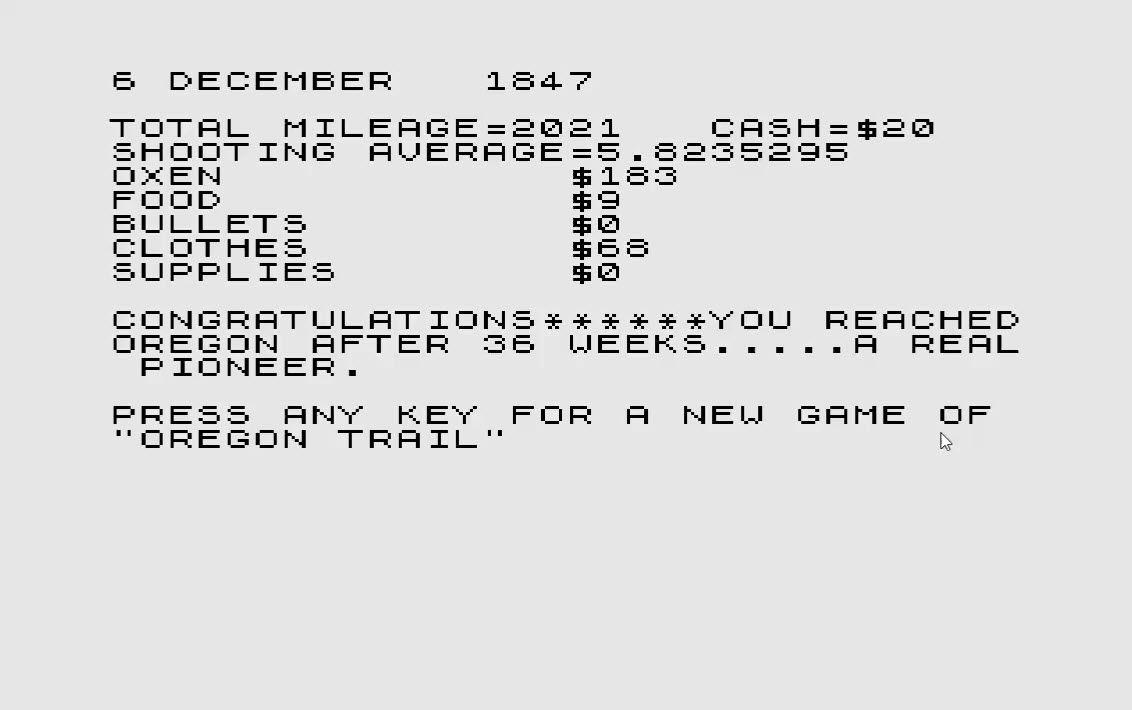
11 - Winning ScreenSo far so good, but I would like to see a bit more of the program code – finally… as mentioned in my previous post,  there is a utility called p2txt – but it is an old 16 bit program from 1993 – modern 64bit Windows environments will not run it. Which is why we have VMWare and Windows XP for.

Looking at the Source Code

p2txt works like a charm – and I can finally look at the source code of Oregon Trail. The first thing that comes to mind: “Wow – just 505 lines of code!”
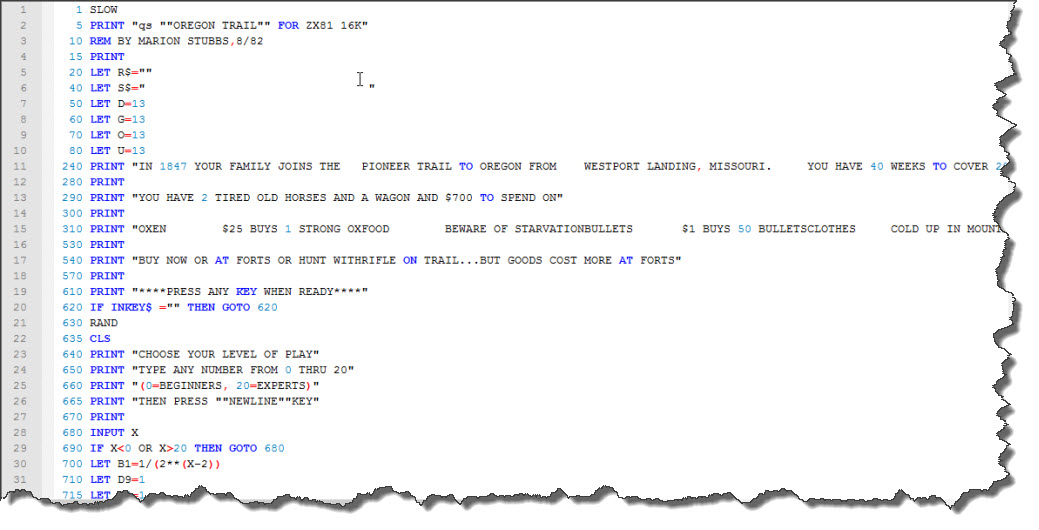
Code 01 - The SourceIt is pretty straight forward – what I am interested in is what type of influence on the score the various events and settings have.

Speed of Travel

First of all, what influences the miles traveled per round? There is exactly one line of code that adds to the miles:

LET M = M + 80 + (G(1) + 20) / 2 + RND * 10

That’s it – in every other line of code M is used (which is the total Mileage) it is reduced due to adverse events. So the Mileage is influenced by two factors: a random parameter and G(1) – which is the amount spent on Oxen. In other words: the more Oxen, the faster you are. And nothing else matters…

Feed your Family…

Sounds nice, doesn’t it? But reality (or rather: the code) shows that there is no effect based upon the food rations you serve other than the speed at which your food supplies are drained. At a minimum, you will “eat” up 13 supplies per round – and believe it or not: if you serve the lowest possible rations, there is nothing in the code that suggests negative effects… so be cruel, this seems to be a psychological setting… keep serving small!

…and keep them warm

Clothes can be bought and can be lost in some of the random events – but they are only used in two events:

  • “Cold Weather in the Mountains” evaluates against your stock of clothes – based upon a random number between 0 and 22 (which needs to be smaller than your supply of clothes).
  • “Blizzard – Time and Supplies lost” also evaluates against your stock of clothes: this time, you need at least 18, 20 at max.

So it seems to be a good strategy to keep the amount of clothes above 40-45 but not to be excessive – the maximum you can lose in one round is around 20 when your wagon is swamped.

General Purpose Supplies

Supplies in general are needed in a couple of cases, mostly as medicine where you will need a stock of 5 (when you are “rather ill”) or 15 (when you are “in fact very ill”).

Supplies are lost in many way – when you run from strangers (15), when you continue and the strangers are not harmless (between 1 and 21), when you “Wagon is damaged” (8) or when “your child broke an arm” (2-5). “In heavy rain” you will also have to give up a part of your supplies (15) and so on – at the max, one round might cost you around 20-30 when worse comes to worst. So keep an eye on these supplies!

Bullets

No matter how fast you are on the shooting range – if there are no bullets left, you cannot defend yourself or hunt. Bullets are the only one of the five goods that are re-calculated from the dollars spent: 1 Dollar gets you 50 Bullets.

It is hard to say how many you will spend as the amount of bullets needed for hunting to to defend against bandits directly depends on how quickly you can kill. On the other side, there are a few events that also cost you bullets – at the max, 500 bullets can be lost in bad weather, for example. I would think a supply of anywhere between 3000 and 5000 bullets should serve you well. (that is 60$ – 100$).

One final game

Under these assumptions, I will play my very last game of The Oregon Trail on my ZX81: of my 700$, I will spend 600$ (keeping 100$ for the Doctor if needed!):

  • 350$ on Oxen
  • 30$ on Food
  • 75$ on Bullets
  • 45$ on Clothes
  • 100$ on Supplies

And I have to say: although the events thrown at me where a bad combination, things worked out.

Video Cover Image

Posted in ZX-81 | Tagged | Leave a comment

ZX81 – Code from the past, coding with the tools of today

Some time back, I posted an article on the ZX81 Computer I got off eBay and how coding of old listing was done way back when.

CHIP CoverNow, that last article was dealing with a listing retrieved from an old CHIP Magazine, by now, I have gotten my hands on a second one and once more would like to bring one of these old listings “back to life”.

One thing I certainly don’t want to do though is to suffer through the same ordeal than thirty years ago: typing in those listing using the ZX81 Keyboard was tedious, slow and error-prone.

Using an emulator again, I could at least eliminate the frequent crashes and involuntary reboots of the true ZX81 when you – accidentially – touched one of the cables the wrong way. So what is out there to help?

EightyOne – the Emulator of choice (still!)

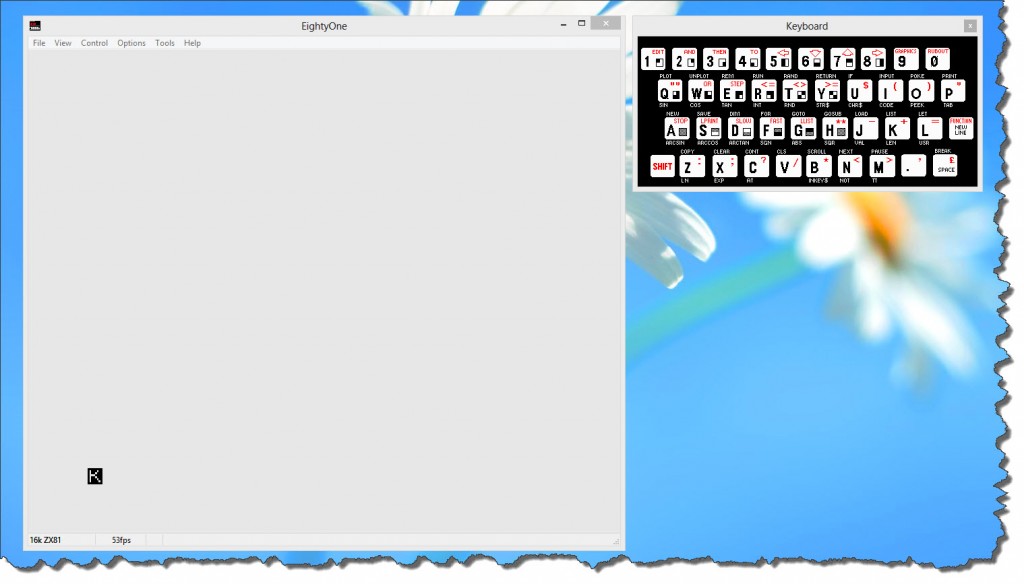
First of all, of course, the emulator itself. I still stick to EightyOne (available here) as the emulator of choice. Although released in 2006, it runs perfectly stable, even in my Windows 8 environment.

EightyOne

One thing, however, it cannot do: it cannot accept a cut & paste of text to bring in those BASIC Listings. So if I would just look for a stable environment and then type the listings in myself, I would be well served. But that ain’t no good.

Coding outside the Emulator Environment

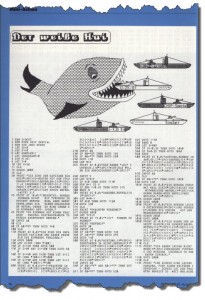
Listing - Page 2I have randomly picked a listing from the CHIP Magazine, and I have no intentions to type it in the ZX81 emulator.

Wouldn’t it be nice if I could just type the code into a modern text editor, probably use features like syntax highlighting and cut & paste and any of the cool features modern source code editors have?

I could also use existing tools such as Subversion for revision control, etc.

So let’s give it a try – the editor of choice is Notepad++, which – if you have not seen it yet – is certainly something you should have a look at. You can find it here and trust me: it is by far the best editor (personal gusto) that you can have when it comes to a generic text file editor.

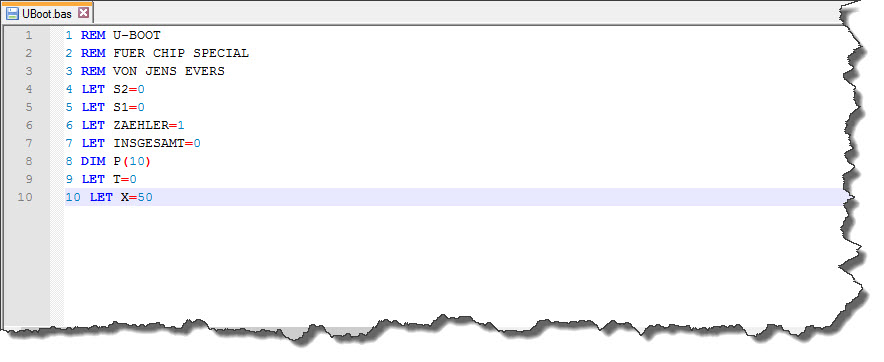
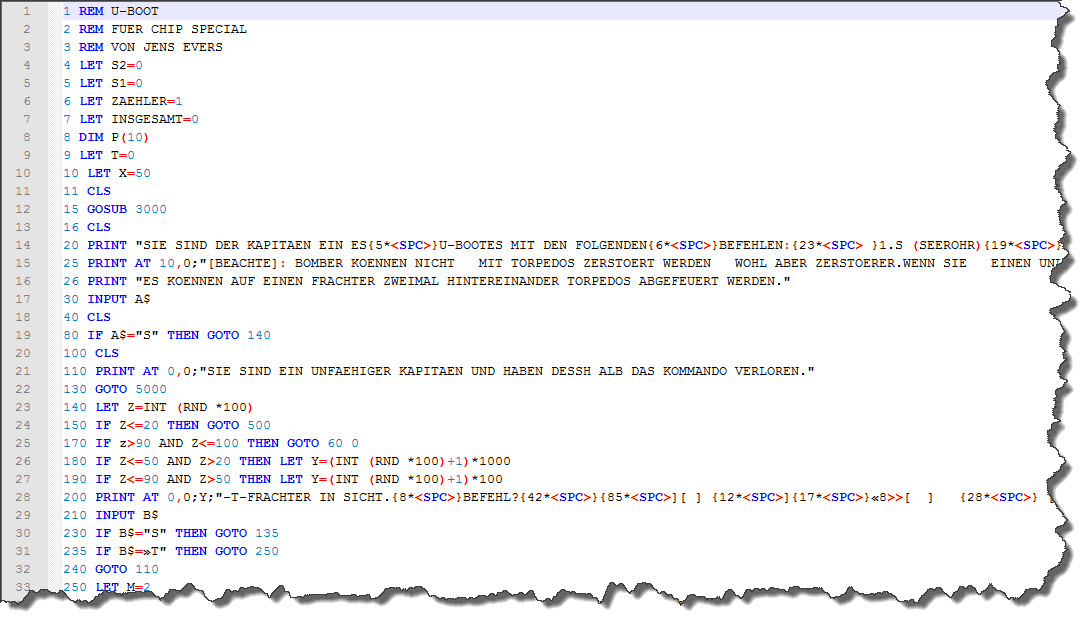
NotepadPP - The first few LinesSo here are the first few lines of code in Notepad++ – I have already stepped ahead a little bit and enabled syntax highlighting as well – I will show you later, how it was done.

Getting the ASCII Text into the Emulator

And just how do we get the listing into the emulator now? The answer is a little tool called TXText2P – a command-line utility that can convert a text file into a P-File that can then be loaded by the ZX81 Emulator. In my case, the listing was saved to a file called uboot.bas so my command line is

zxtext2p -o uboot.p uboot.bas

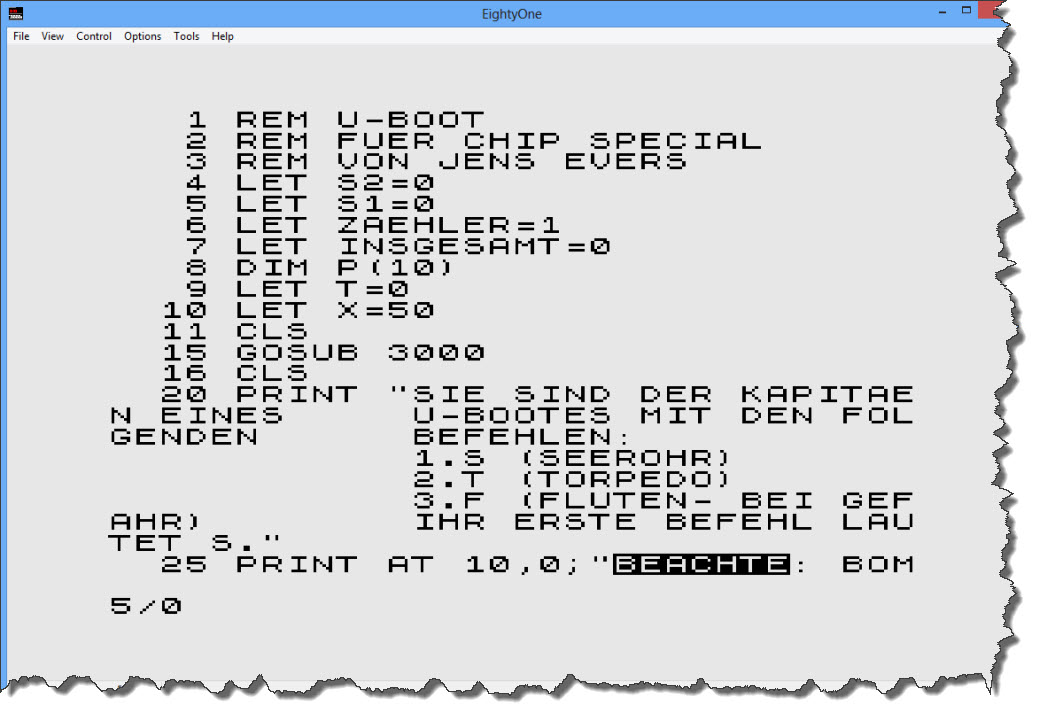
And that is all… in EightyOne, the file can now be loaded by File > Open Tape… and selecting the resulting uboot.p file.

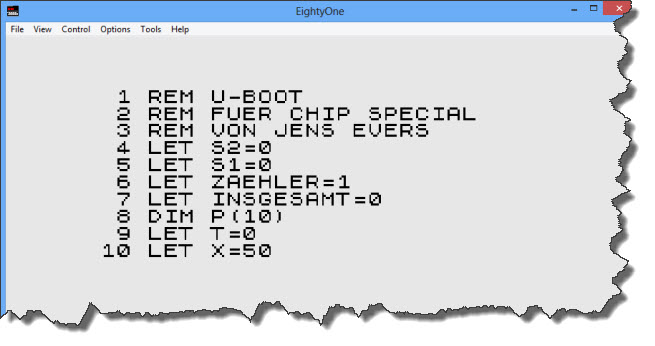
ZX81 - The first few LinesSo I am half way there – I can code and control from outside the ZX81 emulator, then bring the listings into the ZX81 environment and run them there.

On a side node, I would like to mention the Retro Isle website from where I was able to retrieve a copy of ZXText2P – thanks guys for the site and the download!

Avoid Typing altogether

At the end of the day, programmers are lazy – which is probably why they have become programmers: if you can simplify or automate a task, we can do it. And typing listings into text editors is certainly something to automate!

The tool of choice here – for me at least – is ABBEY FineReader. FineReader is an OCR Program that allows to manipulate the recognition engine in many ways.

In the case of my listing, I have two scanned pages with the listing itself – so I pull my two scans into FineReader for processing.

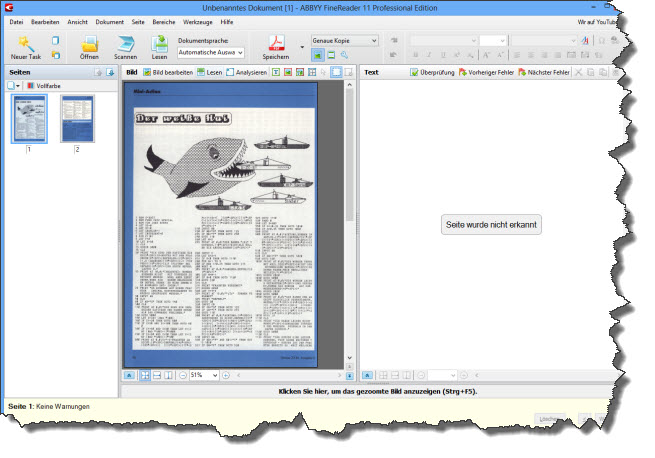
FineReader - The blank pagesIn the next step, I tell FineReader where the interesting text is and how I want it processed. I could automate this but given that there are only two pages, I go the “manual way”. Then, I ask FineReader to “read” the text areas.

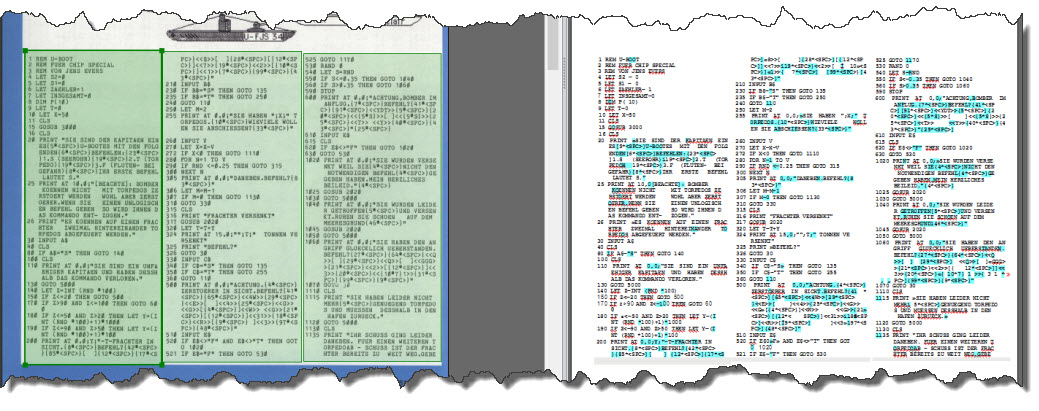
FineReader - OCRThe easiest way to get the text into Notepad++ is to simply save it as Text File, then rename it to a BAS-File (just for organization) and then open it in Notepad++.

Cleaning up the OCR Result

A comment first: when code was lost in the old days, it was mostly due to the computer (especially the ZX 81) giving in to the circumstances (in this case: an involuntary restart because of a brief loss of power). These days, the loss of code (especially with lots of re-working) is more on unvoluntary overwrites  – so storing the result in some sort of source code control system (e.g. Subversion) is a good idea.

First Round of Cleaning

A first look at the OCR Result can be disappointing – but consider this: it is probably easier to clean the code up than to type it from scartch, especially since many clean-up steps can be done via search & replace.

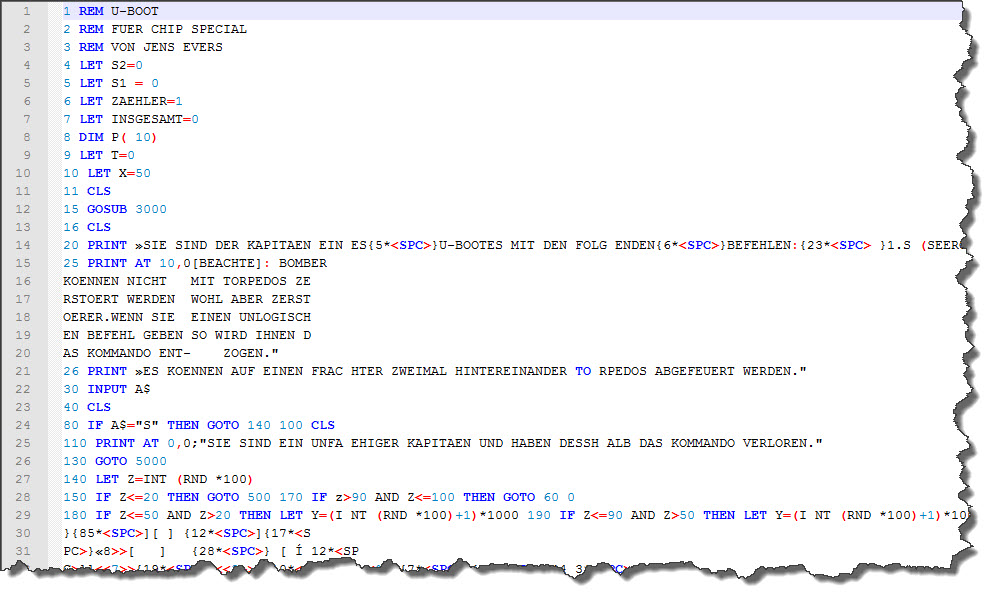
NotepadPP - Initial OCR ResultFirst of all: just how yo do the clean-up is entirely up to you. I will go through line by line, check the line visually, remove the blank lines and line-breaks and also some spaces within.

NotepadPP - The first Cleanup

This hardly takes any time – after about 20 minutes or so, the BASIC listing is in a much better shape – each line has now been processed, blank lines have been removed and the first large errors have been eliminated. Now, fine-tunig is asked.

Line-by-Line Comparison

Next, is a line-by-line comparison of the code, which unfortunately cannot be avoided. Fortunately, I have a dual monitor environment so having the code on the one side and the listing (scanned) on the other makes it a bit easier.

The other thing to look at is the “built-in editing instructions” – you may have noticed the following line:

20 PRINT "SIE SIND DER KAPITAEN EIN ES{5*<SPC>}...

Noticed the Escape Sequence – {5*<SPC>}? This is no BASIC Code the ZX 81 would be able to interpret – this is an inline ediging instruction that simply says “place five spaces here”.

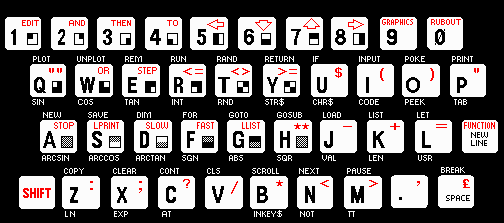
There are other such occurances – and they are a bit harder to come by: the ZX 81 featured “block graphics” characters – take a look at the keyboard:

ZX81 Keyboard

The block graphic symbols are on the lower right of many of the keys – if they would have been printed one to one in the listings (and some magazines did that) they had been a bit hard to distinguish from each other – so this magazine used more escape sequences to provide “help”:

2020 PRINT AT 4 ,0;"{10*<SPC>} <<G4>> <<1>>{25*<SPC>}...

Next to the already known ten spaces, the <<…>> escape sequence means “whenever you find something in between << and >>, insert the graphic symbol of the respective key” – this code is not only hard for the OCR to process – it is also extremly painful for the programmer to properly type in.

Enough talking – let’s continue to clean up the code. Another 40 Minutes later, all is done… time to run the program.

The first Start

Printed in 1985 and brought back to the emulator some 28 years later, it is not necessarily but possibly a very rare one out there. Running the program through ZXText2p and then loading it into the emulator is quickly done.

ZX81 - Code Listing 1Not too bad – looking for some example of those escape sequences resolved?

ZX81 - Code Listing 2As you can see, this is about the only thing that might have been easier in 1985 – you could directly see the outcome of the block graphics (if you factored in the “shift” caused by the preceeding command PRINT AT…) – Let’s run the program:

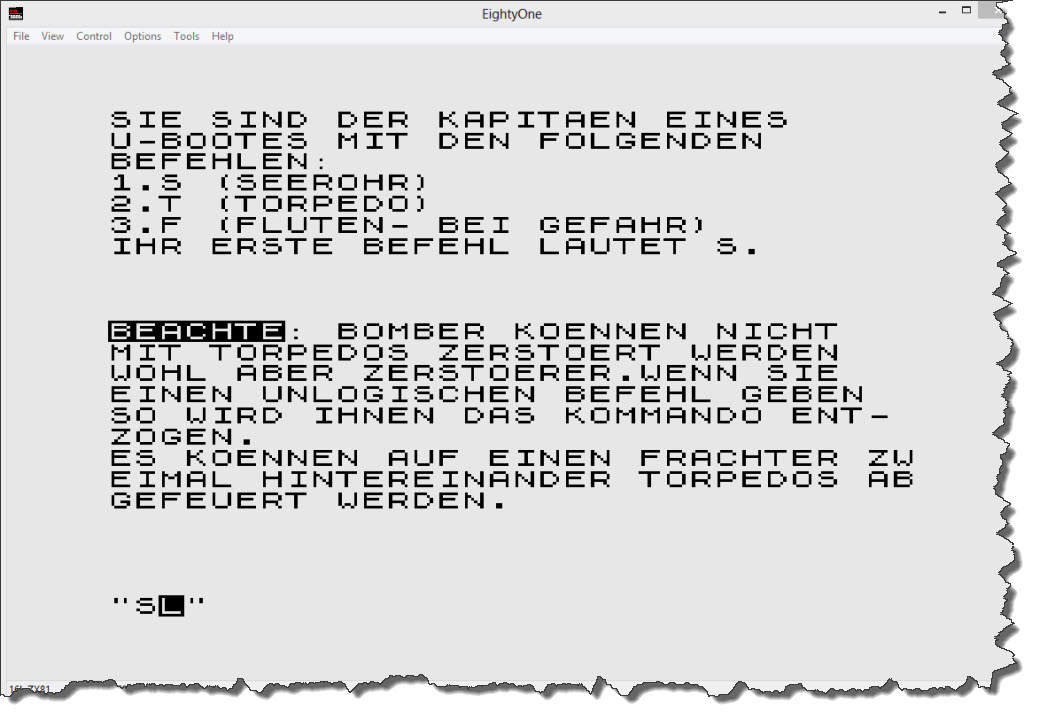
Running - IntroAfter the opening screen and the selection of a single-player game, I am presented the introduction screen – which is telling me that there are exactly three options throughout the game: the key “S” (for Periscope), “T” (for Torpedo), and “F” for “Diving”. So here we go – let’s do “S” for the Periscope.

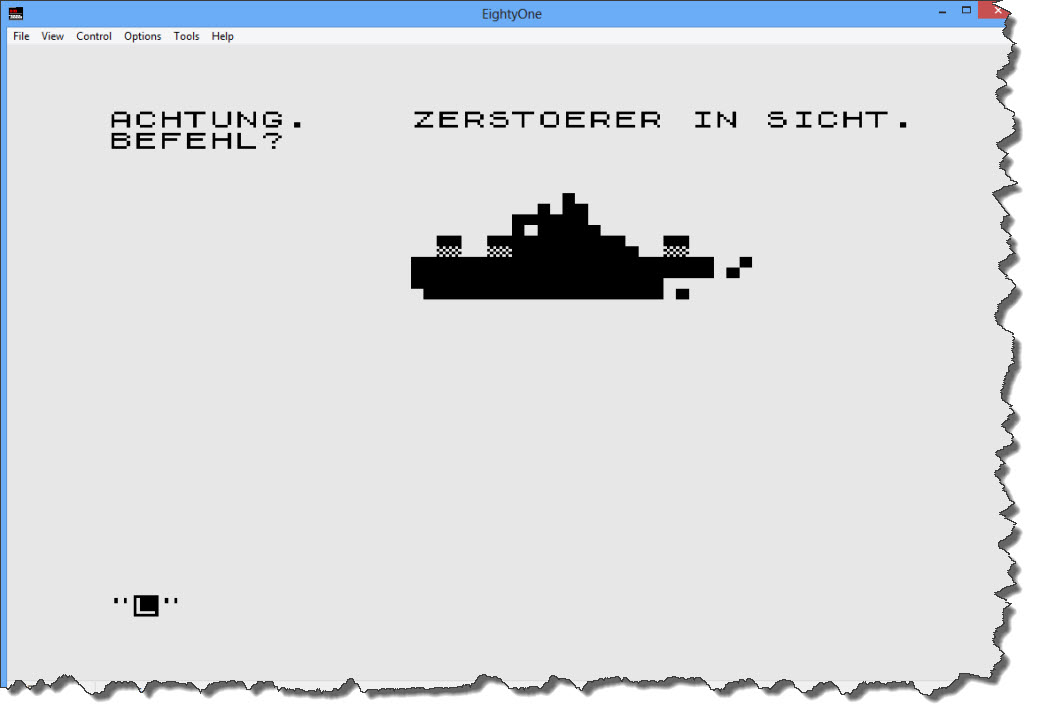
Running - DestroyerDarn – I found a Destroyer… shall we attack or dive away? – I think, we just duck away… “F” to dive.

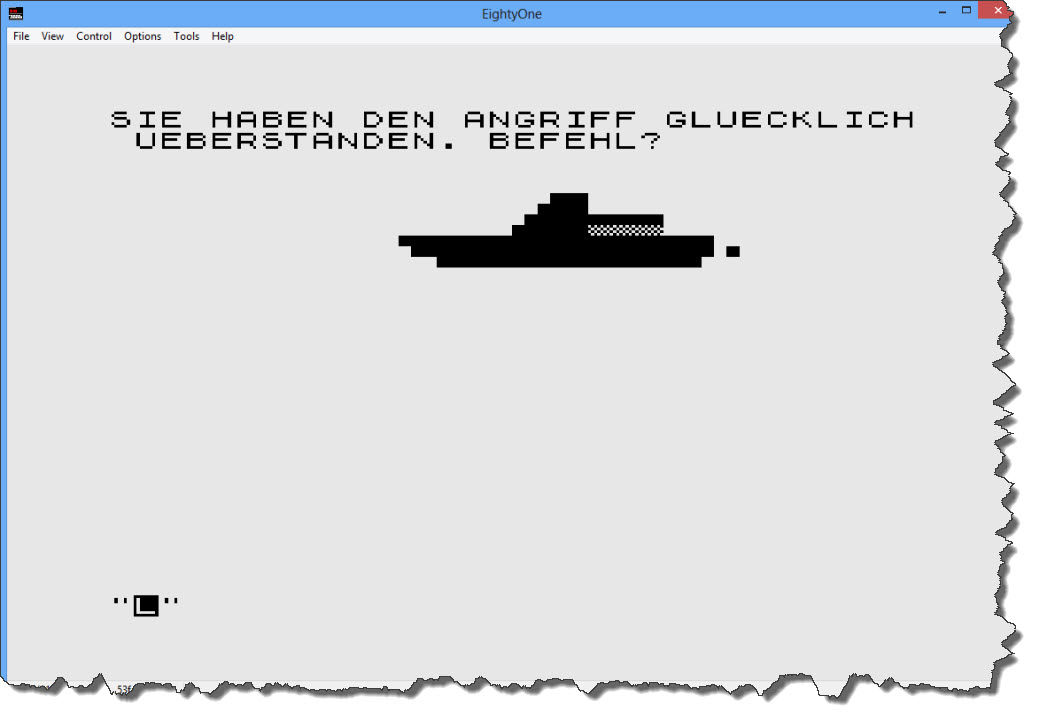
Running - SurvivedLooks like I survived the Destroyer attack – a quick look into the code reveals that, when ducking away from a Destroyer, I have a 66% chance of survival. If I’d fire a torpedo, I have a 10% chance to hit (and spend one Torpedo) – if I do not hit the Destroyer, I can still dive away (and take my 66% chance). So best strategy: fire first, then dive! Now let’s get back up again and see if there is anything else out there.

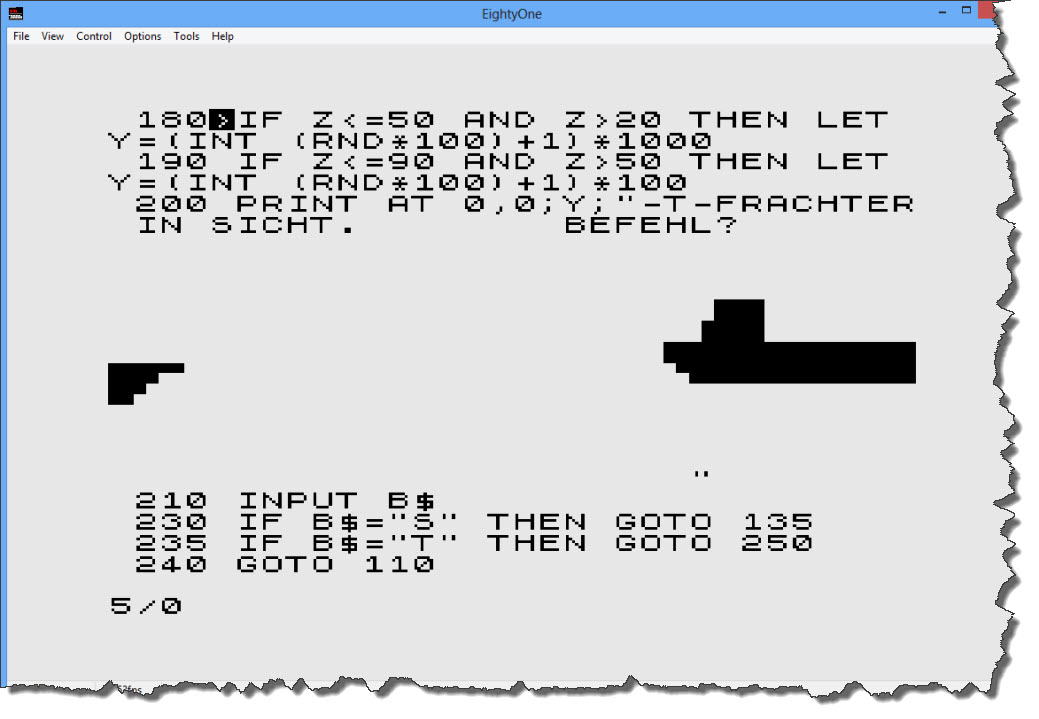
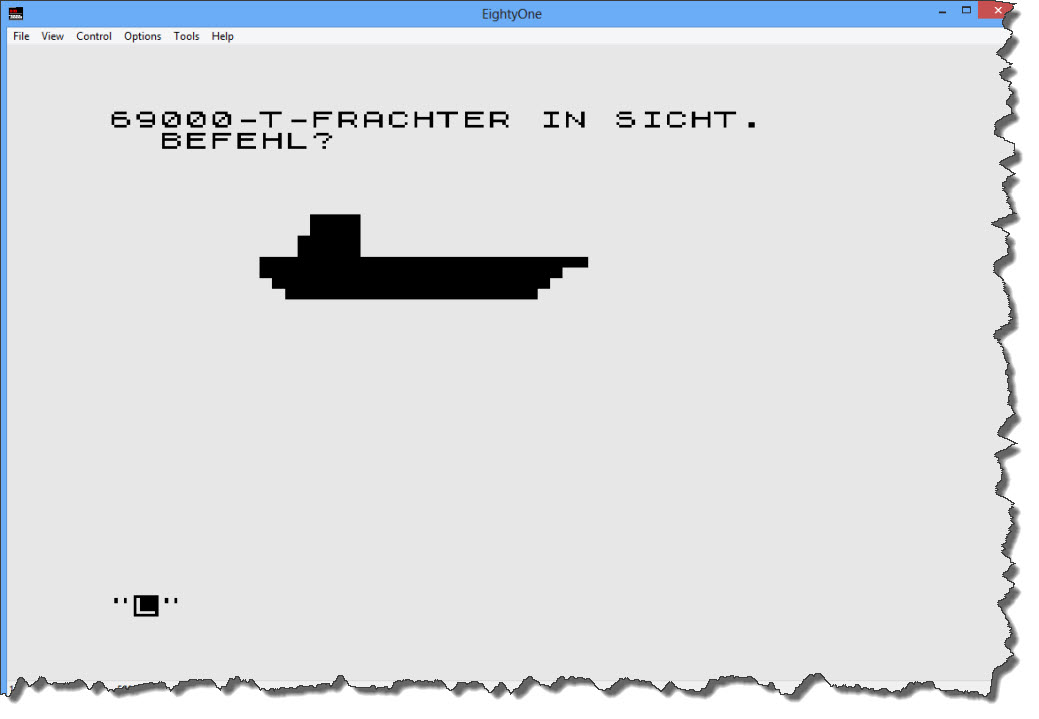
Running - FrighterOK – a 69000 Ton Freighter – obviously, time to spend some torpedos (“T” Key). I fire two Torpedos.

Running - MissedMissed 🙁 – good for the sailors, bad for me. Looking at the code… I only have a 25% chance to hit with a torpedo (on a freighter) – that is a bit disappointing! I fire two more torpedos.

Running - Missed againMissed again! By now, the frighter has outrun me and I cannot fire any more torpedos. So back to the periscope (“S” Key) – another freighter, only 6500 tons though. One torpedo is sufficient.

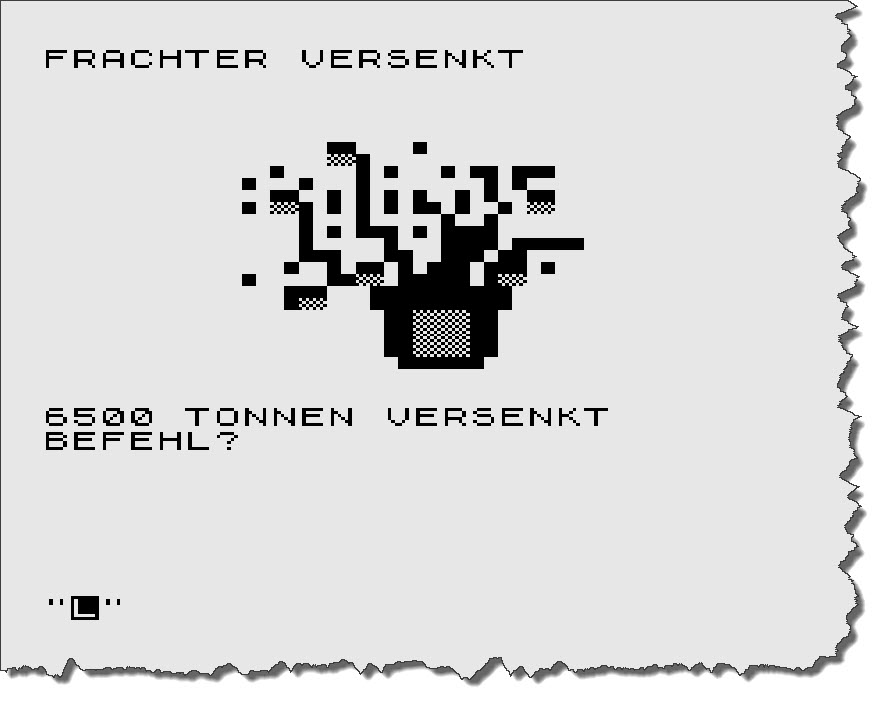
Running - ScoredThis time, I manage to score a hit – and add 6500 tons to my score. Next up is – again – a Destroyer, I fire a Torpedo, miss it and – in return – was hit by the destroyer.

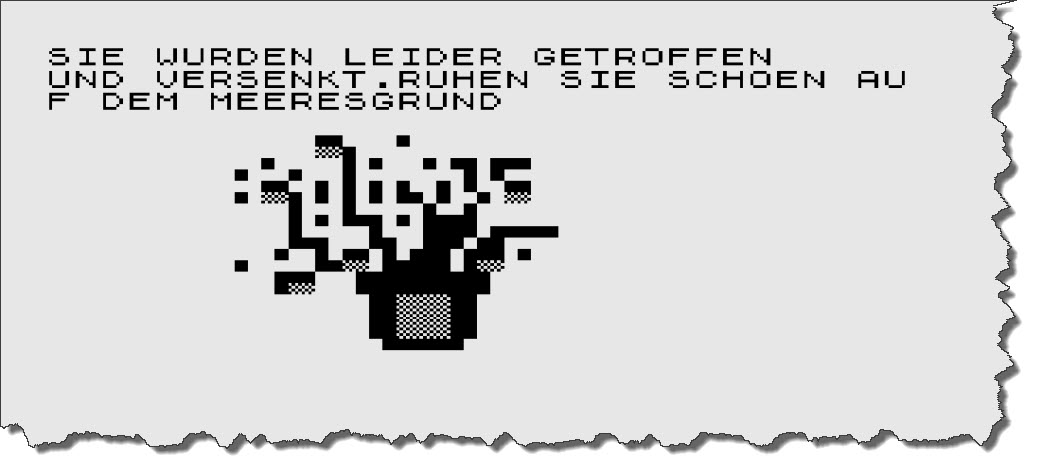
Running - SunkThis one is ugly – the English translation is “Unfortunately, you have been hit and sunk. Have a nice rest on the ocean floor…” – Pfft!

“Playing” the game, by the way, turns out to be pretty tedious, the program is extremely picky on the commands issued: if you forget to press “T” first before you specify that you want to send “2” torpedos results in an immediate decommission… you find a freighter and accidentially hit “F” to dive… decommissioned.

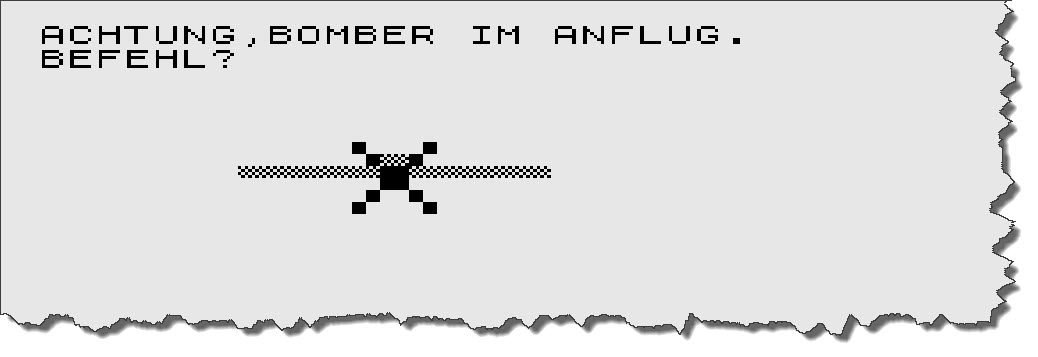
I continue to play a bit, just to also see the bomber attack that I noticed in the code – here it is:

Running - AircraftSo my only choice is to dive away – “F” key! – and hope and pray. To keep the spirits high, the program is running 10 rounds (each round ends with your sinking) and shows a high-score table.

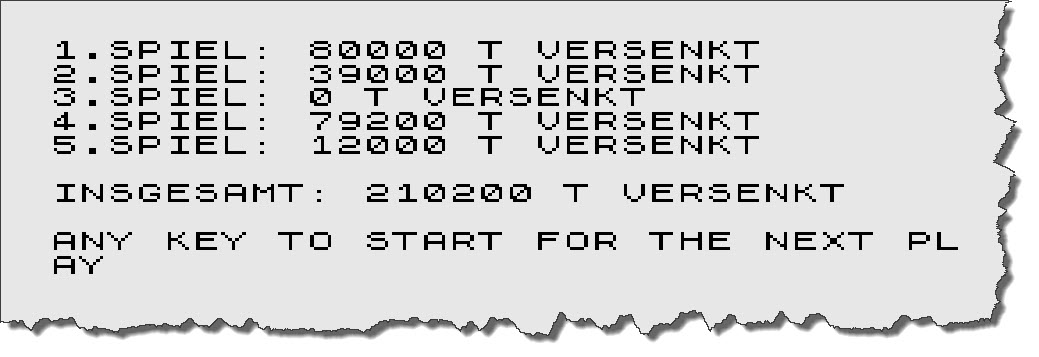
Running - ScoreboardAnd that is about it 🙂 – those was the content and quality of programs from computer magazines back then. This also was what the ZX81 was capable of. Still, we had plenty of fun those days and in all honesty: would anyone have shown us what computers would be like some 30 years later, we would not have believed it! But then imagine what computers will be in 30 years from now – in 2040…

Posted in ZX-81 | Tagged | Leave a comment

LEGO Classic Space Sets 6861 & 6901

There are two LEGO Sets – LEGO 6861 and LEGO 6901 – which either have not been sold in Europe or are really difficult to get their hands on.

For the 6901 set, I have a comment that it was only sold in the US – the other one comes doe not come with that comment but both share a very specific characteristic: they both use bricks in transparent green – which no other Classic Space set does (to my knowledge).

LEGO 6861 – X-1 Patrol Craft

With LEGO 6861, I am confident that it can easily be re-build – it is made from standard bricks and I got plenty of spares. Like always, the inventory providing the brick list is available from Peeron, building instructions come from Peeron as well.

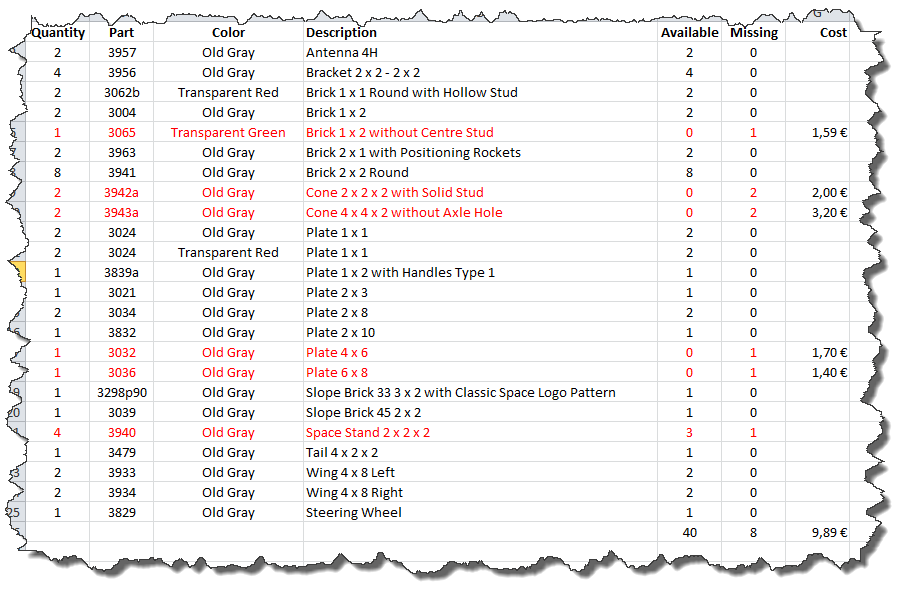
Scanning my boxes of spare parts, I can come up with many but not all bricks:

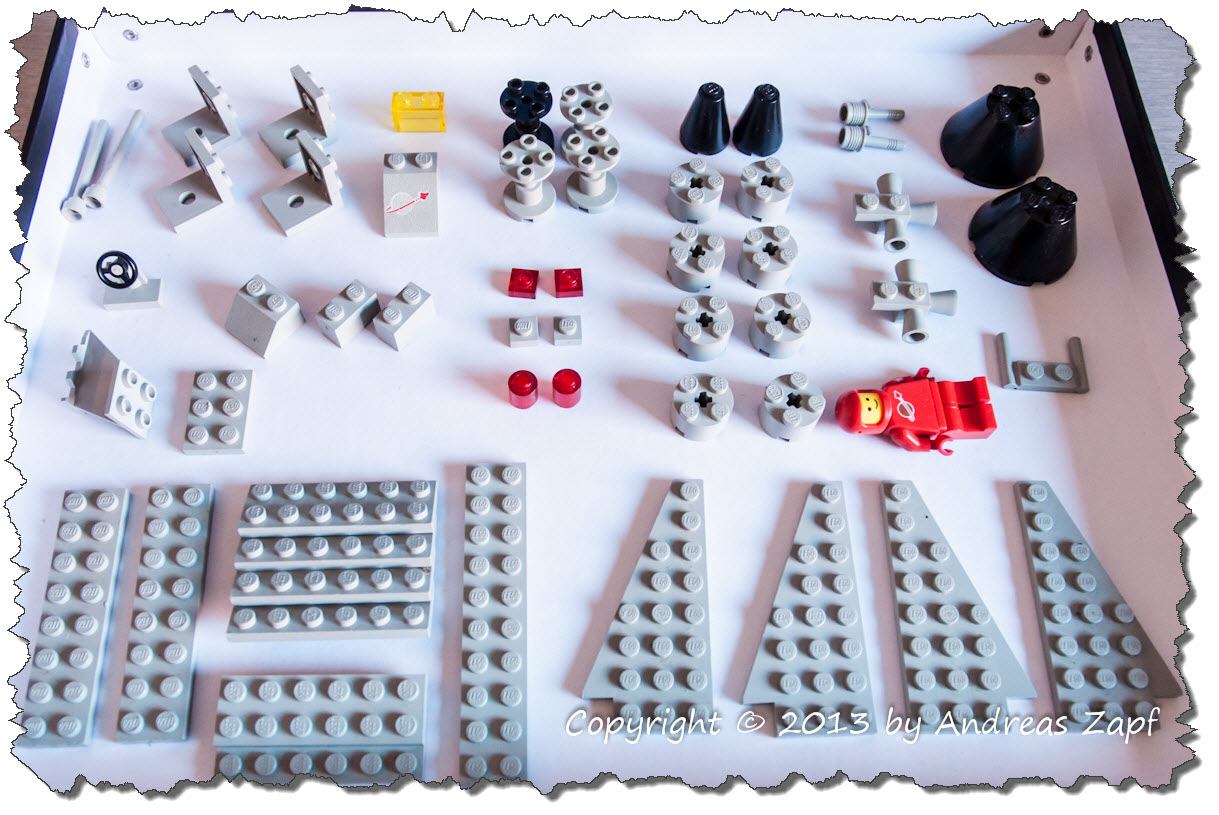
Brick ListThe ones in red are missing, all but #3940 are currently available on eBay with the prices given. The total cost of assembly would be “just around 10 Euros”. A full set but also with replacement bricks is available at eBay at this very moment… but given the potential bid race, I think I would be better of buying the individual bricks (especially since the set comes without instructions) and the transparent green 1×2 Bricks come in a pack of 10 (leaving me an option to build LEGO 6901 at some point in time). All in all, these are the parts I can use:

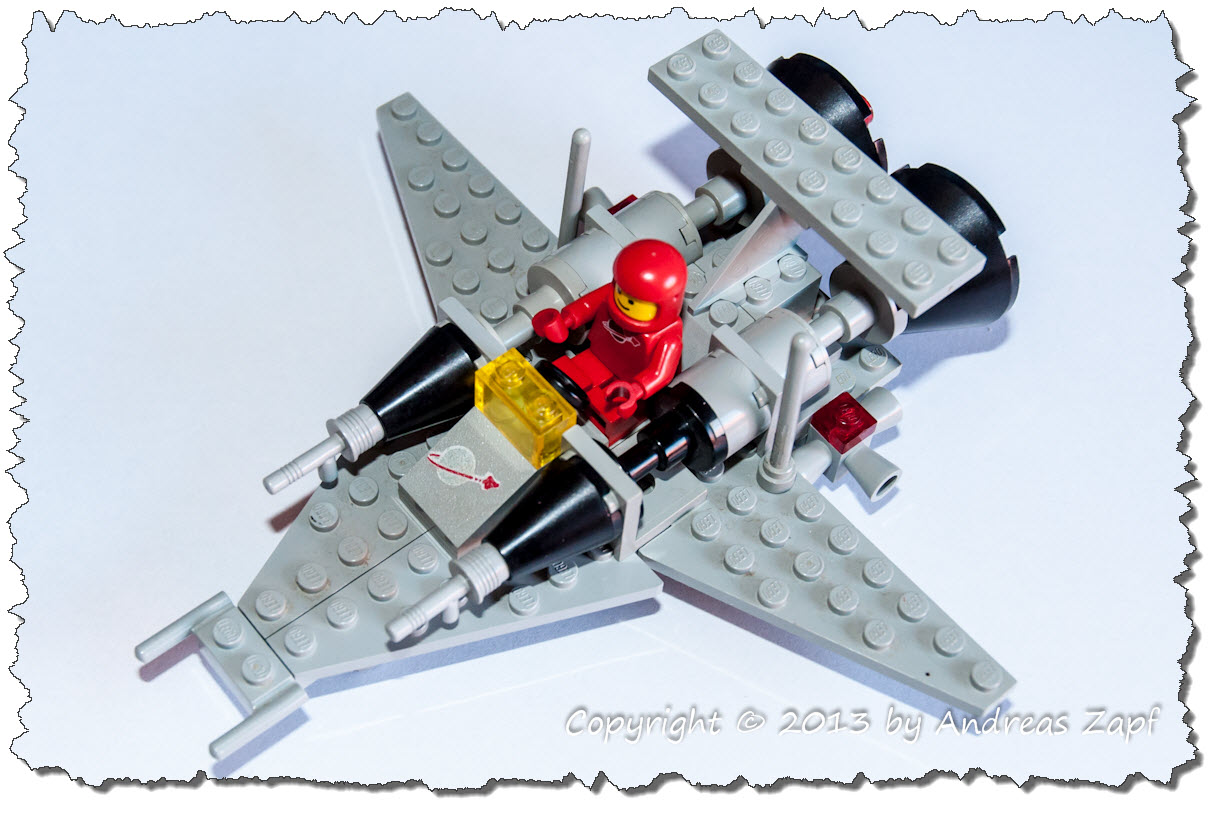
LEGO-6861-0001As you may notice, I am using 2×6 plates to replace the missing items 3032 (Plate 4×6) and 3036 (Plate 6×8). Which leaves me with just five black parts (which are the visual misfits and a transparent yellow 1×2 brick instead of a transparent green one).

LEGO-6861-0004Assembly is quick and easy, I even have the slope brick with the space logo in my spares – and a decent looking red astronaut.
LEGO 6901 – Mobile Lab

It does not look as good for LEGO 6901 – this one is using some parts that are hard to get – including the transparent green slope brick (3939) and the 1×4 bricks (3066). Combining the items from by stock with what I can raise at my preferred brick seller at the moment, I would have to invest about 15€ but I would be missing a significant number if parts – some of them not or not easily replaceable.

Brick List 6901So there is currently no point to try and build this set from scratch – maybe one day I will, replacing the transparent green items with transparent yellow ones (close to LEGO 894 then) but it won’t be the original set then… or a re-creation thereof.

Posted in LEGO | Tagged | Leave a comment

LEGO – Midi-Scale vs. LEGO Creator?

In one of my last posts I mentioned that the idea of a “Midi-scale LEGO Land” is nothing that is officially reflected in the official LEGO Sets. But then I came across a few sets distributed under the LEGO Creator series in my local supermarket. LEGO Creator – especially the Vehicles sub-series – contains a few sets that are “in between” the original LEGO scale supporting the Mini-Figs and the previously introduced “Midi-Scale”.
All but the Transport Truck are bearing the “Mini” indicator in the set name – and with a width ob about five Studs they almost match the proposed Midi-Format. Almost… they are slightly larger. But also slightly more detailed! So here is a comparison:

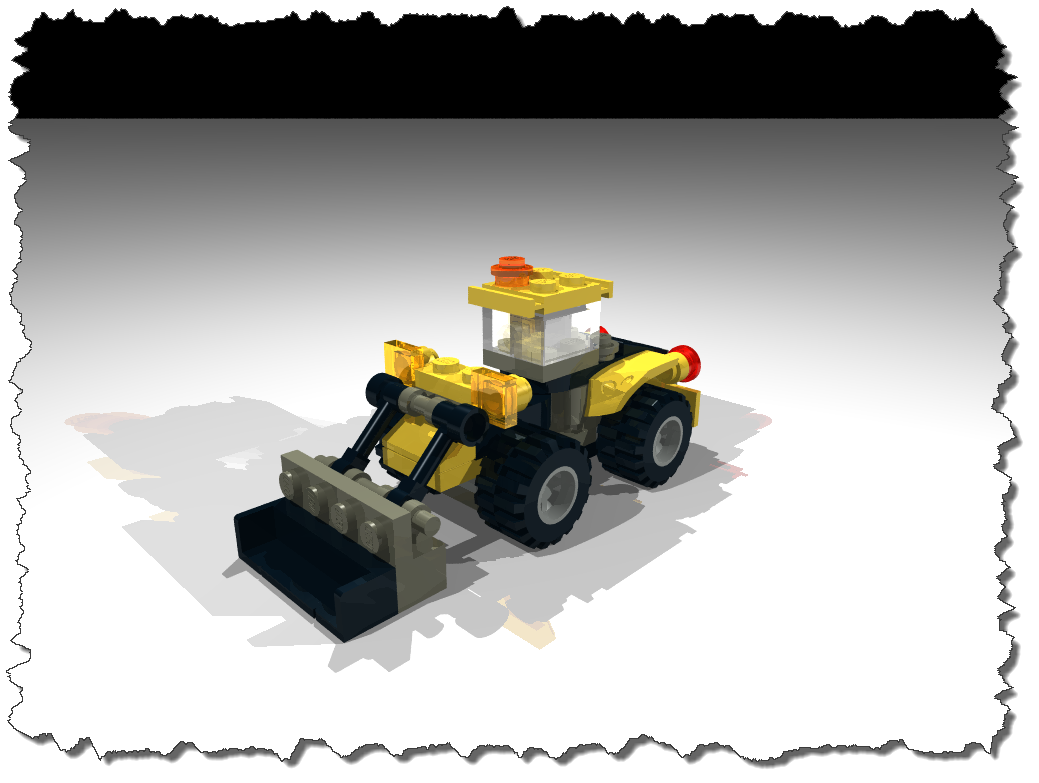
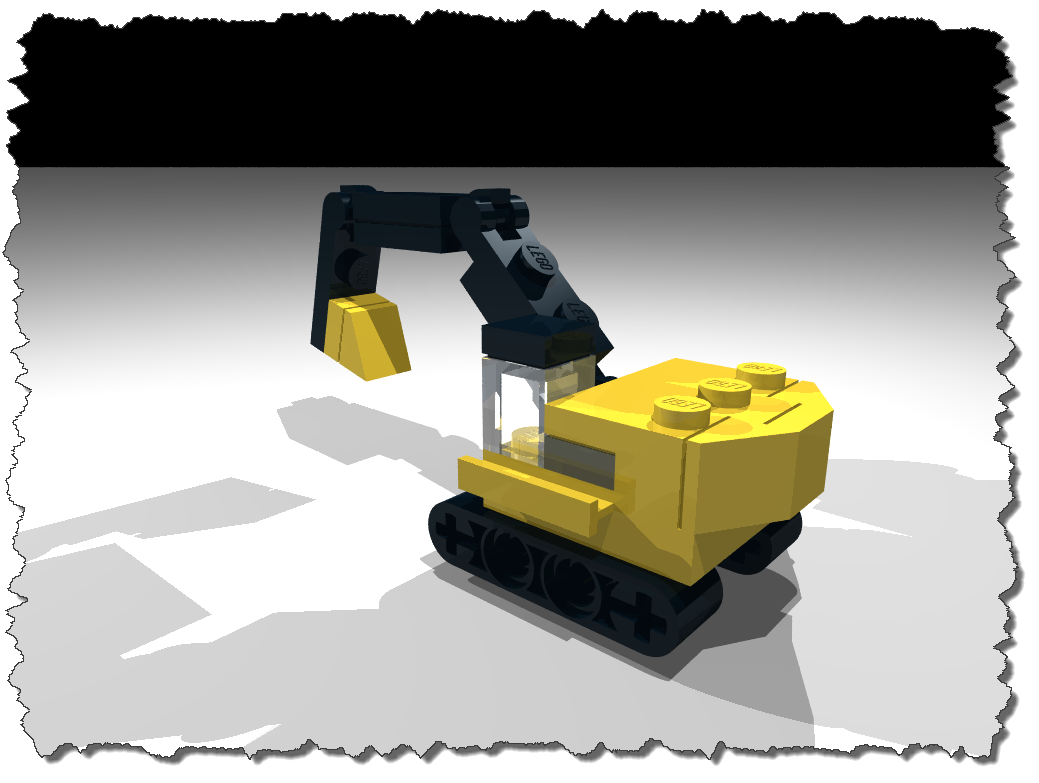
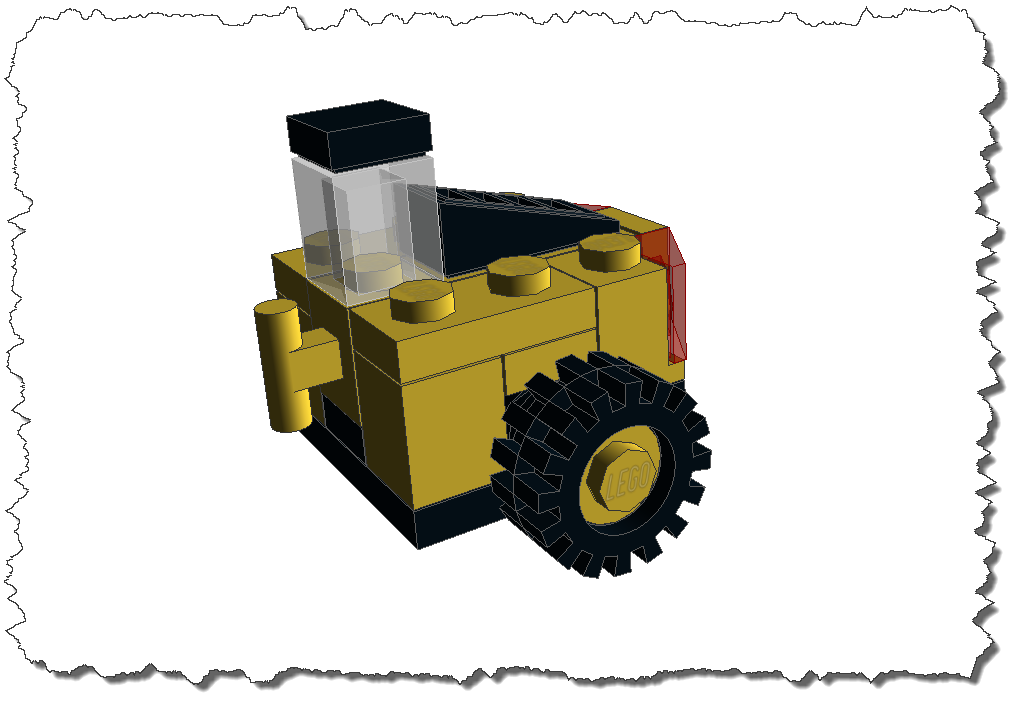
LEGO 5761 - Mini DiggerThe above image shows the constructed LEGO Set 5761 – the Mini Digger. Like I said: it is a bit too large to match the Midi-Scale so here comes my first attempt on constructing my own LEGO Creation: I need to downscale the digger a bit to match my previously constructed shovel.

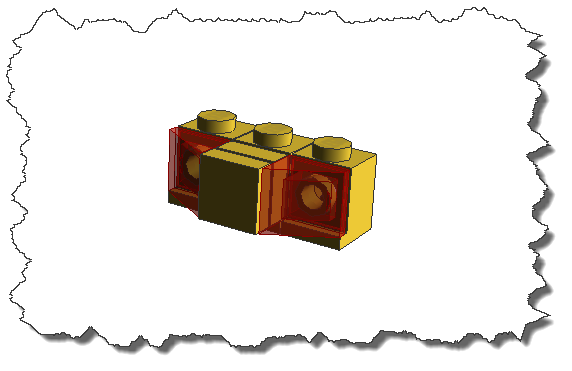
Bagger - YellowI will start by “stealing” the back end of the shovel to reuse it for my digger. Only I will replace the two yellow slope bricks with two transparent red ones.

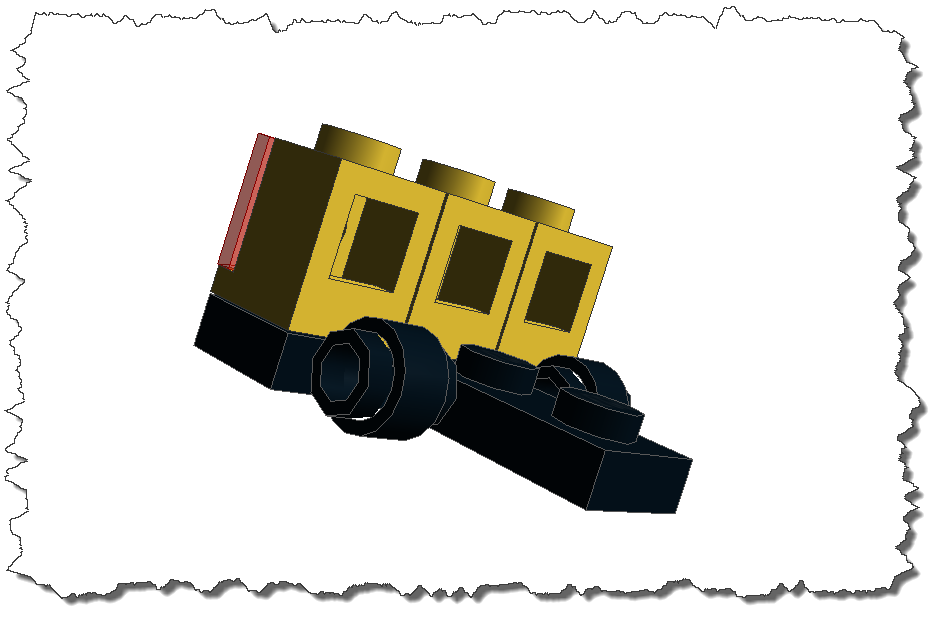
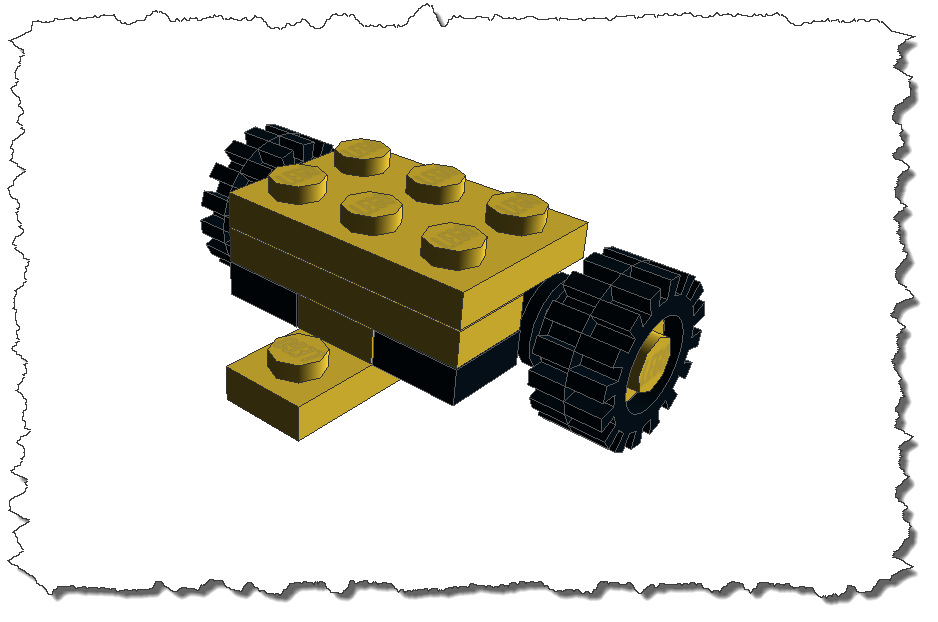
Construction 01 - Back EndNext up is the mounting of the rear wheels. The idea is to use LEGO Part 3641 – a tire constructed for the larger scale of the minifigs but certainly making up well for large wheels on my digger. The mounting is done using a 1×1 plate with clip (LEGO Part 4081b), two 1×1 plates (round – LEGO Part 4073), the tire itself (LEGO Part 3641) and another 1×1 plate (LEGO Part 4073) to fix the tire.

Construction 02 - Rear Wheel MountThe rear part is then built from some more standard bricks to the finish. It is slightly taller than the shovel part but that is OK to me. The connector to the front part is a 1×1 Brick with handle (LEGO Part 2921).

Construction 03 - Finished Rear PartNext up is the front part (which I build as a separate entity in MLCad). The challenge with that part is the size – it must be as short as possible to make sure the overall digger is not too long – yet it needs to hold together and allow wheel placement.

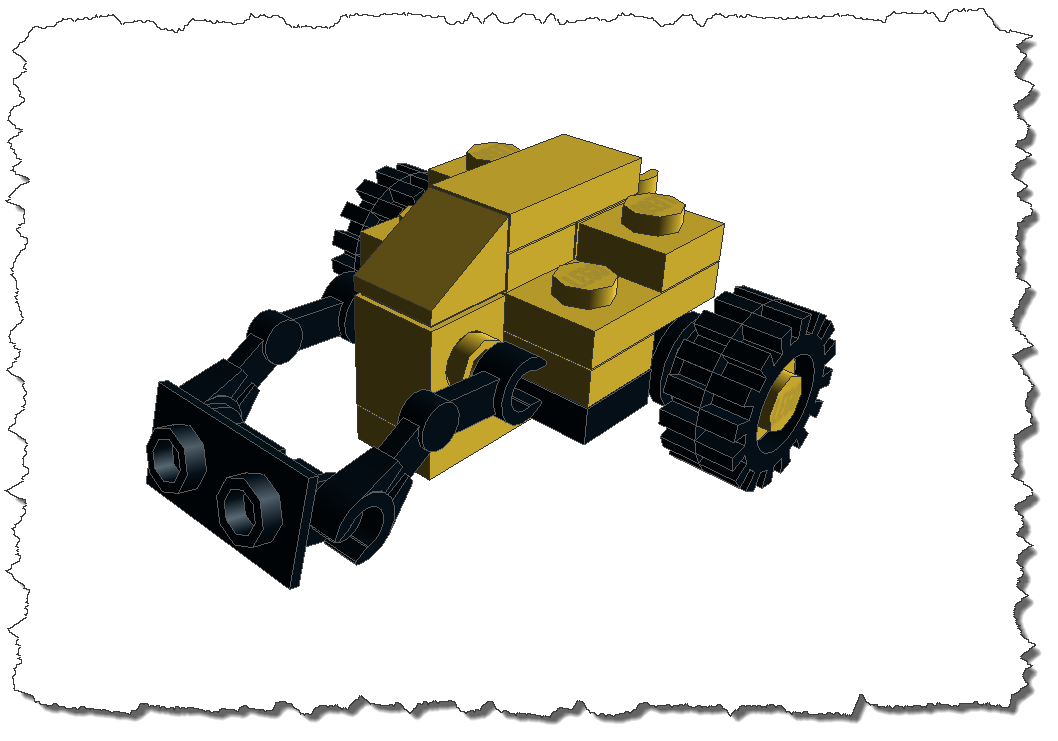
Construction 04 - Front Part BeginningsThe front part starts out with a 2×3 plate under which I mount a 1×3 plate and (in the back middle position) a 1×1 plate. Next come the wheels (same construction as above) and – in the center – a 1×2 plate. The whole thing is finished using a 1×3 plate facing forward to allow for the mounting of the shovel construction.

Construction 05 - Shovel MountingThe shovel mount is a 1×1 brick with two studs on opposite sides (LEGO Part 47905). The arms of the shovel are formed by two Minifig Mechanical Arms (LEGO Part 30377) – the mounting is done via a shortened flex hose (LEGO Part 76263). Front-wise, the connection is done using a hinge top (LEGO Part 3938). Some finishing is placed on the top of the front part, the shovel will be formed using a 1×4 Panel with corners (LEGO Part 30413).

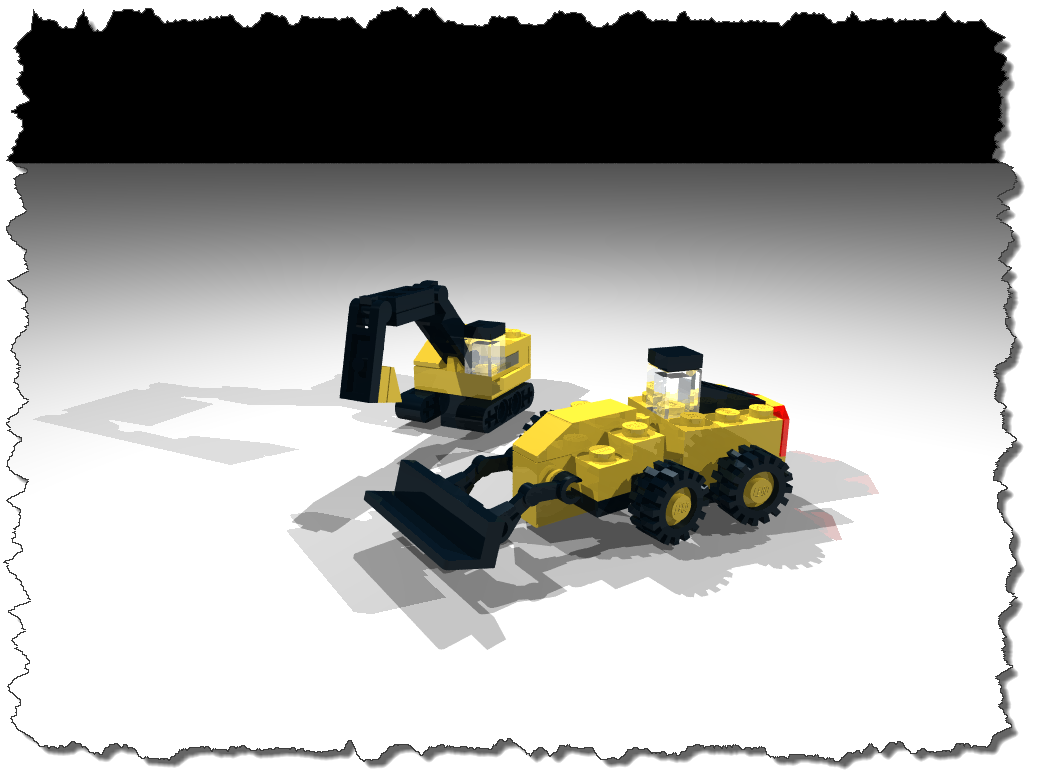
Putting it all together – and adding the shovel from the previous post – this is what it looks like on our construction site now:

Digger - CombinedThe difference is obvious – the digger is significantly larger as the small shovel – but that is true in reality as well. A shorter version of the digger, with a different type of wheels – can easily be built using a few standard parts. This would then match the shovel in size…

Posted in Allgemein, LEGO | Tagged | Leave a comment

LEGO – Trucks for Midi-Scale-Land

In my last post I introduced you to the LEGO Midi-scale building – and one of the things I mentioned was that while you can rely on a large and active community, everyone is out there for himself.

Today, I would like to add to the Shovel I have created in the last post – these are not related in any particular way to the construction topic the shovel comes from: I am looking at trucks in general.

There are several different kinds of trucks and each one comes in a myriad of styles – in my small mid-scale world, it would be nice if my trucks could mimic this diversity – but first, I need to find out more about trucks.

American Style or European Style?

American-style trucks – such as the Peterbilt or the Kenworth – come with a considerable “front section”. The European-style models such as the Scania or Mercedes Actros come with a “stubnosed” front section.

Short or long Cabin?

Also, the size of the driver’s cabin varies in depth – some are short (merely some room behind the driver), some are deeper (holding a sleeping place) and some are large and very large (holding an entire living space).

Trailer

Finally, one has to think about the trailer – a simple cargo trailer? A flat car to load a cargo container? Maybe a trailer with a cooler?

So let’s built a Truck…

First, I need to mention that I have taken the original idea for the truck from the book mentioned before. I early on decided to separate the Truck and the Trailer using different MLCad Projects and combine them later in a multi-model project.

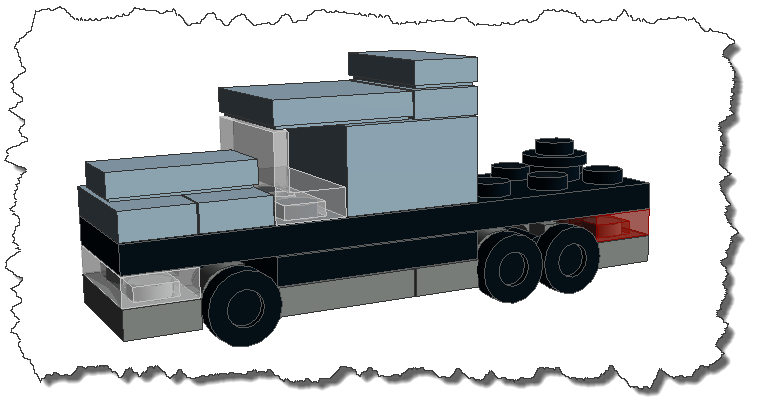
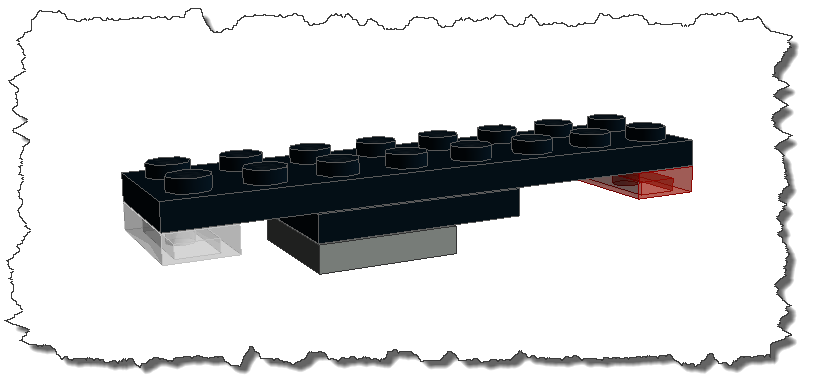
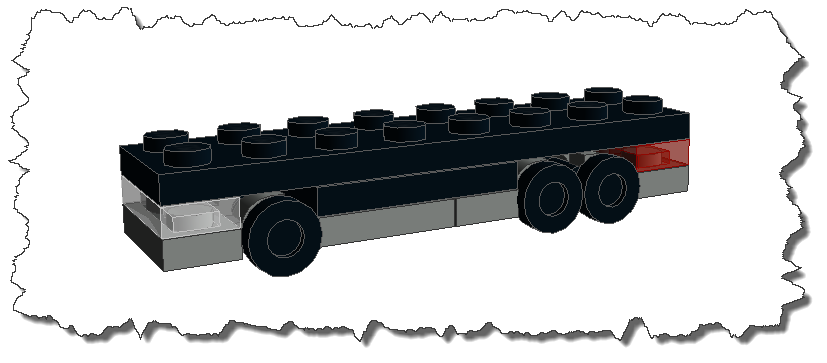
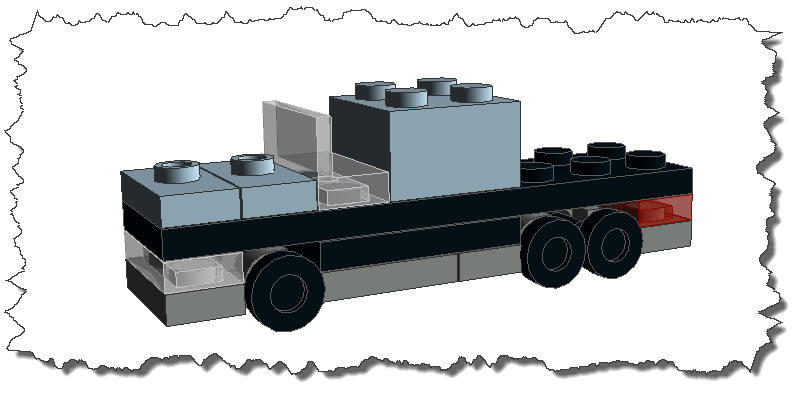
Let’s get started with a American-style Truck first – here we go: the base of the truck is formed by a 2×8 plate. Mounted beneath is a transparent clear and a transparent red 1×2 plate serving as front lights and rear lights. The middle section is built from a 2×3 plate and a 2×2 plate.

Next, the wheels are mounted: to construct them, I am using 1×2 plates with handles and small wheels. Our American-style truck has three pairs of wheels – and this is what it looks like.

So far, the lower section of the truck can serve just any bigger vehicle, nit necessarily a truck. Next, we are turning the Truck into a Truck: two 1×2 plates with single stubs form the nose section. A transparent clear brick the window part and a 2×2 brick the cabin itself.

Finally, additional 1×2 tiles and one 2×2 tile make up for the finishing – the trailer lateron will be mounted on a round 1×1 plate in the rear.

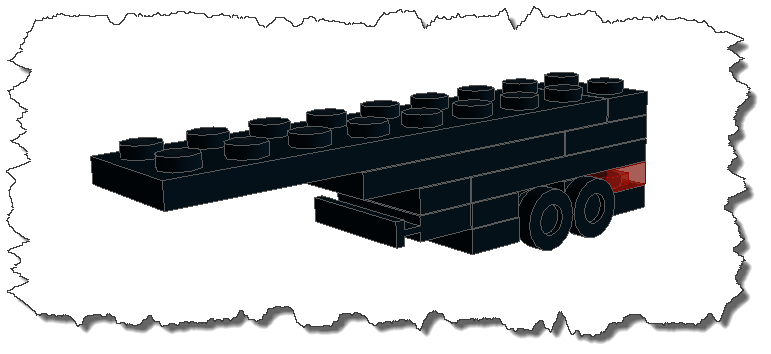
The trailer is based upon two 2×6 plates – making up for a very long road train. Consider the connection to the Truck: the truck is three plates high with wheels at the bottom. Then, the mount point sits on top which makes a total of four plates in hight before we can reach the mount point.

If you assemble both parts and render them in POVRay, this is the result:

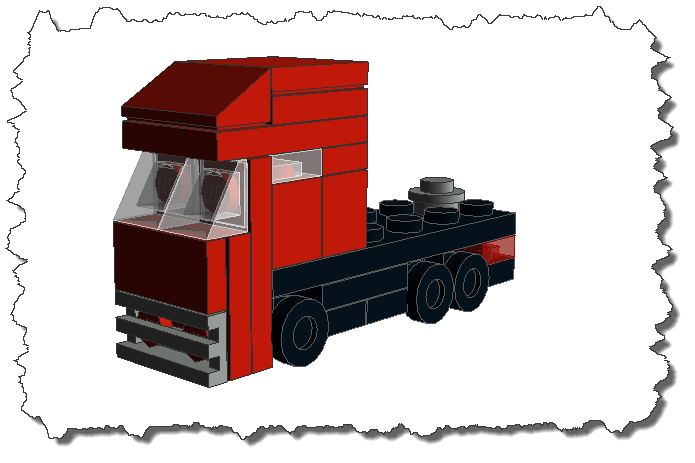
Not too bad at all… but this is an American-style truck – so let’s see if we can use what we have learned (the construction of the base part, the mounting of the wheels, etc.) to build a European-style truck:

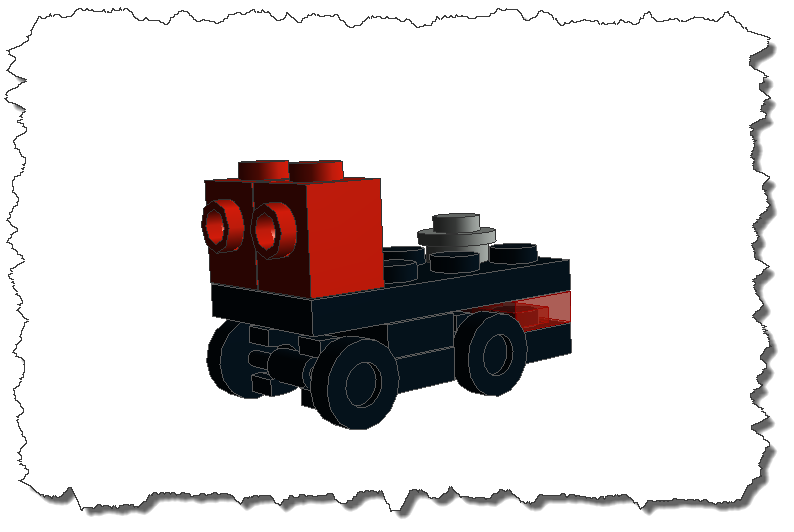
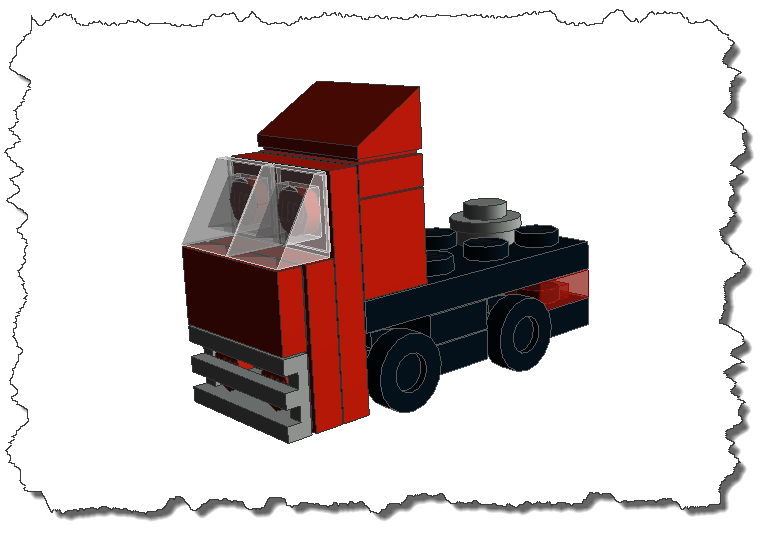
The base for the European-style Truck is universal – but we will be applying a different technique to get the entire front part created and mounted. As the Truck will be shorter than its American counterpart, the base is formed by a 2×4 plate. The rear end receives a 1×2 transparent red plate (which also serves as mount for the rear axle) – the front axle us mounted on another 1×2 plate – altogether, the hight of the base is again three plates.

Next, we are going to create the front section. And we are using the SNOT Technique for this (SNOT means “Studs not on top” – in other words: we are changing the direction we are building in).

The front is created from a 2×3 plate, a 2×2 plate and one 1×2 tile – enriched with a 1×2 grille and two transparent clear slope bricks.

The approach is extremely flexible: using the same base but a different front part and then using a 2×6 plate as ba

So I think you are getting the drift: what your models eventually will look like… is up to you. Some techniques (such as SNOT) and basic “agreements” (such as the base being three plates high plus wheels) may stay in force across your models to make sure they end up with the same scale – the rest is yours.

I also created a flat trailer car to hold a cargo container later – this one is based upon the ideas of the earlier trailer but is my own creation:

Finally, we are in need for some cargo container itself – here, I fall back on my book because I like the idea of the container issued there. A very simple model, after all…

So we are slowly getting there – we got the European-style Truck, a flat trailer and a cargo container… now let’s put it together.

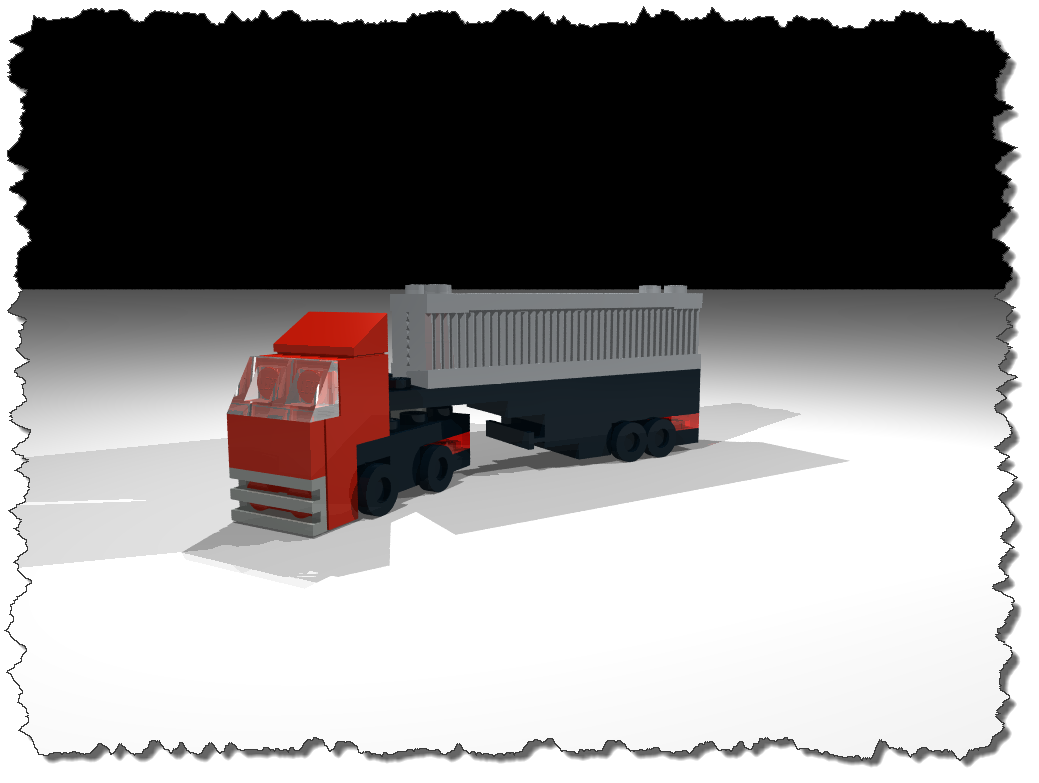
After all – a pretty good result for relatively easy work – the model is about 9cm long, maybe a bot over 1 cm wide and 3.5 cm in height. And ready to roam the roads…

Posted in LEGO | Tagged | Leave a comment