Pasta & Fish – quick, easy & delicious

For New Years, we had friends in the house – mother and a three year old princess – and as you might imagine: feeding a kid is not always easy. One thing I was told is “She eats it if it is red!”…

Fair enough, I thought, “Let’s give it a try – if she does not like it, there will be more for the rest of us…” – greedy me. The choice was Paste & Fish – Salmon to be precise.

What you need

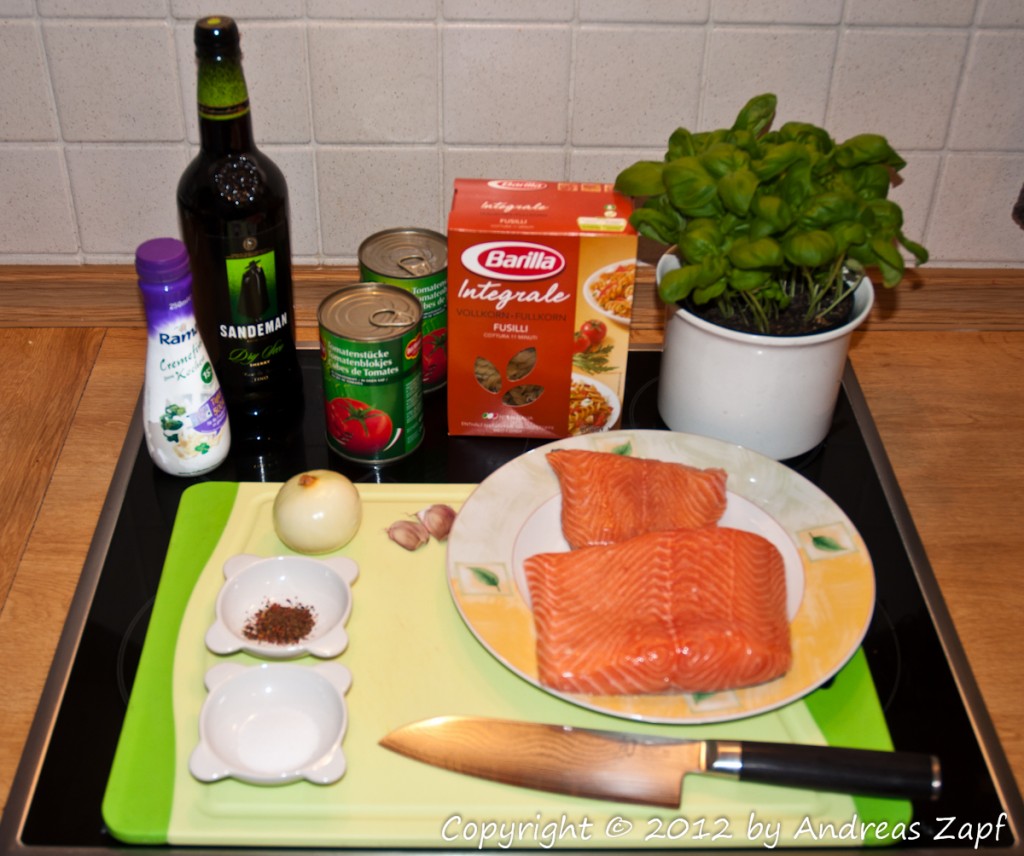
We went shopping that day and got

  • some Fillet of Salmon – about 600g – fresh (but of course, you could use frozen fish as well),
  • Pasta – of course – and in this case I had the young lady pick the pasta she wanted,
  • some Garlic, 1 Onion,
  • two cans of Tomatoes – if they are already cut to pieces it makes it easier,
  • some Crème fraîche or some substitute (150g or – in my case 200ml Rama Creme Fina),
  • Basil – fresh at best!,
  • Salt, Pepper
  • some Olive Oil
  • Sherry to season the Pasta Sauce if you like (of course, not for the kid! These shots are from a later re-cooking for adults only!)

Preparations

Peel the onion and cut it to small pieces. Do the same with the garlic. And then pick some of the Basil and cut that as well.

The Cooking

You need a larger pot – give yourself some room there because you will have to use the hand blender later to really give the pasta sauce a good “mix” and you do not want it all over the kitchen 😉 – a large pot helps with that…

Add enough olive oil to the pot to just cover the bottom, then heat it up. When hot enough, add the sliced onions and wait for them to turn slightly “glassy”.
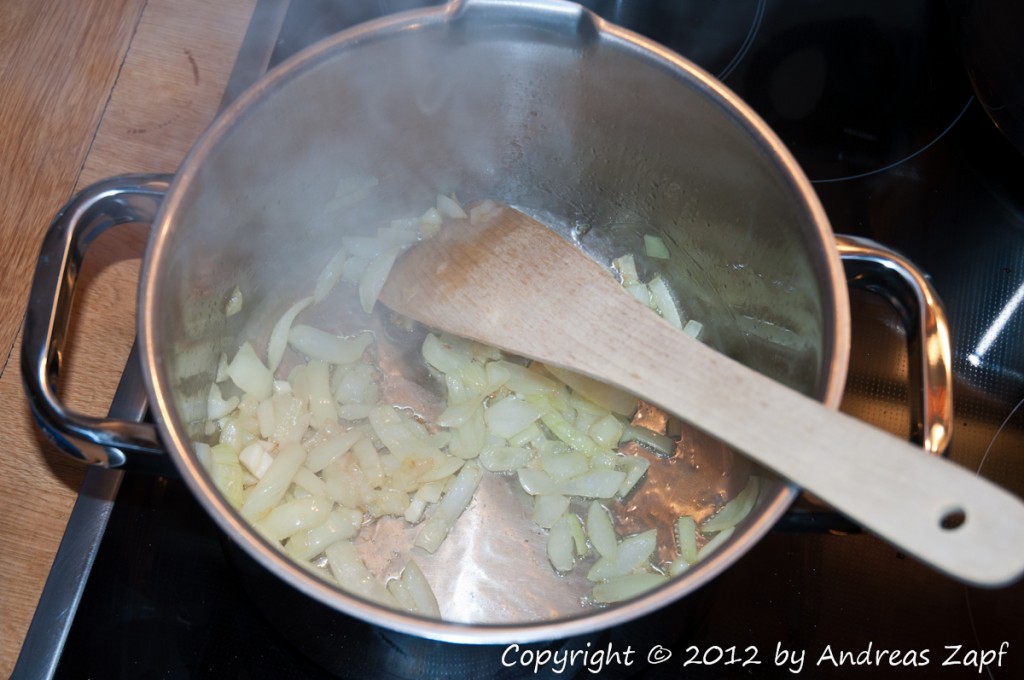
Then add the two cans of sliced tomatoes – of course, you could just use whole tomatoes (although I suggest to use skinned ones!) or use fresh ones when available (again, I suggest to skin them). I have two reasons to use the canned ones: at this time of the year, fresh ones just don’t have any taste at all and even if you get fresh ones, the canned ones taste more intense unless you use home-grown tomatoes… so whichever you chose, add them to the onions.

Note: if you use fresh tomatoes, you may have to add a decent portion of tomato puree to give some substance to your sauce. Just be careful with the proportions of tomatoes, tomato puree and crème fraîche – make sure you get the consistency right.
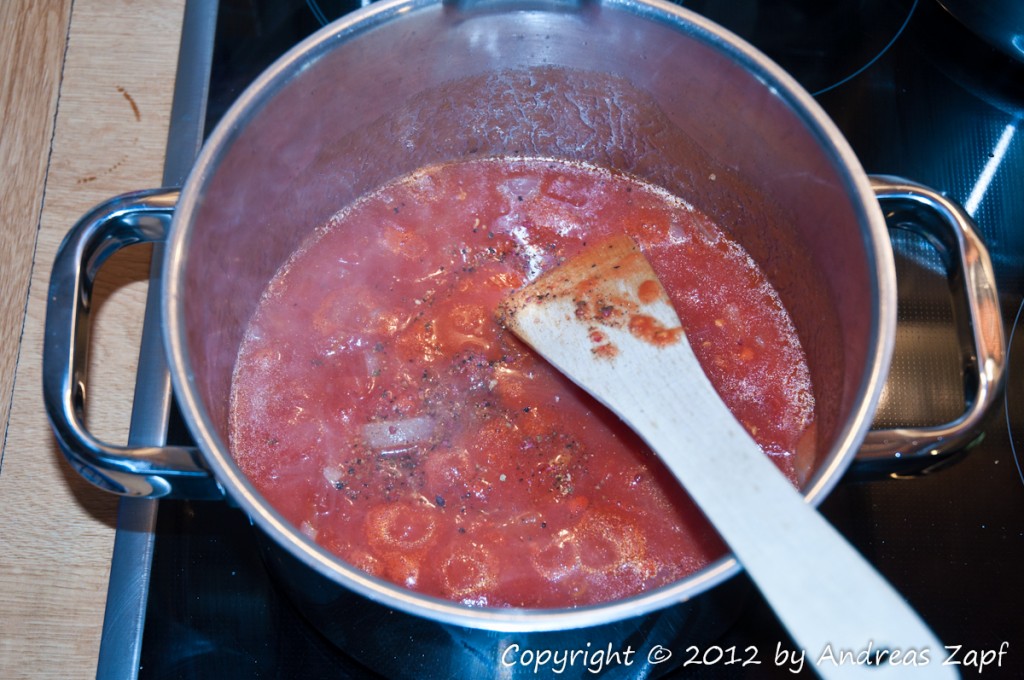
Now, add some salt, pepper and – at least I like it that way – some sugar. The sugar is supposed to counter the acid of the tomatoes and pronounce their natural taste.

Let the tomatoes cook for a little while – maybe 5 minutes or so. Then add the Crème fraîche (or your substitute) to the sauce.
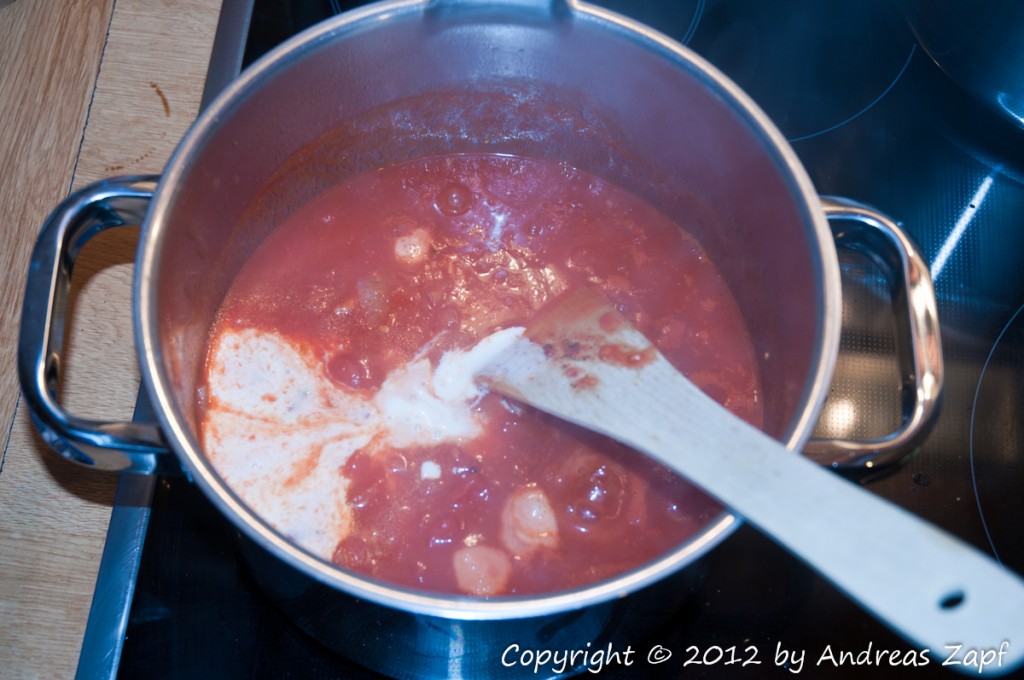
… and then mix it all together. Some people – and usually kids – do not like onions. But they will only recognize the onions when they can see them. So running it all through the hand blender will cut everything so finely that the onions will become “unrecognizable” but their taste remains in your sauce. While blending it all, also add the fine-cut basil. You will eventually end up with a nice sauce that you can put on low heat and have it sit there simmering ever so slightly while you take care of the fish.

The Fish

If you get your fish – in my case the Salmon – as a fillet but with skin, you need to get rid of it (the skin, not the fish!).
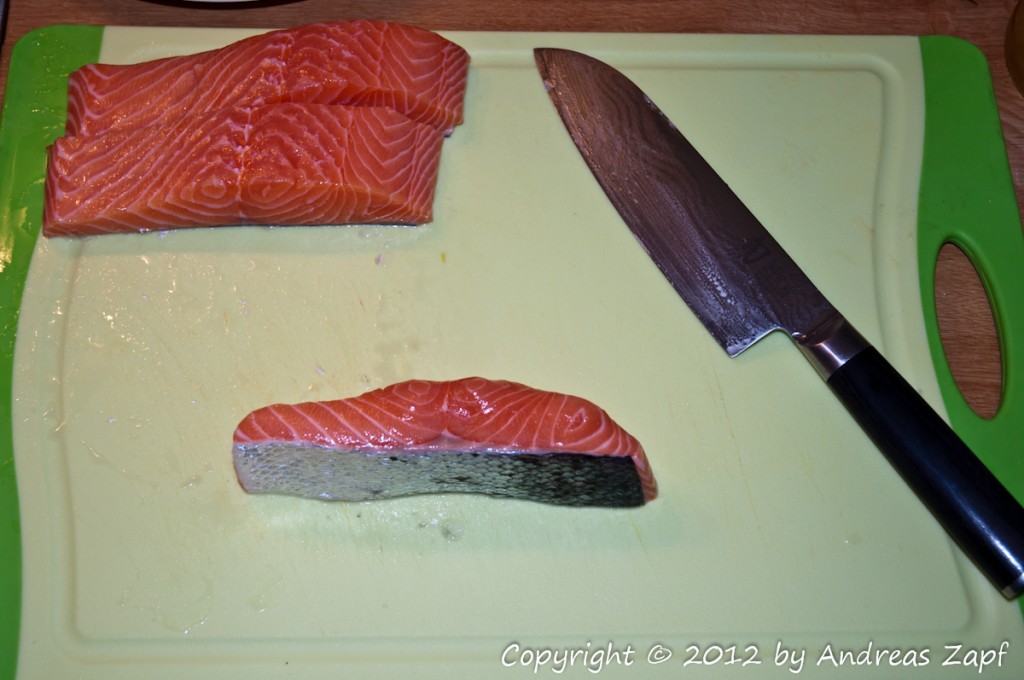
It takes a little bit of practicing so you can cut the large fillet into smaller pieces to have it easier or you just run the whole fillet in one go:

  1. Get a very sharp knife with a long enough blade
  2. Put the fillet on a clean, solid and flat surface – with the skin facing down.
  3. Put your flat left hand on top of the fillet to press it down.
  4. Cut through the fillet horizontally, just above the skin – a good knife will just cut through the fish easily, separating the meat from the skin.

Note: you run the knife across the whole length of the fish while applying sufficient pressure with your other hand. Just – please! – make sure that you do this slowly and carefully to not cut yourself! The result:
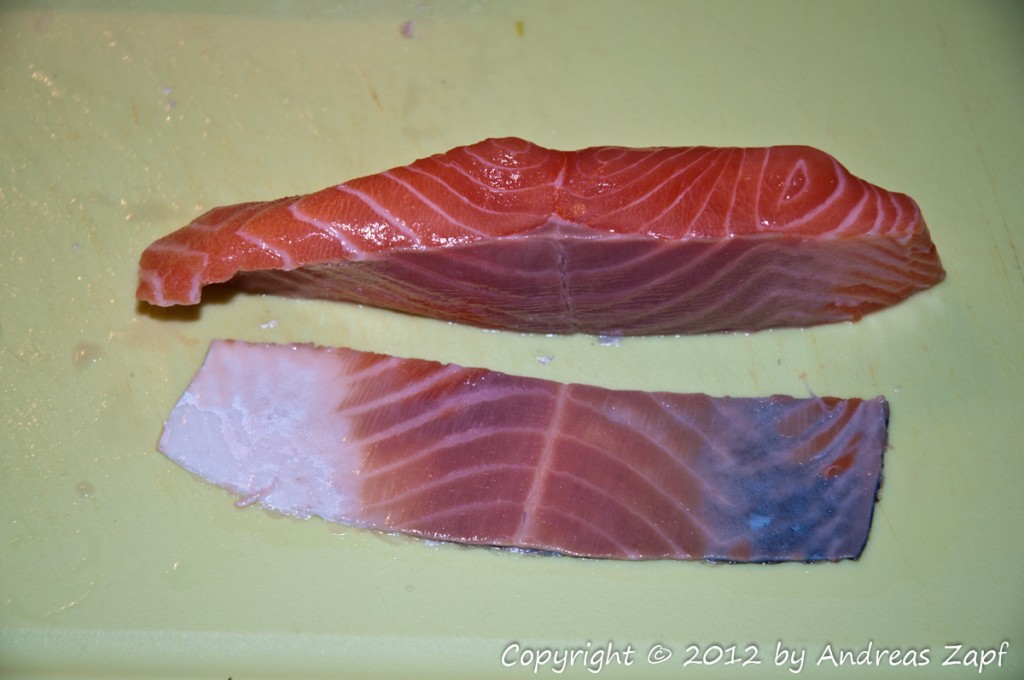
If it does not work in the very beginning, don’t worry. Start with some small pieces and try larger ones as you get a better grip on the process.

Finally, cut the skinned fish into small pieces of reasonable size. If you are dealing with kids, it is a good idea to cut very small pieces – not because they would not be able to deal with the larger ones but because it gives you a better chance to make sure there is no fish-bone left that they may have trouble dealing with.

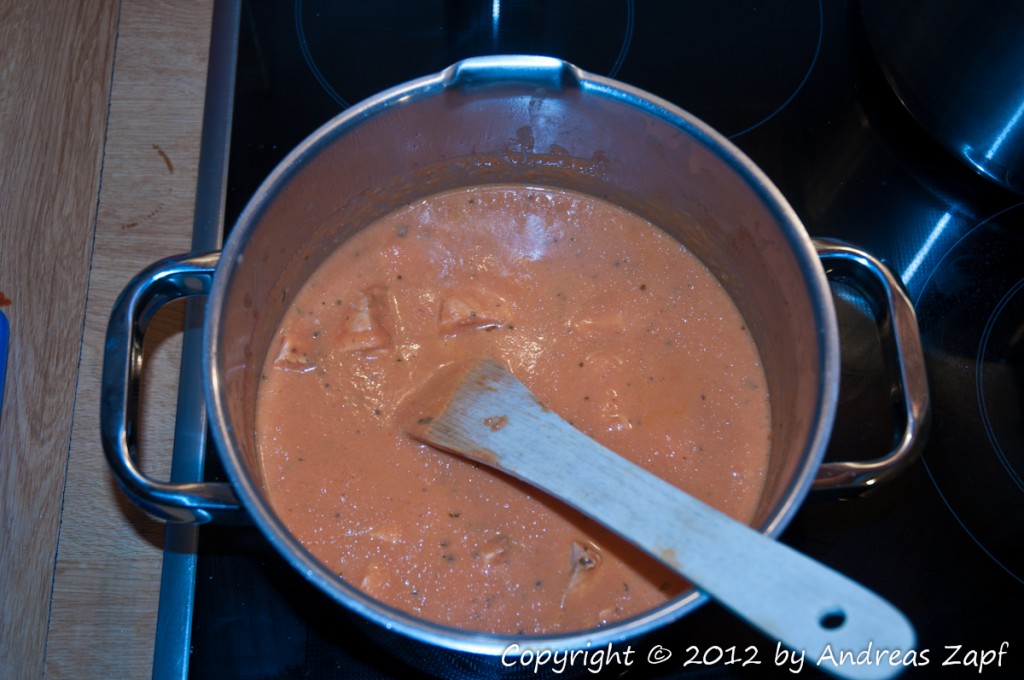
Finally, add the fish to the simmering pasta sauce and keep that pot on the fire at low to medium heat for the rest of the time your pasta is prepared. You see I am not “paralleling” the cooking of the pasta because the fish will take some time to cook in the sauce anyway. No stress, everything goes easy one after the other…
The Pasta

It is entirely up to you which type of pasta you want to use – almost every kind will work so pick the one that has funny form (for kids like them), you like best whatever you might have left in the house. Just please do not forget to add salt to the water you are going to cook it in 😉
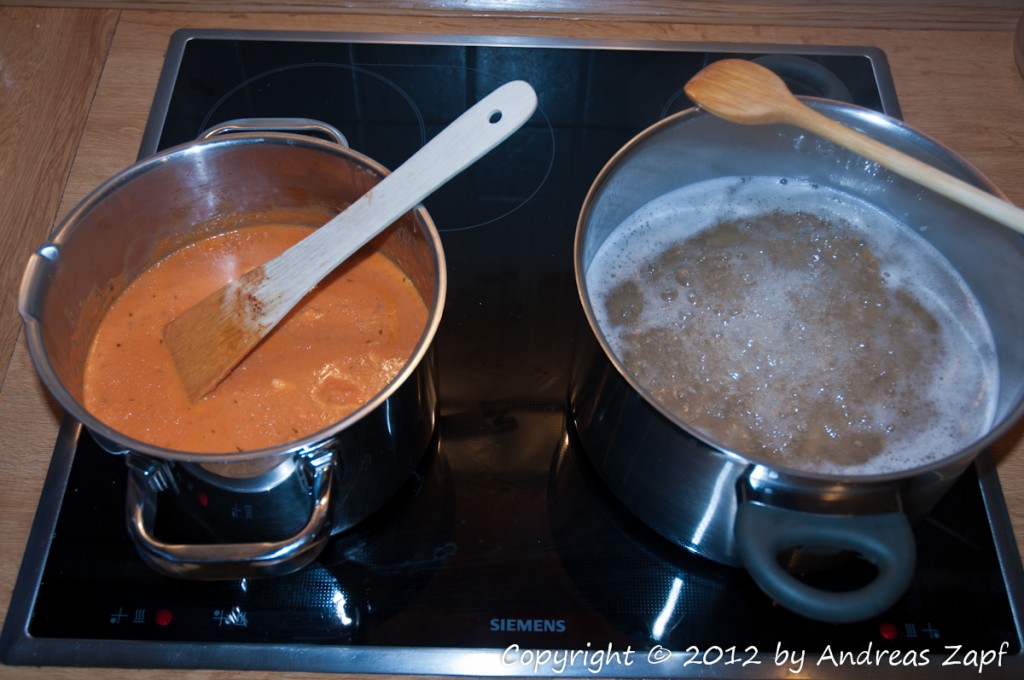
When the pasta is ready, just place it on a warm plate (you can actually put the plates onto the pot you use to cook the pasta – the heat will warm them up quite quickly) and your pasta will not be served cold when it reaches the table.

Add the sauce to the pasta and decorate with some fresh herbs – Basil, Watercress, etc. Pick something fresh – please don’t use dried herbs… then add salt and pepper as you like it and enjoy.

Variations

As you can see – very quick, very easy and very delicious. If you don’t like fish – no problem: substitute the fish for some chicken. And if you have no kids at the table, season the pasta sauce with some Sherry while it is cooking – adds a nice taste.

Posted in Cooking | Tagged | Leave a comment

A composition of LEGO Classic Space Sets – Part II

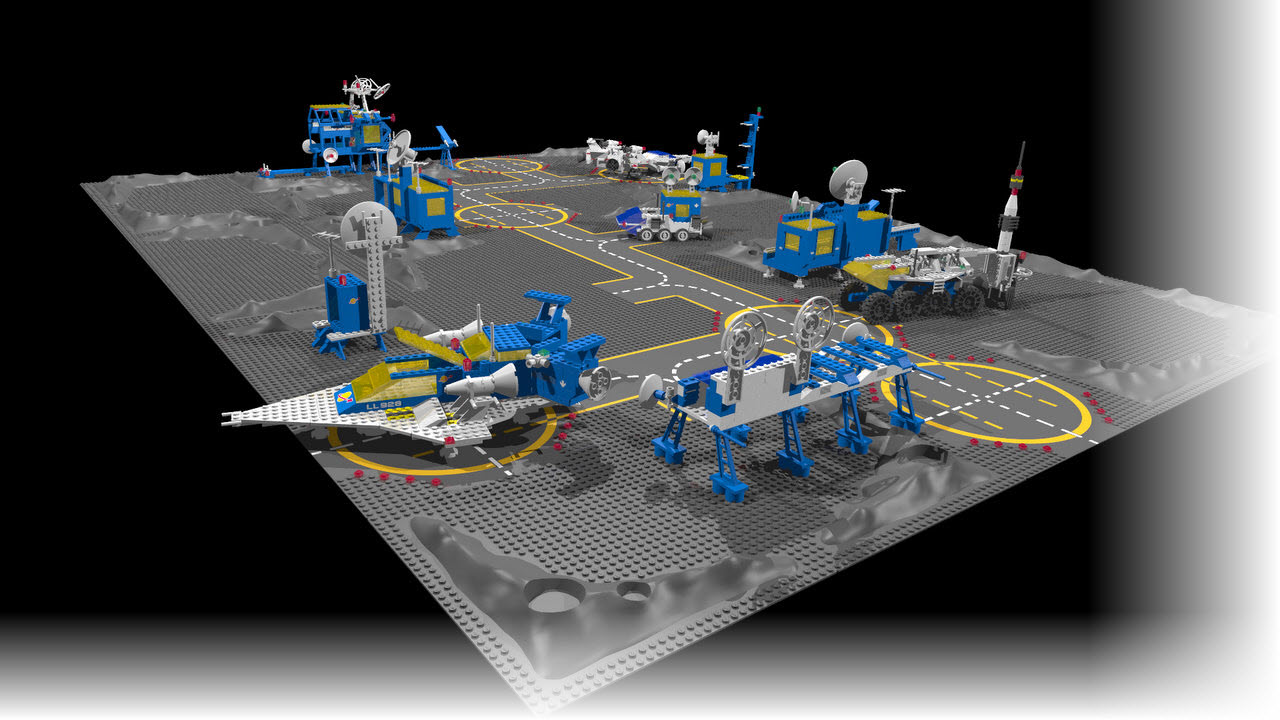
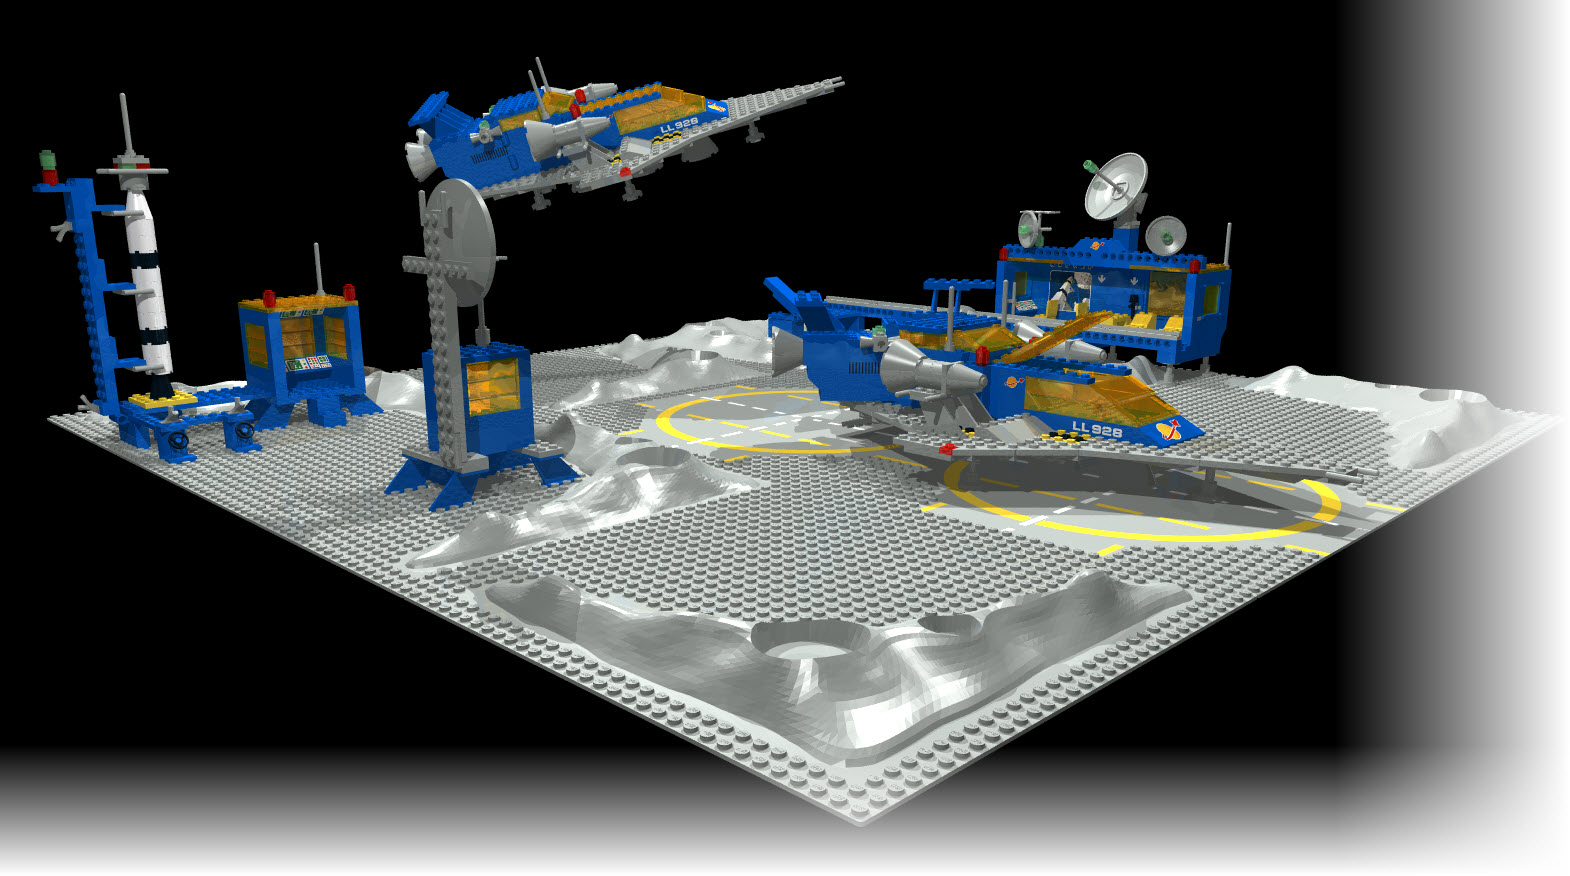
As promised in my earlier post today, I was working on adding some of the assembled LEGO Spaceships and Ground Vehicles to the overall Luna 2013 display. This has been done now and the following units have been inserted:

  • LEGO 928 Galaxy Explorer Ship
  • LEGO 6929 Starfleet Voyager
  • LEGO 6950 Mobile Rocket Transport and
  • LEGO 6927 All-Terrain Vehicle

Especially building the Mobile Rocket Transport was a challenge: it has so many nested rotation points that it was quite difficult to construct. But as you can see – it has a twisting rear gear unit and can extend the launch arm just perfectly… well worth the effort.

Tomorrow, I will hopefully get a chance to add some more vehicles of the smaller and smallest sets and this will also be the time to add some of them not placed on the ground but actually flying – something you can only do in the computer-generated images…

Posted in LEGO | Tagged | Leave a comment

A composition of LEGO Classic Space Sets

An old Photo…

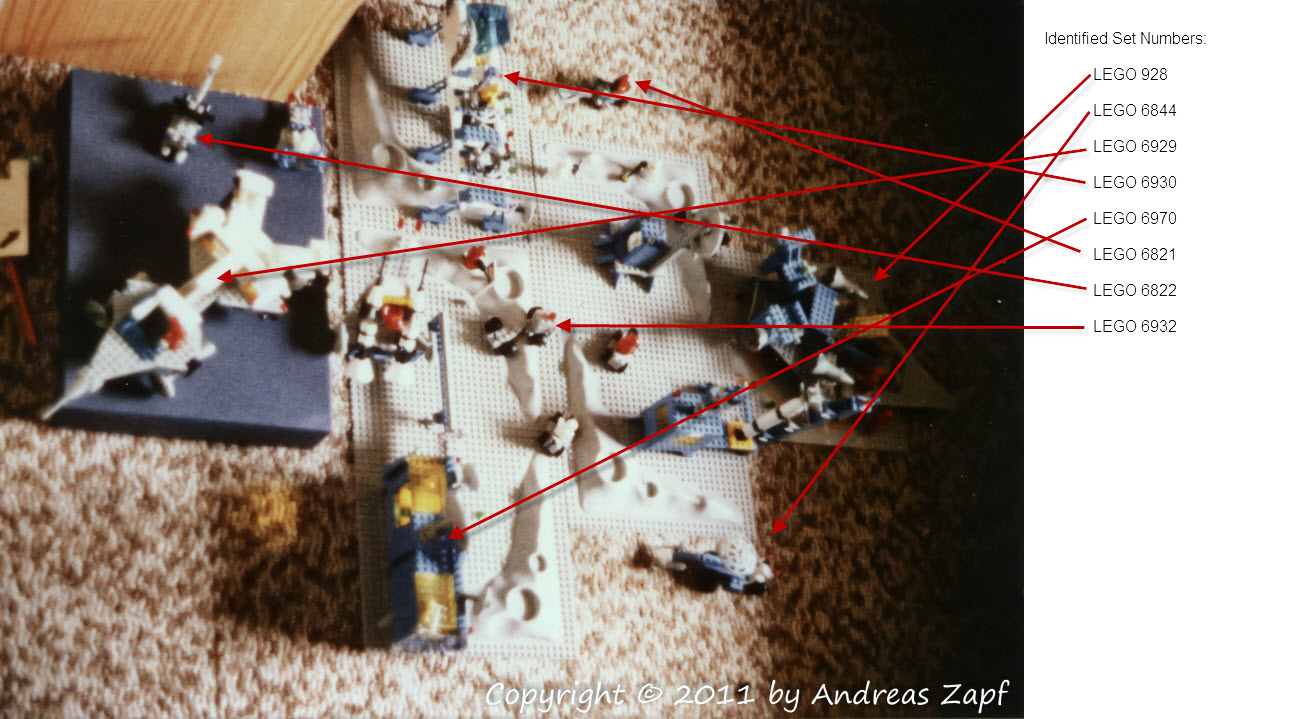
A little while ago, I found an old photo – must have been taken around Christmas 1983 – of a composition of LEGO Classic Space Sets. Those where the ones I once owned and played with. Unfortunately, the image is out-of-focus (those where the days where you did not have digital cameras to immediately see the results of your shots) but I was still able to identify the LEGO Sets involved.

From left to right, you can find the following sets:

There are also three more of the smaller Sets,

Some of the smaller LEGO Sets may not have made the composition for I remember having a couple of those as well – although they are not on the photo  – amongst them

And, of course, there had been a few of the larger LEGO Sets I never owned – two few Birthsdays & Christmas’s to gather them all (for they had not been cheap at all when it comes to the comparison of cost and available budget for a 10-year-old):

  • LEGO 6950 Mobile Rocket Transport I remember I always wanted, but having been released in 1982, it is quite possible that it came too close to the end of my time playing with LEGO to actually put it on anybody’s wishlist,
  • LEGO 6927 All-Terrain Vehicle was fascinating because of the large blue windows (which just had been introduced and looked pretty “futuristic” at that time),
  • and LEGO 6980 Galaxy Commander which – being available in 1983 – did get in a bit late (as my focus shifted to Computers around 1984/85).

Bottom-line is that I did own quite a few of the then available LEGO Classic Space Sets – and I am truly upset not knowing where they are today (as I have once “borrowed” them to a friend and then completely forgot about them).

… and today’s Virtuality

Today, if you want to enjoy the looks of the Classic Space Sets (and not play with them) you can have that for free (and a bit of work). In my previous posts on the topic, I have shown you what software is needed and some techniques to build and render the LEGO Classic Space Sets on your monitor.

Since then, I have created most of the major Sets and some of the smaller ones using MLCad. I even did a quick & dirty Small Composition and rendered it.

Now, the time has come to put all that work together into a large Space Station Ensemble – I nick-name this one Luna 2013 as the photo in my album is labeled “Luna 13 Space Station”.

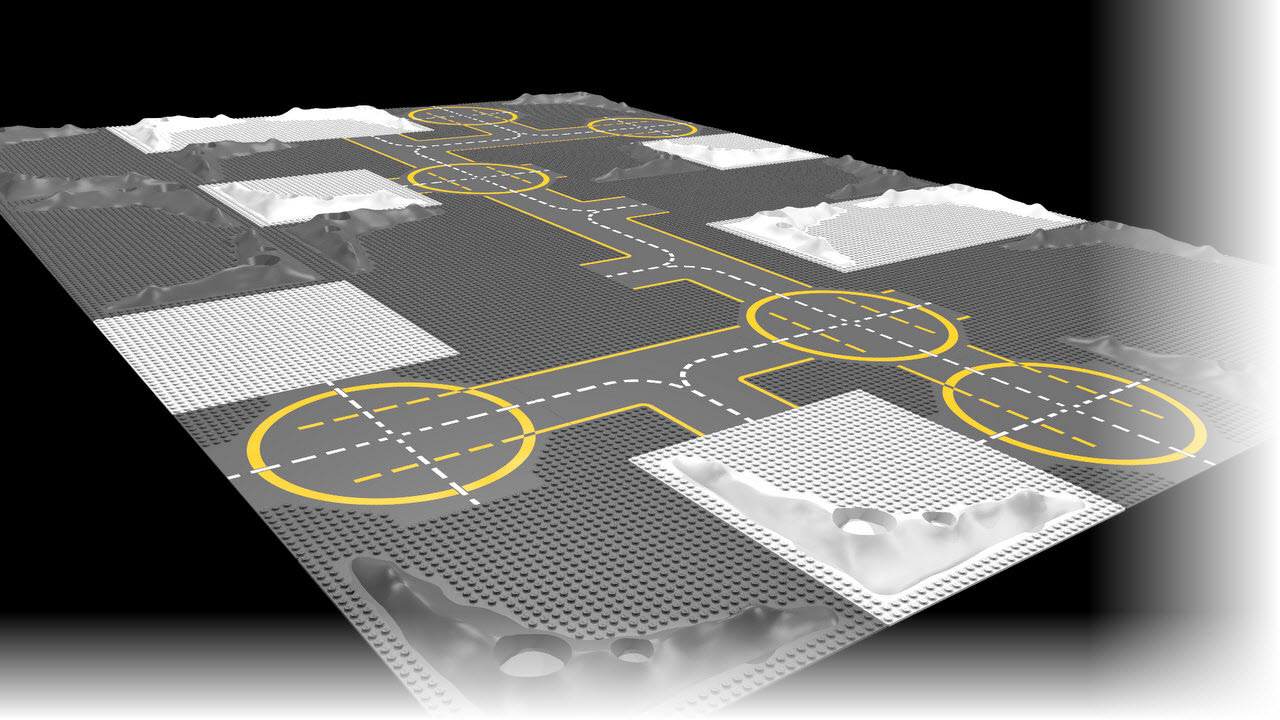
First of all, a layout of base-plates is needed which allows to position all of the desired elements. Unlike the original base plates (which have been sort of light-gray) I have chosen mine to be black (which when rendered turns into a darkish gray due to the reflection settings).

Being not limited by the supply of base-plates (which back in the 1980s was a constant problem due to cost and the space they use up!) I picked a 7 x 5 pattern – so 35 base-plates altogether.

This is a huge scene – setting this up in reality would provide some problems due to the number of base-plates needed. The lighter ones are of the original color the base-plates had (too light for my taste when it comes to rendering) and they are the placeholders where we will add the assembled base stations later.

But first, we are going to add some red position lights around the landing pads. I am doing this for the moment to serve as placeholders – when digging a bit more into the rendering, I would like to replace those with actual lights later-on…

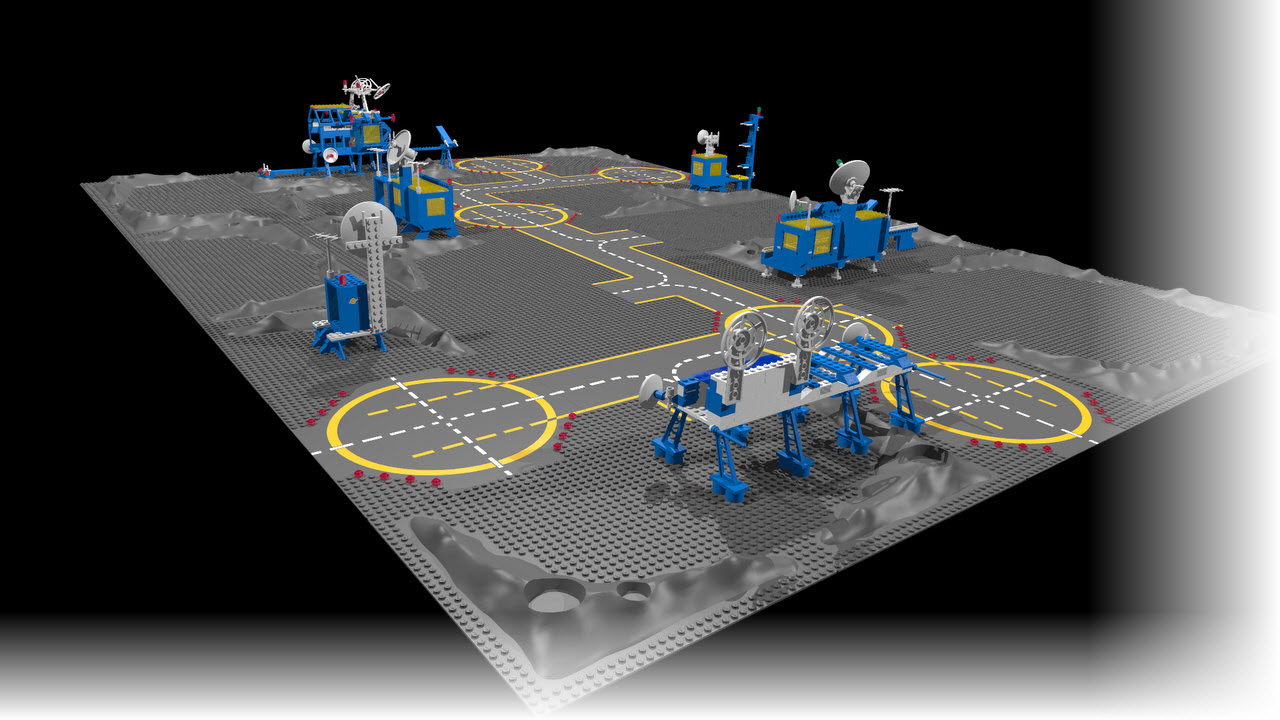
Now is is the time to place the LEGO Sets – at the moment without any astronauts or vehicles. We will add those later. So starting in the “1 o’clock position” and going clock-wise, we are adding the following LEGO Sets (all created as independent MLCad Projects and merged using the Multipart -> Import Model feature):

So this is a well-equipped Space Station in LEGO Terms – the next step will be to add some of the larger LEGO Set Space Ships (such as the LEGO 928 Galaxy Explorer Ship and the LEGO 6929 Starfleet Voyager) as well as some of the major ground vehicles (such as the LEGO 6950 Mobile Rocket Transport and LEGO 6927 All-Terrain Vehicle sets). But that will be another post…

For now, just enjoy the (still life-less) scenery and the upcoming posts…

Posted in LEGO | Tagged | Leave a comment

A final LEGO Composition for the Weekend

I have been busy this weekend – and here is the final result – a composition consisting of

  • LEGO Set 483 – Alpha-1 Rocket Station
  • LEGO Set 497 – Galaxy Explorer (with two Ships)
  • LEGO Set 6970 – Beta-1 Command Base

All put together on a 3 x 3 Base Plate Set and rendered using POV-Ray. I admit, a bit of life is missing (no astronauts, no vehicles yet) but I am working on it… enjoy.

Posted in LEGO | Tagged | Leave a comment

MLCad & Rotations – how to construct LEGO Items with Hinges?

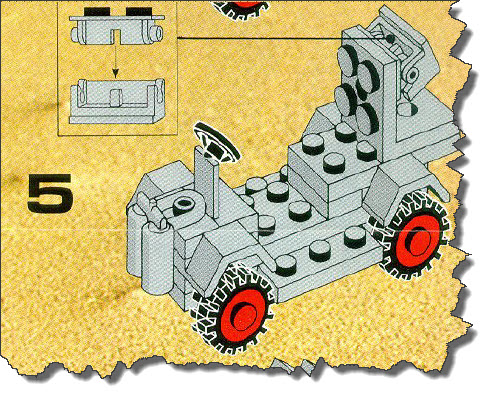
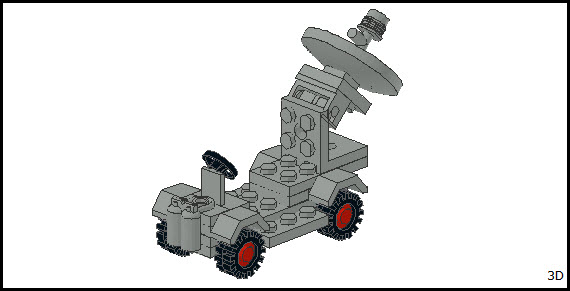
Sometimes, when building LEGO Sets, you come across items that require a “twist” – hinges or cars with trailers, for example. The LEGO Set 889 – the Radar Truck – is such an example.

So let’s fire up MLCad and quickly build the Radar Truck – at the same time, we can also explore how to separate our construction into logical steps, mimicking the step-by-step approach in the instructions.

Adding some Structure to the MLCad Project

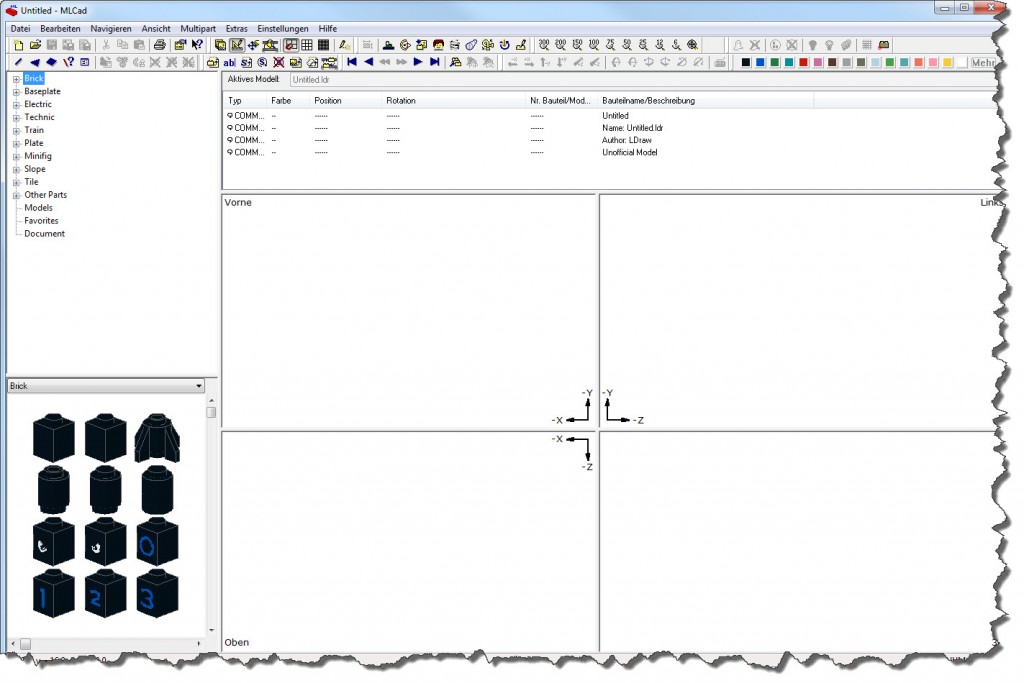
When MLCad is fired up with a new project, the screen more or less looks like this:

Across the top, you will find your Toolbars, the left side is taken up by the Parts Tree and the majority of the right side is dedicated to the 3D Construction Area. Just above the Construction Area, you can find a small frame with four default entries – this one we call the Model Part List.

The Model Part List currently holds four entries which are marked as Comments. If you want to add some information to your model, this is the way to do it.

You can change any entry by double-clicking it and you can delete one by either hitting the Del Key or using the Erase command.

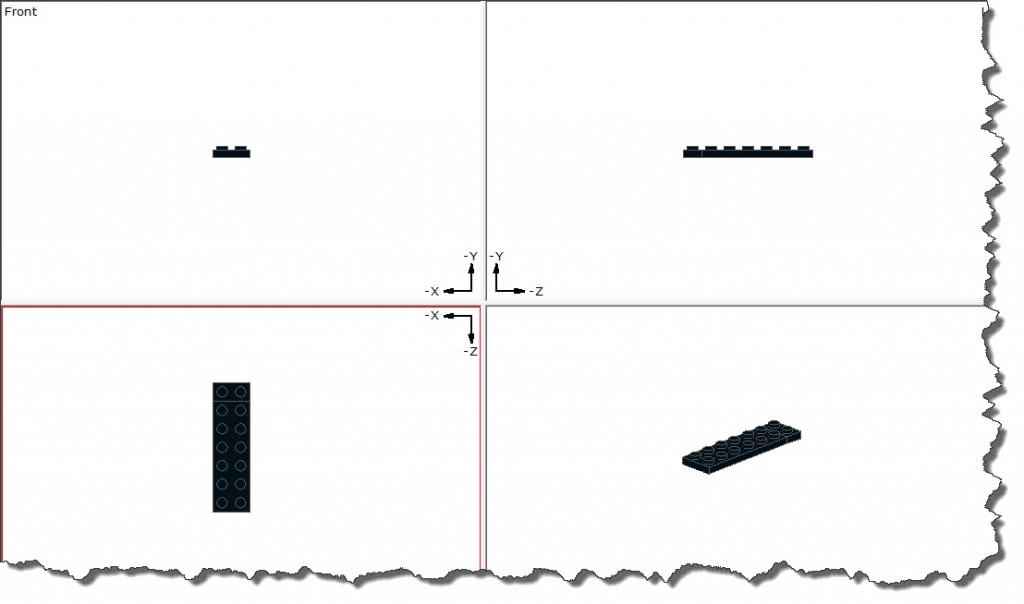
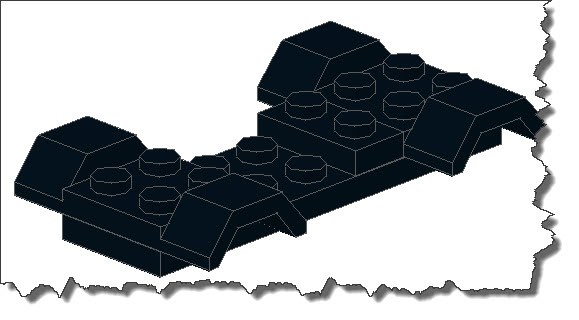
Now let’s place a first bricks of the model – Step 1 asks for just two bricks – a Plate 2 x 6 and a place 1 x 2. Adding them gives you the following screen:

However, we are currently more interested in the Model Part List window. This is now also containing the two items we have placed in the model:

Each one of them is identifies as PART, showing it’s Color, Position and Rotation Information as well as the Model Definition File. Finally, it specifies the Part Name.

Now, let’s add the three items from Step 2 of the Instructions – two mud covers (#3787) and a Plate 1 x 2.

Our Model Part List also show the additional bricks – however, there is no way to distinguish the two steps from each other – we are seeing all bricks used in the model…

What we can do is to add a Step using the Edit -> Add -> Step command. The Step is added after the Item that is selected in the Model Part Window – so you need to select the Plate 2 x 6 in our example above.

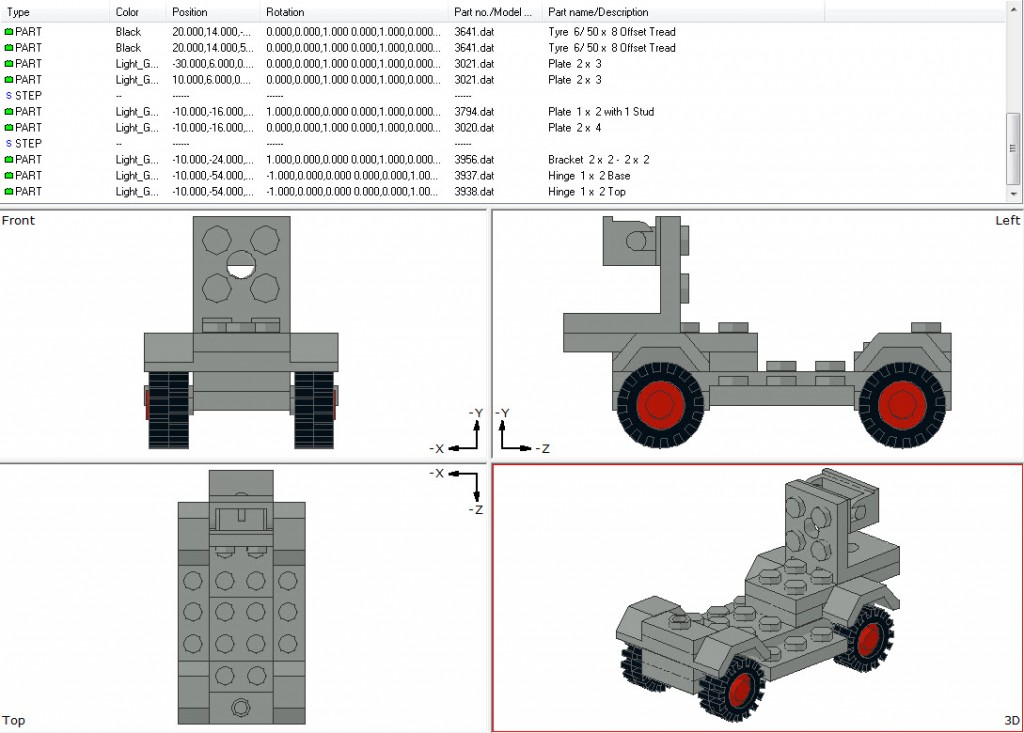
As you can see, the two mudguards are included in the Step – but the Plate 1 x 2 (which I have created by duplicating the existing one) is not part of this Step. But you can drag & drop it within the Model Part Window to make it part of this Step. It will be moved before the Part you drop it on. Finally, you can select the last Part and add another Step:Now, this is bringing some sequencing and structure into our Model Part Window. It will be helpful with other things later as well. So let’s continue to build the Radar Truck. The next steps will add the wheels and the base construction for the Radar. Eventually, we need to place the Hinge – constructed of two elements, #3937 and #3938 – but without any rotation for the moment. Eventually, we can color all the bricks in the Model Part Window Light Gray now. The current model looks like this now:

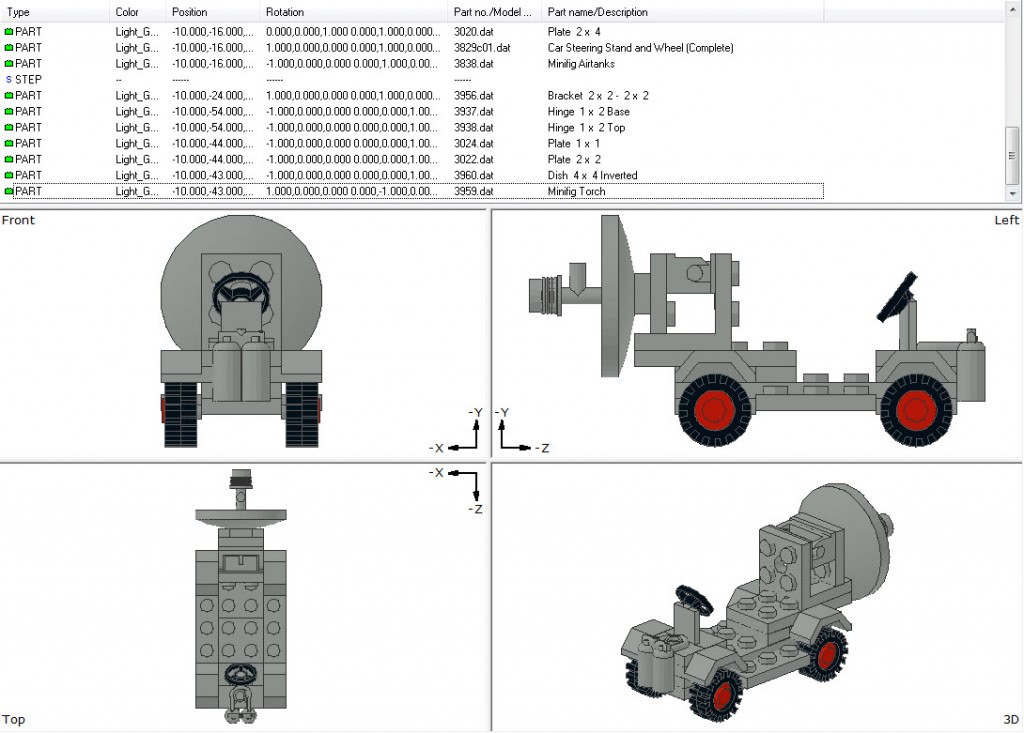
Since we have previously forgotten to add the Steering Wheel and the Oxygen Tank, we add them to the previous step by selecting an appropriate Part there and then add them (remember: they will be added after the selected part).

Finally, we add the Radar Dish, the Mini Torch and the support structure (two plates, 1 x 1 and 2 x 2).

Not it’s time to worry about the rotation – but first, if you have not done so yet, save your project! I have actually gotten used to saving after each Step so I have regular points to fall back to.

Adding Rotation to the Radar Antenna

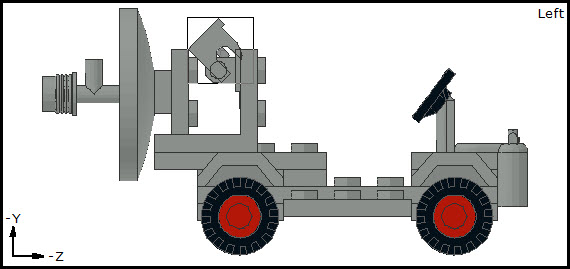
When adding rotation to the Radar Antenna, the logical point – the “joint” – is the hinge and it is the Hinge Base that needs to rotate upwards, let’s say 45° (this is specific to this case, in many other models, you would rotate the Hinge Top!).

If you simply select the Hinge Top and rotate it along the X-Axis, you will not get the desired result – instead, you will see something like this:

Of course, we have just selected the Hinge Top so we just rotated the Hinge Top – so let’s rotate that back to its original position and then select the entire set of elements with the Hinge Top being the first to select and then the other ones added by holding down the Shift Key and selecting the last one.

Selecting the Hinge Top first is crucial – because MLCad has the ability to rotate the other elements and re-calculate their position in the X-, Y- amd Z-Axis in relation to the first element rotated!

If you want, you can download a little rotation helper from this website – it does not change any of the described functionality but adds a visual indicator of Joints which might be a nice thing to have for some:

The Installation and usage is explained on the site pretty well – I think, it is a neat tool to work with but only if you like. You can achieve anything we have done so far without it.

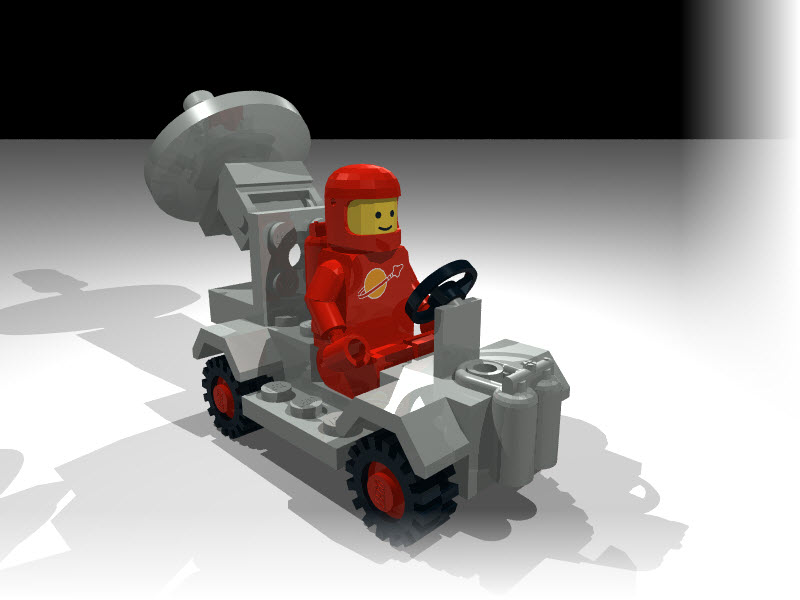
By the way – I again rendered the resulting scene – with an added Red Spaceman bearing the Classic Space Logo for final satisfaction…


Posted in LEGO | Tagged | Leave a comment