It’s been a little while since I bought the last ORBX products – the last airport scenery was a small airport, Fall City (1WA6) which I had reviewed earlier. After a longer absence from Flight Simulator X, I decided it was about time to pick it up again – and I was looking for a new destination.
As always, I wanted something I am somehow attached to – and Jackson Hole reminds me of a visit in 1996 when I was passing through the area with a friend. So yesterday, I flew my virtual Cessna from Fall City all the way to Jackson Hole (with nothing but the ORBX Central Rocky Mountains scenery to cover the airport and surrounding area) – today I am adding ORBX KJAC Jackson Hole to it.
Purchase & Download
Once more, I have purchased the scenery from Flightsimstore’s Website at a price of 32.95 AUD. Not knowing the exact conversion rate yet, I am thinking this will turn out to be just around 25 EUR.
Fall City came at a download size of roughly 620MB, Jackson Hole is bringing 4.1GB(!) so I am somewhat grateful for my 100MBit Internet Connection…
Purchase and payment did not pose a problem – the download, however, picked up very slowly, suggesting a total download time of about 4 hours at first… a few minutes into the download, the performance got much better though. In the end, the download took me roughly 15 minutes with an average transfer rate of about 6 MB/s. That is a very good performance, making it easy to decide on a download product even of that size!
Installation
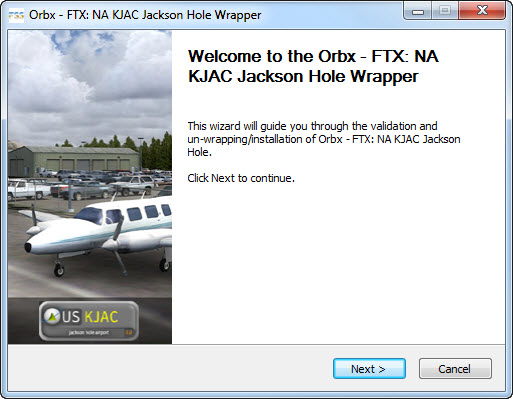
The installer comes in either three files or a single package (the one I downloaded). All files are to be extracted and placed in a single directory. As a result, you will receive three setup files (OrbxFTXNAKJAC100.exe, FTXNAKJAC100_Setup2.exe, and FTXNAKJAC100_Setup3.exe) which is funny because the readme file says “run the executable” – now, you got three of them 😉
And in the first version of this post, I said “You only need to run the first one…” – which ultimately is wrong: you need to run all three installers in sequence to get the full ground texture coverage (the second installer creates westsim_KJAC_PR_15cm_projected.bgl, the third one creates Westsim_KJAC_PR_1m_C.bgl and Westsim_KJAC_PR_1m_D.bgl) – if you only run the first one, everything will look OK but you are running on low-resolution ground texture (most likely coming from ORBX Central Rocky Mountains).
The installation does require the confirmation key I had by now received from the Flightsimstore as well as an Internet connection. With all information equipped, the installation went smooth and without issues (once I knew to run all three installers as mentioned above!)
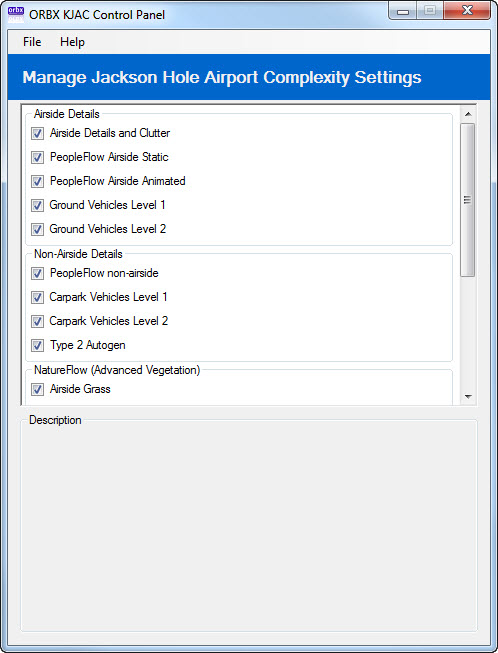
Did it install properly? Well – at least the FTXCentral Software lists the new addon and also the KJAC Control Panel is available on the system.
Now it is time to fire up the Flight Simulator to see what has changed…
Location & Default View
The Jackson Hole Airport, KJAC, is located north of Jackson Hole, Wyoming and just south of the Grant Teton National Park. A bit further to the north, bordering on Grand Teton NP is Yellowstone National Park.
The default (or rather ORBX Central Rocky Mountains default) view can be seen from my post yesterday which includes a few screenshots of the airport itself.
Configuration
If you want to be fair with the developers (and the product), its a good advice to read the manuals first (I know, most of us rarely do but if you don’t, you cannot complain about bad performance or odd behavior). So here are the recommended settings based upon ORBX’s user manual:
- Level of Detail Radius: Large
- Global Texture Resolution: Max
- Mesh Complexity: 100
- Mesh Resolution: 5m (which is marked as the required setting)
- Texture Resolution: 15cm
- Scenery Complexity: Extremely Dense
- Autogen Density: Normal – Dense (based upon ORBX Recommendation)
- AI Traffic: 16%+
- Road Vehicles: 16%
- Leisure Boats: 1% – 16%
These settings comply with the ones suggested for 1WA6 so there should not be an issue…
Taking a first Look
With their beautiful sceneries, ORBX has been facing an issue: people cannot really explore them using FSX default methods! You can fly around them – but you cannot “walk” around them (after all, this is a “Flight” Simulator…)
ORBX has come to their very own solution to the issue: they have created BOB. BOB is an “aircraft” for FSX but a special one as it resembles a 1st Person perspective and can be used to “walk” a scenery… it can be downloaded for free on their website.
 I am starting my tour at the helipad – seems to me the safest place to start exploring “by foot”.
First on my way is the passenger terminal – a Delta airliner is awaiting boarding, its passengers assembled outside, neatly in line to get on board.
These are “static” – but on the other side, a couple of people are actually animated with what ORBX calls People Flow. In my review of 1WA6 Fall City, I mentioned that there are too few people with animations to make a difference to me – here, in KJAC, there are a good couple more. If I will notice them when I am in my aircraft, taxing to and from the runway remains to be seen – but I have to admit they fit into the scenery very well and their movements are quite well animated.
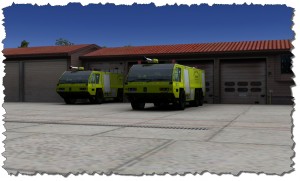 Continuing a bit further down the row of buildings, I run across two fire trucks waiting for any accident or emergency that might call them to duty – so far, no such event is in the air but Jackson Hole is know for some accidents, especially during winter time.
Speaking of winter – I tried to switch from summer (making up for nice screenshots) to winter just to see if anything will happen to the static and animated people… well, I guess that emergency I was talking about draws closer: the poor folks are standing outside in the freezing temperatures with nothing but their short-sleeved shirts on… well, just a minor detail but I thought I’d mention it…
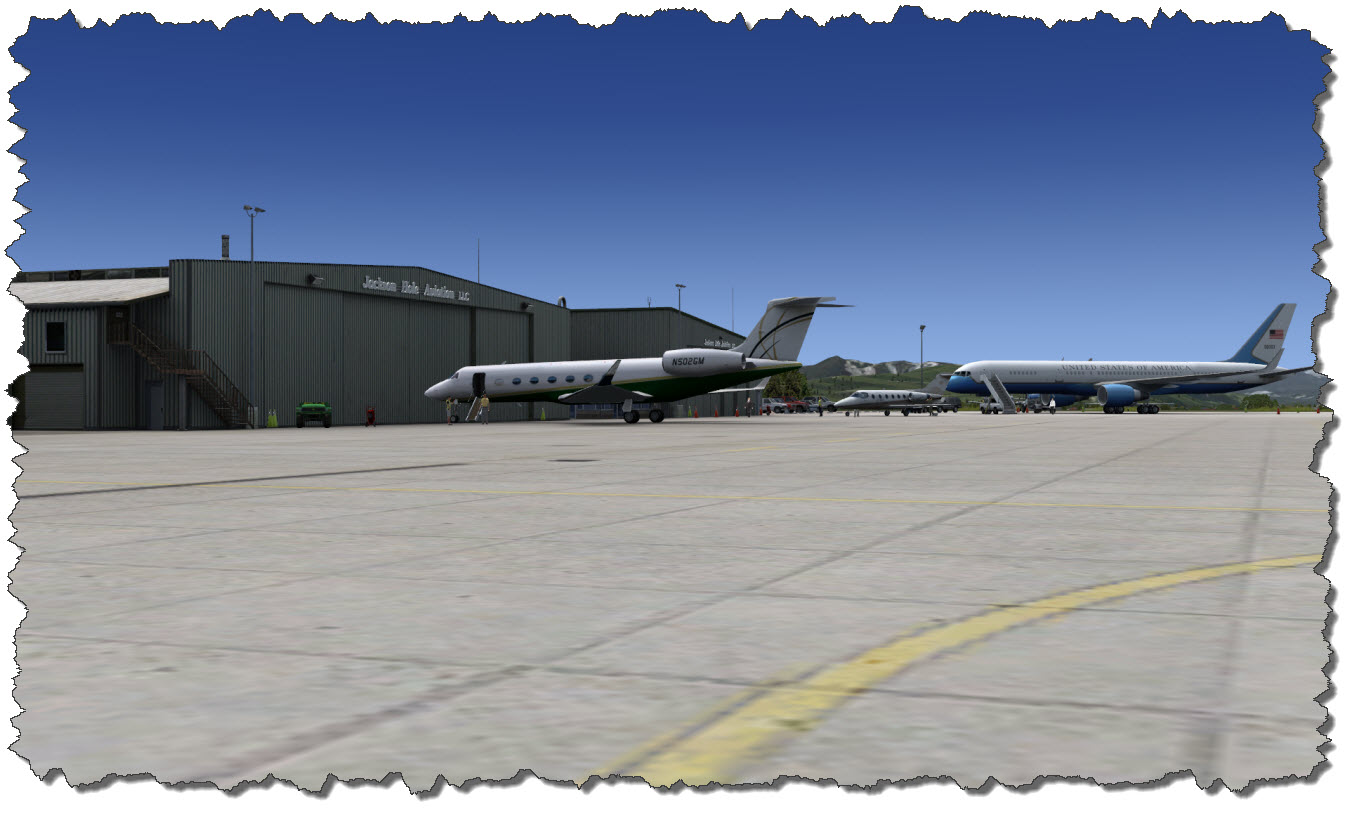
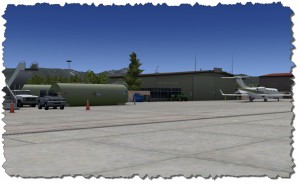 Following the line of buildings even more you will bump into a series of office buildings, maintenance shacks and gas tanks – all of these are modeled and textured in the ultimate ORBX quality – I have not come across any real photos of the airport yet so it impossible to say if the buildings and textures are accurate – but they sure look great. In front of the hangars, multiple people are working on aircraft, servicing them and cleaning them. There even is a US Government Jet parked in the far corner, complete with a set of limousines to transport some VIP to vacation…
 Walking over to the runway, the magnificent scenery of the Grand Teton Range is taking all of the horizon – a beautiful sight.
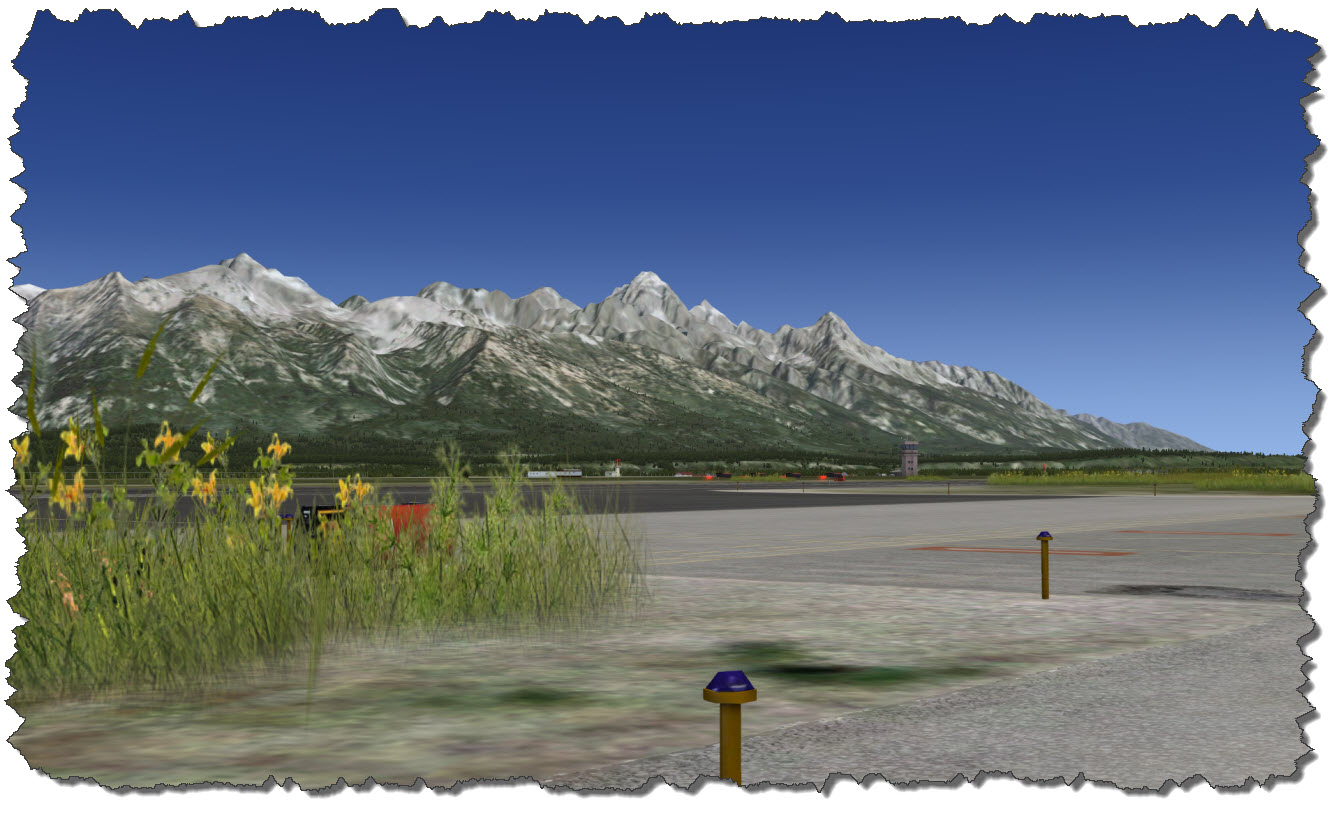 I am crossing the runway – of course I have asked permission first! – to explore the far side of the area.
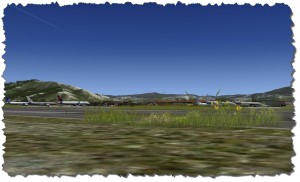 From here, you get a pretty good view of the apron area and the planes parking there – static and dynamic.
It is neat to see how well the static aircraft blend into my dynamically created AI Traffic coming from Ultimate Traffic 2 – things fit together very well and provide for the atmosphere of a truly busy little airport – not too much but also not dead with the occasional plane once every hour or so. This place is well alive!
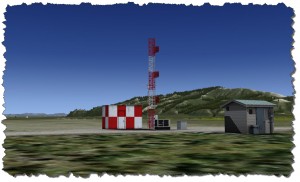 Care has also been applied to the areas of the airport that you usually won’t see that close – like the approach system located next to the northern end of the runway.
When on final approach, you may catch a glimpse but usually you will be too busy to really care – still, it has been nicely worked out an textured – including “weathered” colors to not make it look brand new and flawless.
Done with the ground exploration, I decided to get onto a small glider and explore the area “from the air” – making several passes as lowest possible level.
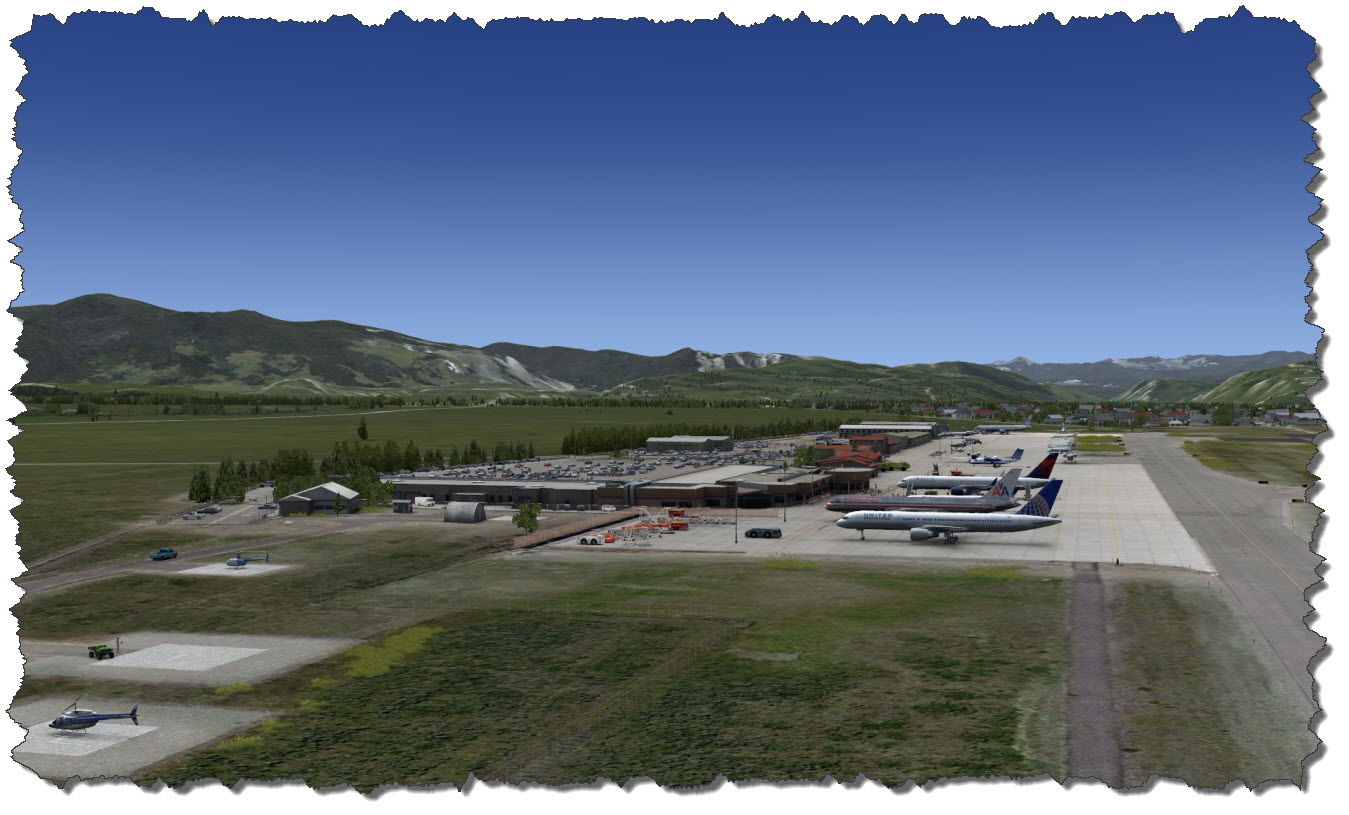 As you can see – the modeled area does not end with the tarmac – it stretches beyond, to the other side of the buildings where the parking lot and other items are located.
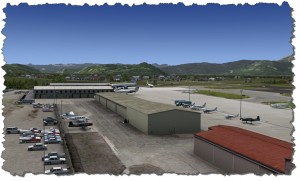 Looking at the backside of the maintenance hangars reveals an old aircraft there – possibly a parked TA-6 Texan.
The picture also shows that the airport is quite busy with General Aviation traffic – many people stopping by in the region for rest & recreation take the trip here by their own personal aircraft. The ones better off fly in with their smaller jets although airlines will serve the airport with aircraft as big as a Boeing 757.
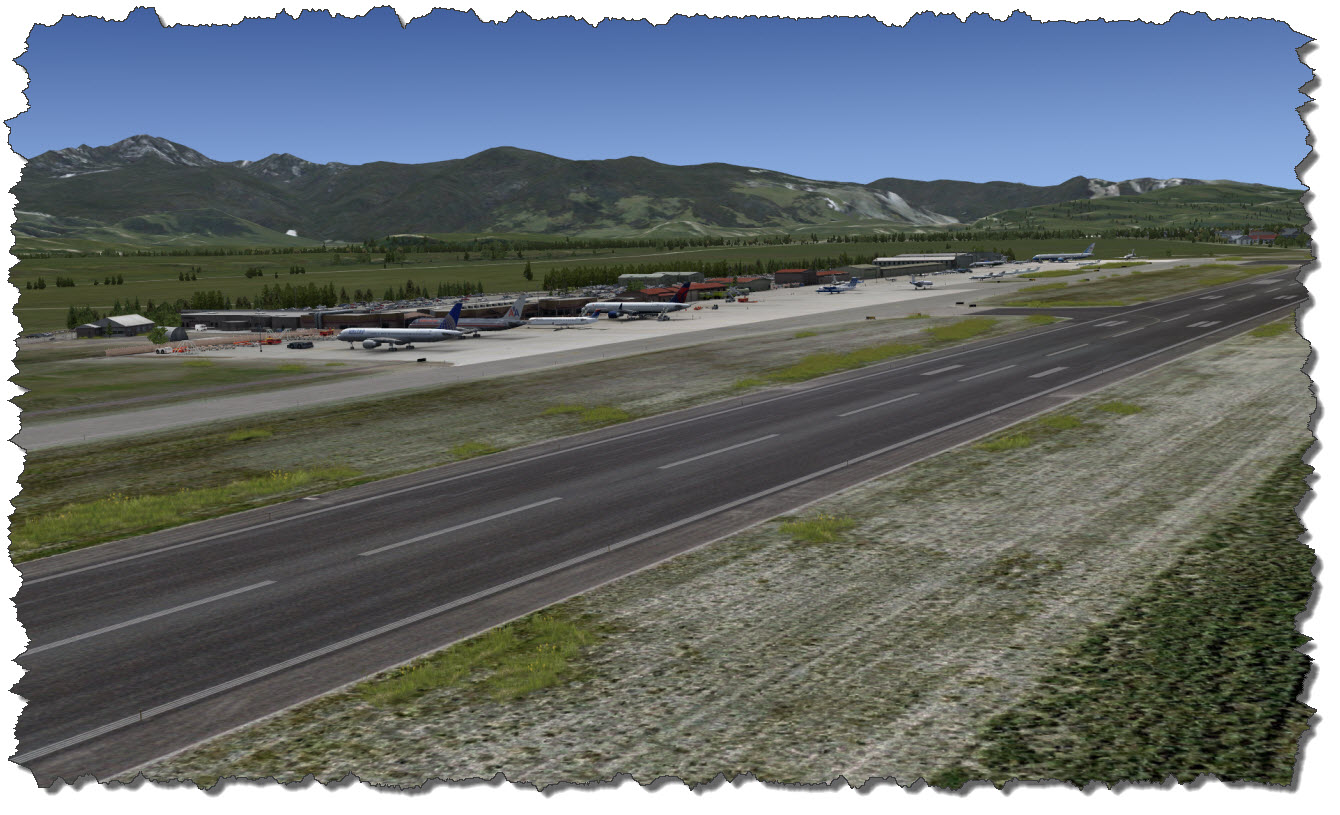 With the last look back at the busy little airport, it is now time to start exploring the area around the airport – especially the Grand Teton Range.
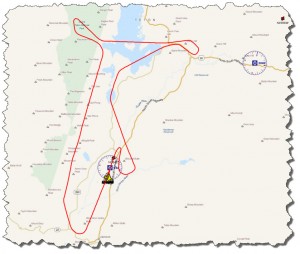 The planned route is pretty straight forwards: as Runway 19 is in operation, I will depart south, climbing to 15,000ft as quickly as I can. I will stay between the West Gros Ventre Butte and the East Gros Ventre Butte, following the river.
When intercepting Route 22, I will turn west and continue to climb. Crossing the Snake River, I will then turn northbound slowly, approaching the mountains which there tower about 10,000ft to 11,000 ft.
Climbing to about 15,000 ft., I will continue northbound, fly over Grand Teton (almost 14,000 ft.) and then take a “high country tour” around Moran Canyon and Eagles Rest Peak. I will then cross Jackson Lake to visit the Snake River again, around Oxbow Bend which I will have to approach flying from east to west for the best view.
Finally, the plan calls for a return via Leigh Lake, Jenny Lake and the Gros Ventre Camping Ground to the airport.
 Once more, I am taking a Cessna T182T to the skies – she is waiting for me and my co-pilot in front of the hangar, parked between business jets.
After receiving the taxi clearance from the control tower, I am tying to the holding point off Runway 19 via taxiways Charlie, Alpha and Alpha Four.
As soon as we reach the holding point, the control tower acknowledges my takeoff clearance.
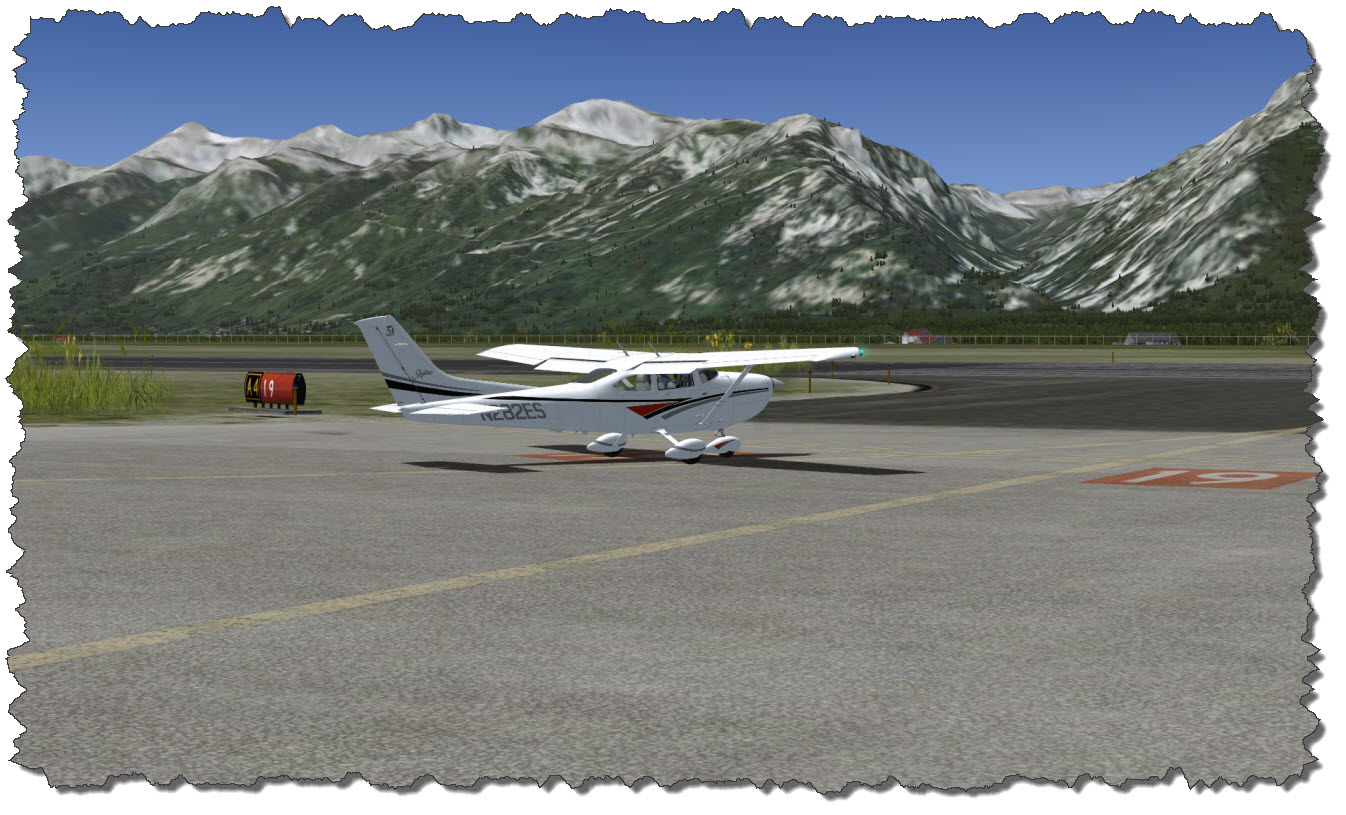 From here, I have a clear view of the mountain ranges to my right, a beautiful sight (and even more beautiful in real life).
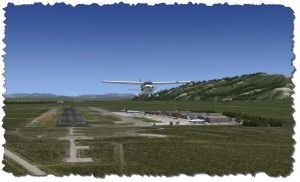 At full takeoff power, I am accelerating down the runway and soon we are airborne. Next thing to do is to gain altitude as quickly as we can: KJAC lies at 6,400 ft., my target altitude is around 15,000 ft. if I can make it but at least above 11,000 ft.
The weather – like ordered for the sightseeing trip – is beautiful: no winds, not a cloud obscuring the view. Leaving the airport we are crossing a housing area with houses spread far apart – the scenery covers the area with an aerial photo and – given a high setting on the number of Autogen Objects – you can see that the scenery designers have really put a house “in every spot”… this is a quite beautiful view.
(Note: in the first version of this review I had remarked that that would not be the case – two things went wrong: the faulty installation caused the wrong ground image to appear and the Autogen slider was not set to the highest level).
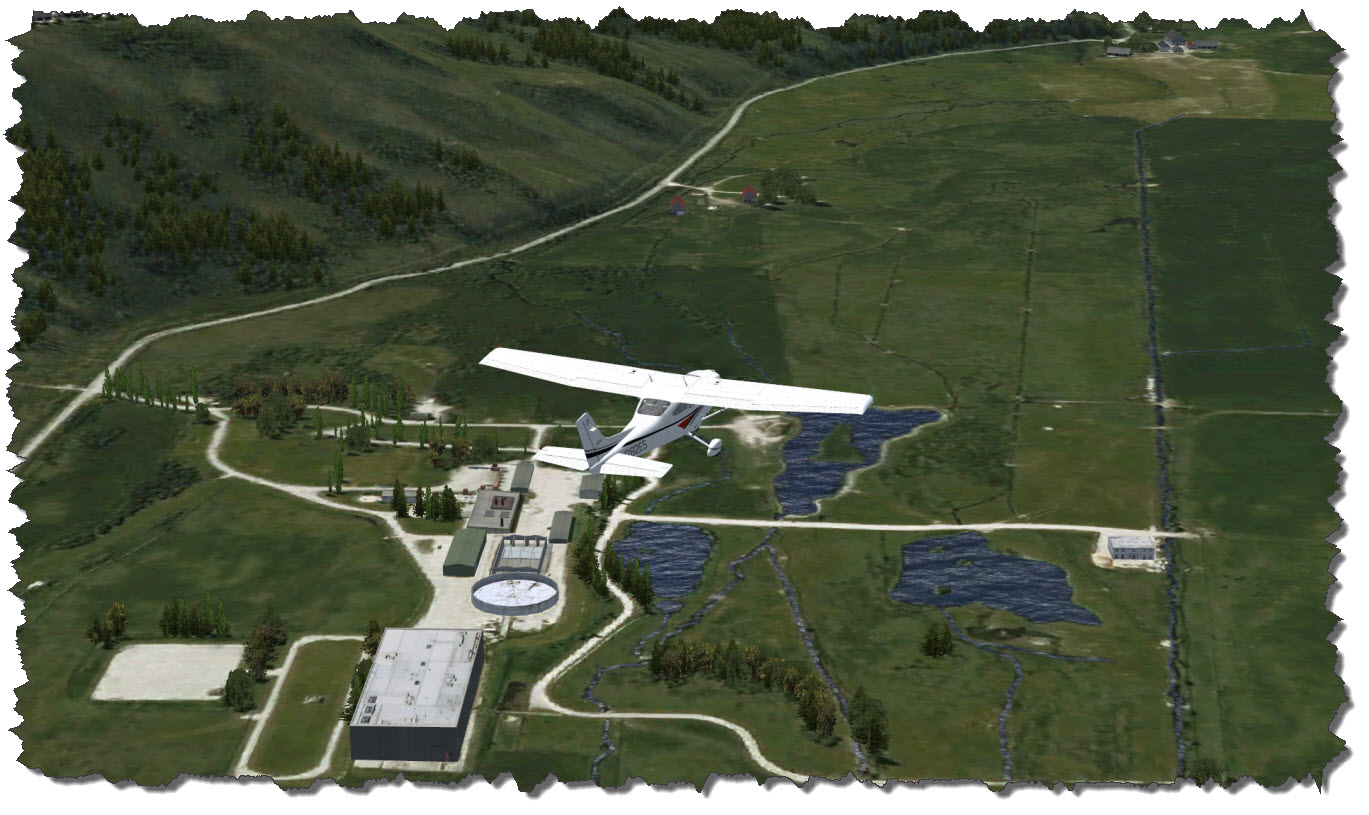 The area remains to be beautifully modeled – the higher I climb, the more the photo-realistic ground texture becomes “real” – trees are put in every place where a shadow is casted on the ground, buildings are places appropriately – it is just a wonderful sight.
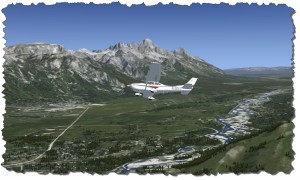 Having reached the southern border of the scenery just north of Jackson, I am turning west and this allows a first glance at the Teton Range – my co-pilot has the better view but I still enjoy it.
There is – by the way – still a bit of altitude to gain but I am making good progress. Stretched out before the mountains are Phelps Lake, Jenny Lake, a but of Leigh Lake and at the horizon Jackson Lake.
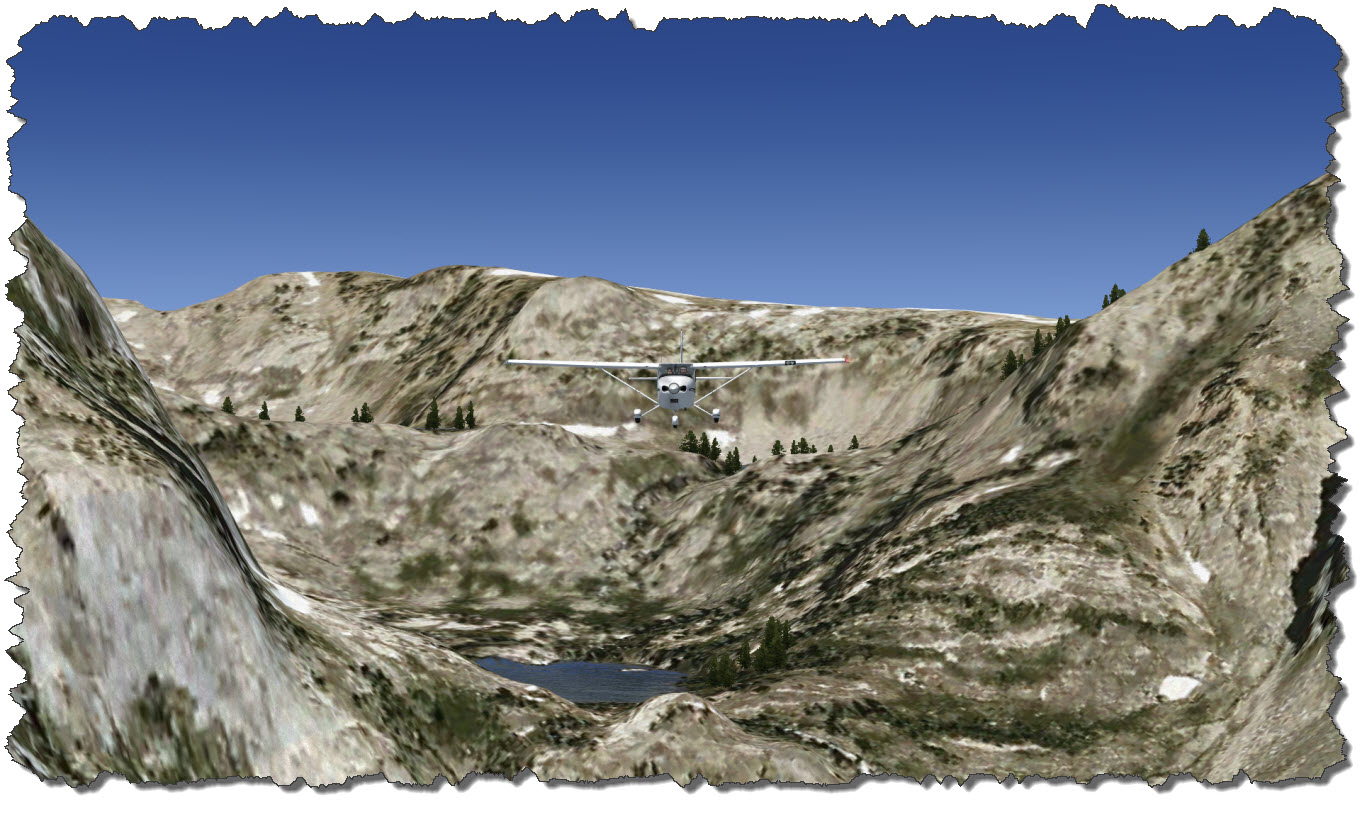
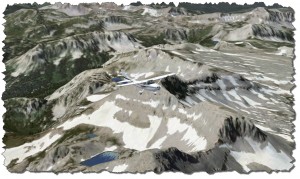 This image of “high country” is taken west of Phelps Lake – approaching Death Canyon.
By now, the Cessna has reached a hight above 12,500 ft. so from here on, it is easy going and keeping my height – I will pass Grand Teton on its western flank.
The mountain mesh is gorgeous – worked out in every details and lakes and canyons can be clearly seen and identified.
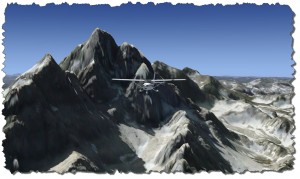 Passing Grand Teton at almost its own height – that is 14,000 ft. – a look back reveals the problems of photo-realistic scenery: the steep flanks of the mountain stretch the image mapped above it and produce very unnatural looks – but that is not the fault of the scenery or the ORBX team – this is merely the fact when using aerial images on meshes that cover high altitude changes in very short distances. Like mountains typically do…
At Moran Bay, I have taken the Cessna into the mountains, flying up the Moran Creek, then taking a left around Rolling Thunder Mountain, just to turn right and fly over Talus Lake.
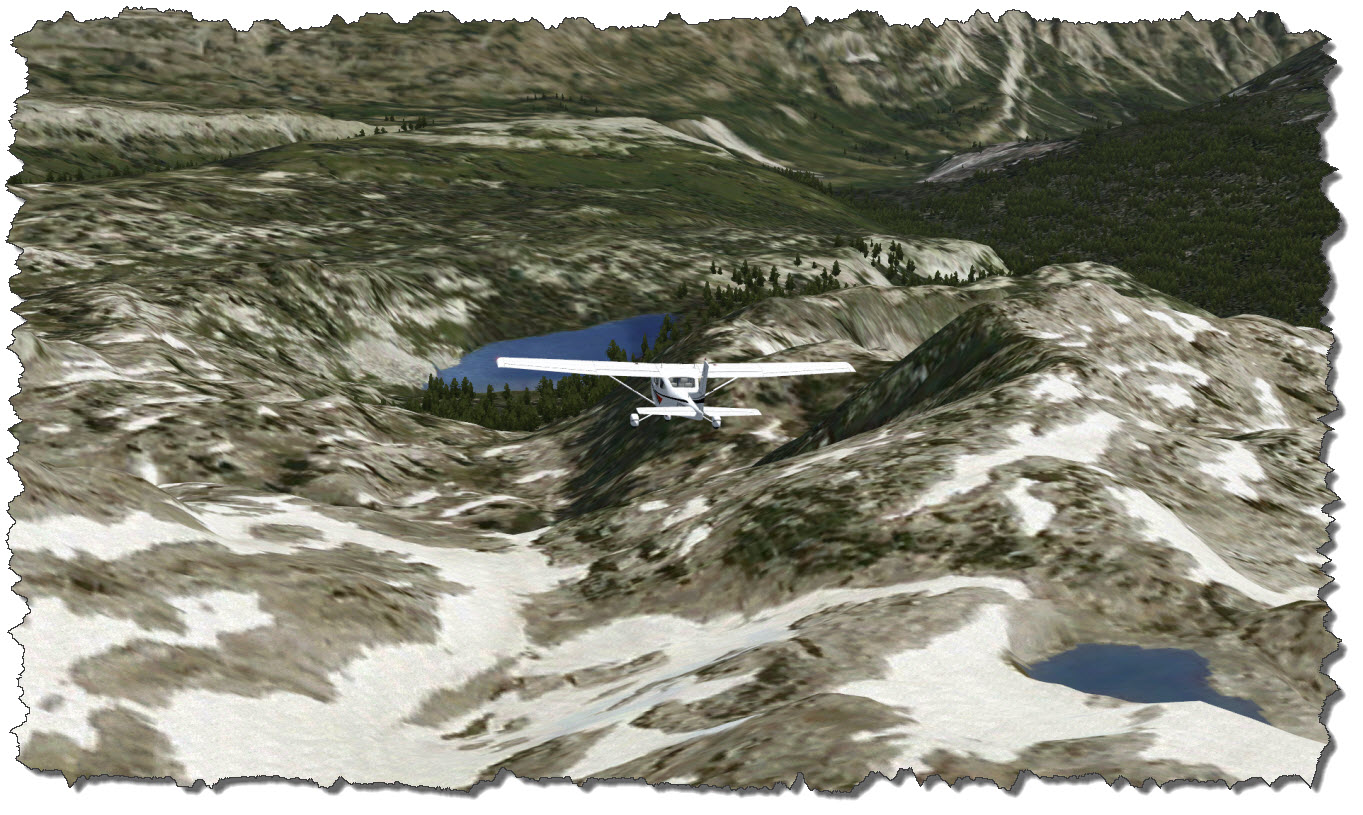 After crossing the lake, it is back down to the lower levels of the scenery – a steep descend along Moran Creek takes me back down to Jackson Lake.
The descent from Talus Lake, starting at around 12,000 ft. down to around 9500 ft. not only takes me across small lakes in the high country – it also shows the beauty of the high-resolution ground texture (which was denied to be in the first flight because of the mentioned installation issues).
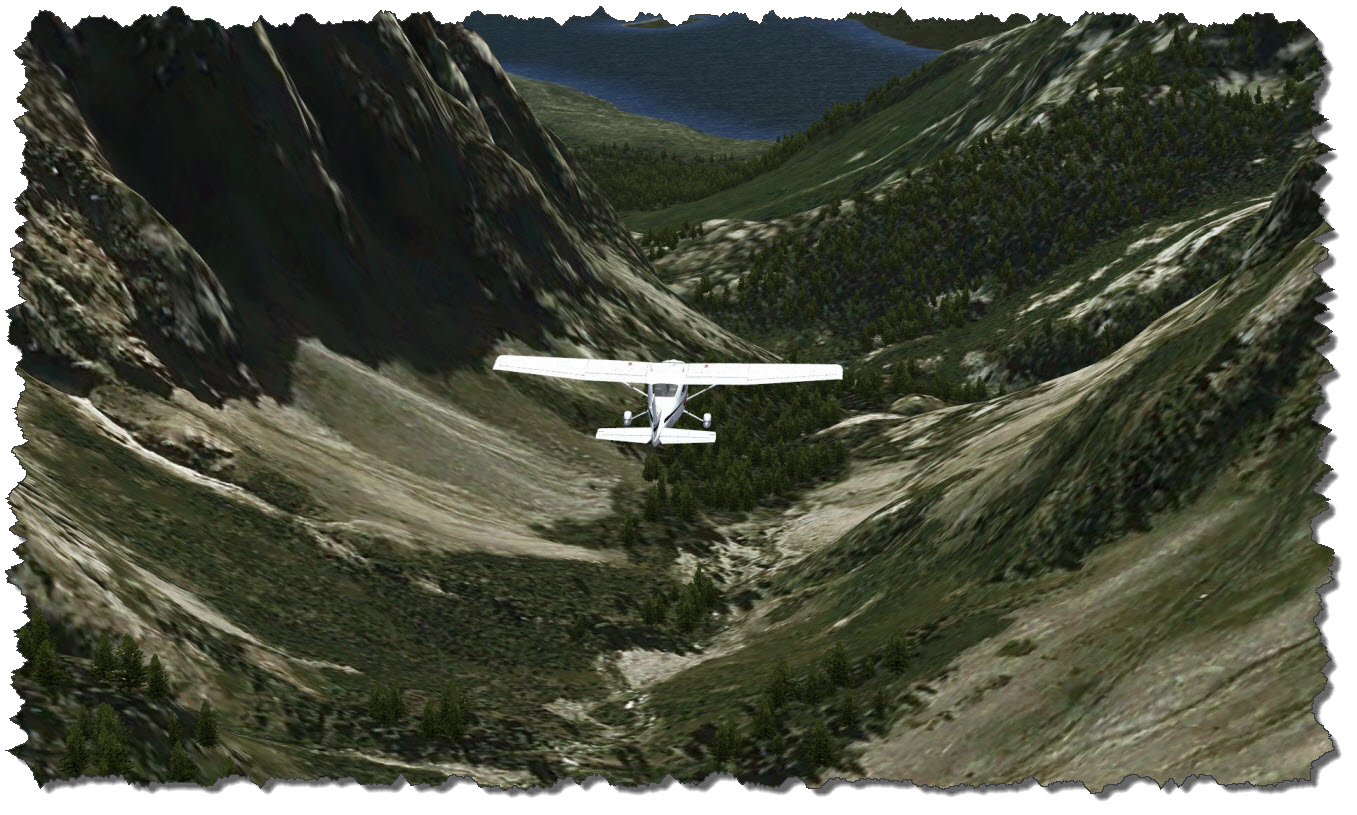 I am crossing the lake, making it to the other shore around Jackson Lake Dam. Trying to approach Oxbow Bend from “the other side”, I am taking a turn around Lozier Hill and then follow th Snake River westbound.
 Having been there in 1996, I remember the area to be easily accessible from the road – not a problem getting to the river in short time.
One should, however, remember that this is a wild country – and the beauty of the nature makes it very easy to leave the worn paths and make own ones – especially if you think you found a shortcut back to the road… in our case, it was two things we found: water in front of us which disallowed us to get back onto the road just here – and a bear footprint in the mud right ahead of us… that is when you realize that the open country has given way to small trees and bushes and you do not really see anything around you… and you start wondering where the heck that bear is… well, I never got to see it but I am not sorry about it…
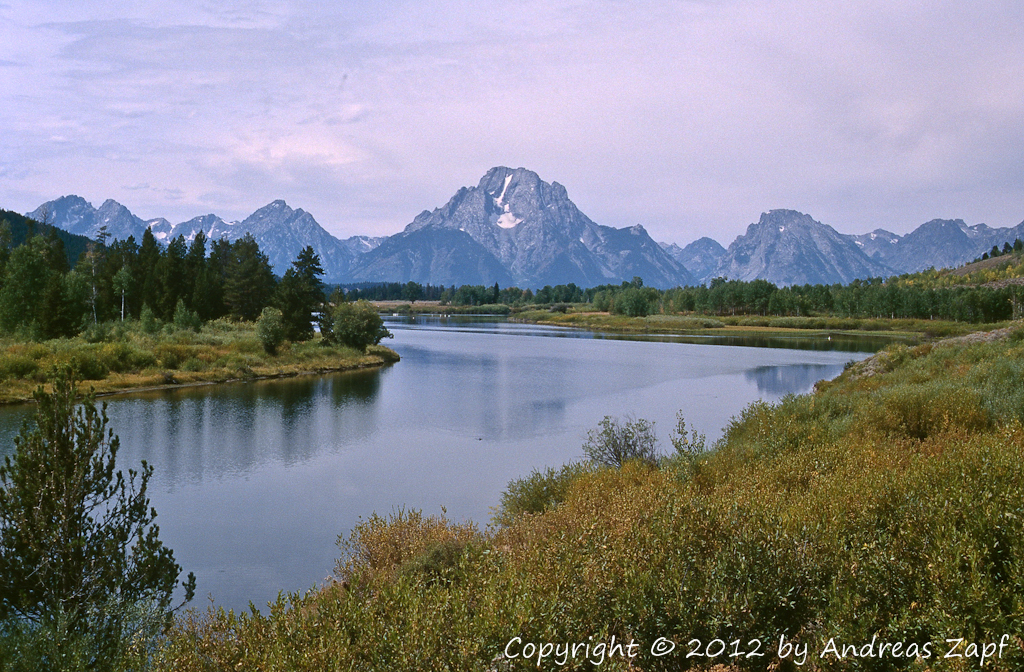
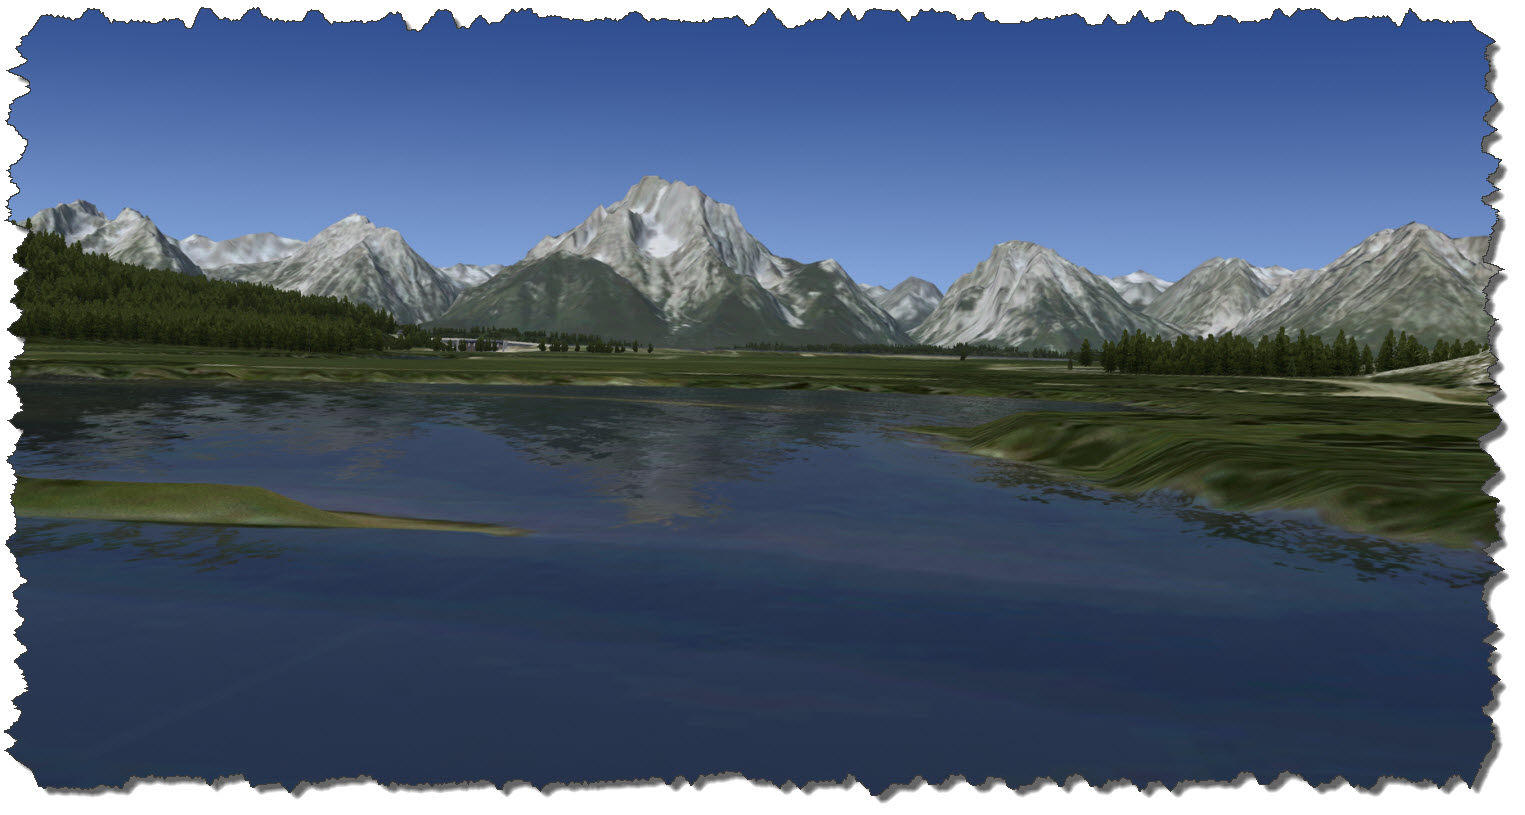 From Oxbow Bend, you have a wonderful view back to the mountains – Mt. Moran being the dark one dominating the view. This is the shot from the simulator – and here is the photo I have taken back in 1996 from about the same location.
 Once more, I am crossing Jackson Lake, heading over to Leigh Lake. Jackson Lake is busy with small boats, even some bigger yacht is lazily cruising along.
 The moon has come out by now, adding to the scenery and I am slowly taking the Cessna along that majestic panorama on my southbound course to Jenny Lake.
Jenny Lake, some people say, is the most beautiful lake in the park. I cannot personally agree to that – but when I was there, the sky was overcast and cloudy – so maybe not the best chances for the lake to convince me. There is a nice scenic walk around the lake though which is taking you to Cascade Canyon and Hidden Falls – if you don’t want to walk back, there is a shuttle boat across the lake.
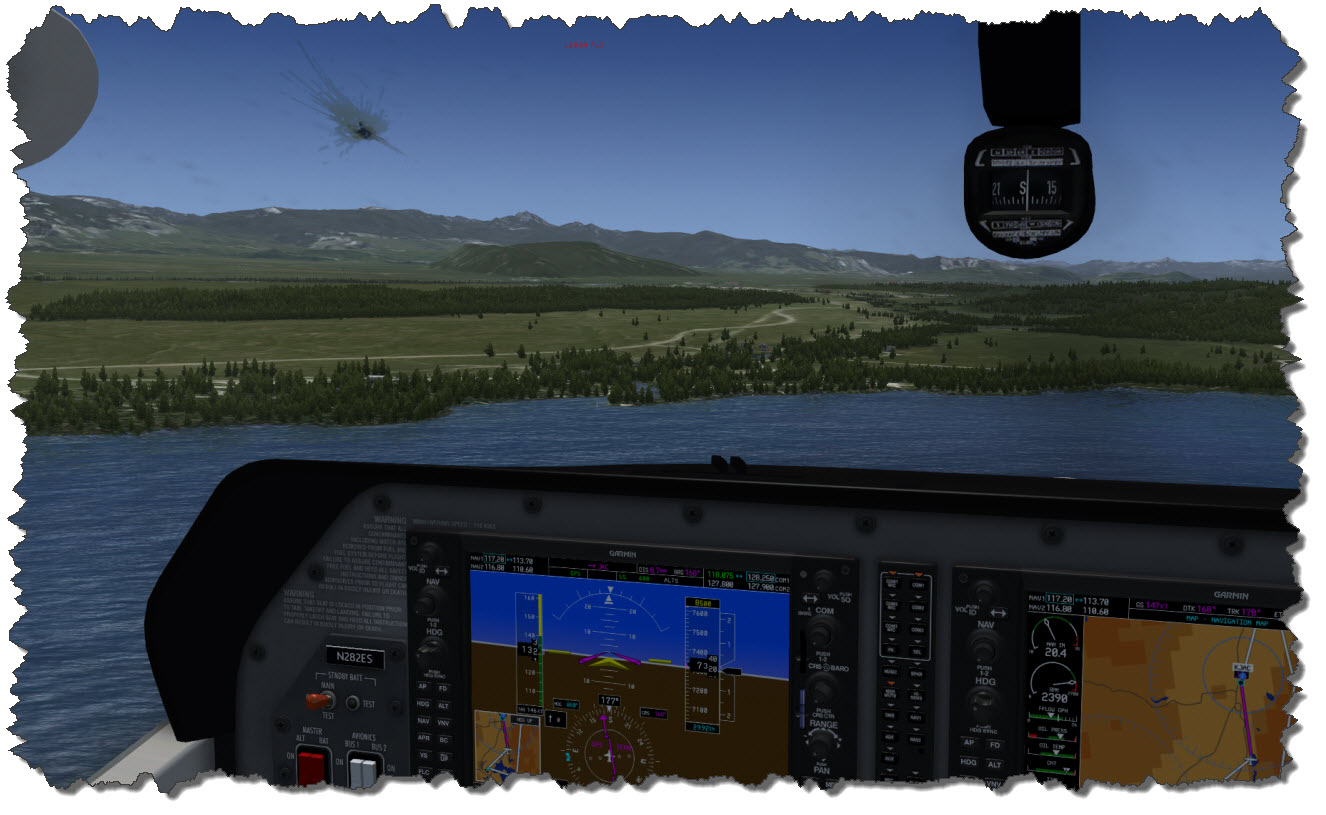 From Jenny Lake, you can already see Blacktail Butte – a small hill just sitting in the middle of the plain in front of us (and actually making the inbound approach to the airport interesting…) – this is where we go next.
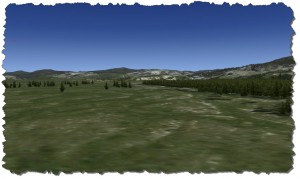 Flying around Blacktail Butte, I get the Cessna over to the Gros Ventre River – and to the camping ground.
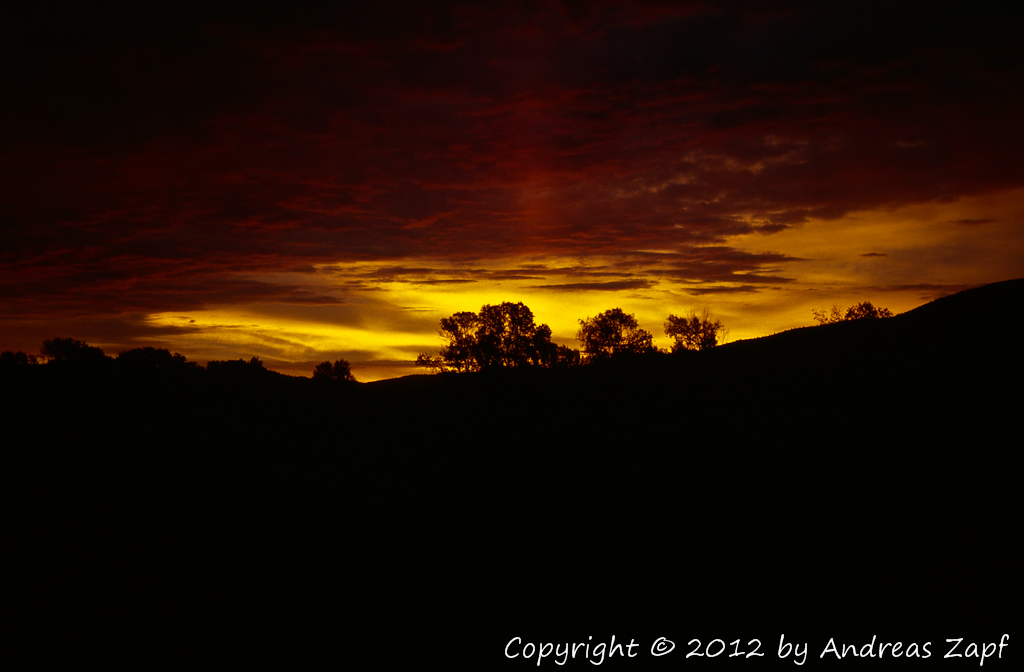
When my friend and me got to Grand Teton NP in 1996, we did not have any reservations for the night and ended up sleeping in the car in just this very camping ground. It was a cold night – not too comfortable – but the next morning made up for it with one of the most beautiful sunrises I have ever seen. The photo I had taken on this very morning is the cover image for this web page.
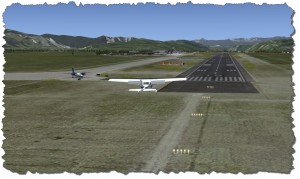 I am calling in to KJAC Tower for landing clearance – which is granted immediately.
Taking the Cessna around Blacktail Butte, onto a northern course and over Moose Junction and the Visitor Center, I am returning us to the airport. A 180° left turn, followed by a neat final approach is taking us back to there we left about 45 minutes ago.
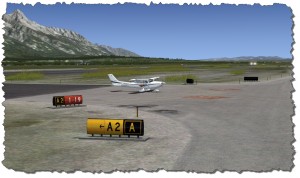 Leaving the runway at the A2 exit, I am taking exactly the same image that I took yesterday – without KJAC installed.
From there, contacting ground control and going back to the parking position is not a big deal – the airport is not that big and there is really only one taxiway – Alpha.
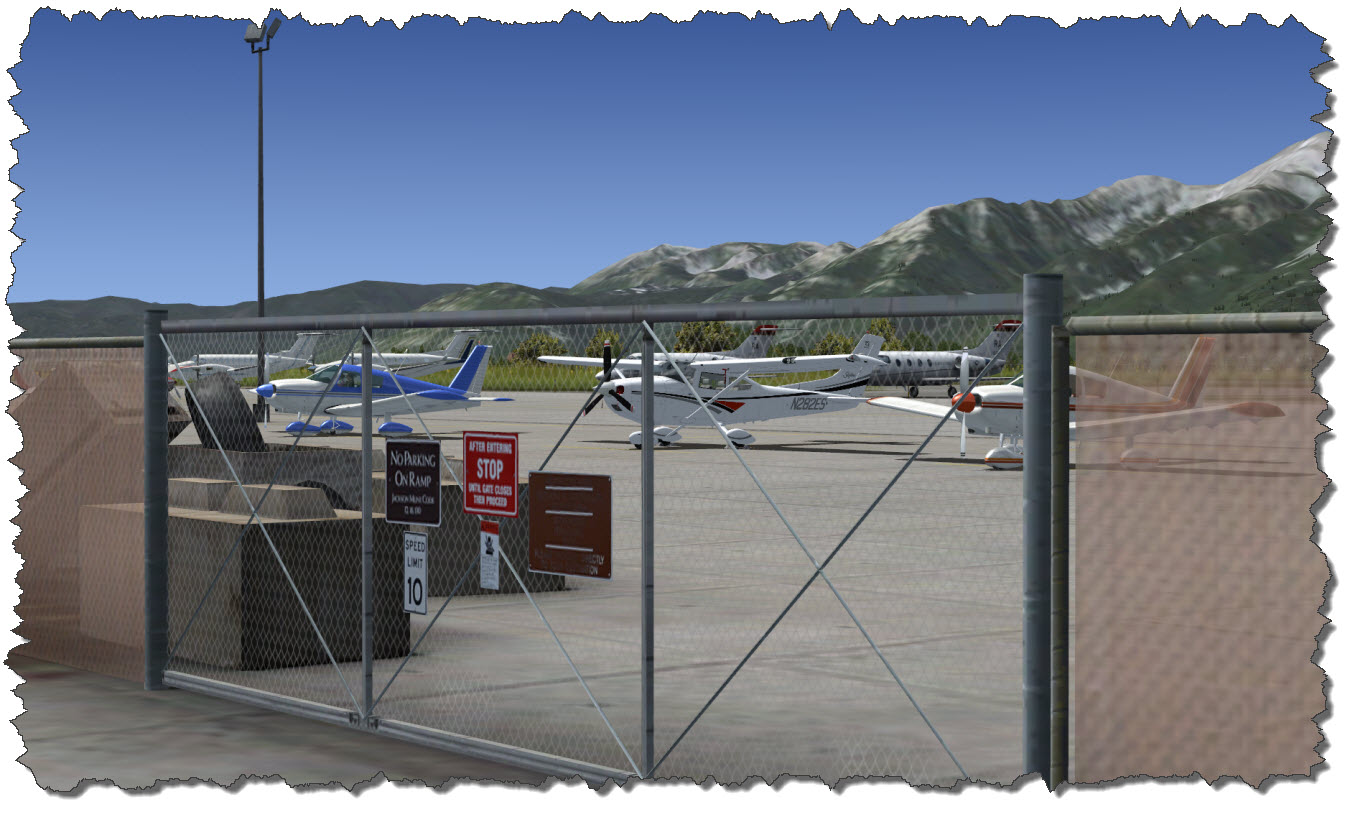
Returning the Cessna to the lease agent and walking out of the airport, I am taking a last look back through the fence: the little bird has done a great job and I had a nice time exploring the area.
 Conclusions
Even on my older system – an Intel Core2Extreme 9650 running at 3MHz with 8GB of RAM, an nVidia GTX560 Ti and Windows 7 64bit the performance of the scenery even when using a non-standard aircraft is quite excellent. It is easily flyable and smooth, on the airport, my system gives me a constant 12 – 15 FPS, in the air, I am reaching my fixed rate of 40 FPS most of the times.
Like other ORBX Products, the scenery is a very solid, high-quality development. The airport itself, with the extreme love to detail and the effects that various technologies such as PeopleFlow, NatureFlow or StaticFlow have makes that part of the scenery well above average. But then, on the other hand, you rarely will see those effects – when I was taking the Cessna out and in, I did not even recognize moving people or birds chirping of grass moving…I was busy taxing.
So what does that leave? The scenery covers an area of about 40 Km from North to South (that is from the south shore of Jackson Lake to Jackson) and 25 Km from West to East. Sounds huge but when flying it, this is quickly done with. So for a landscape scenery, it is small.
But Grant Teton National Park is probably one of the most gorgeous National Parks in the Continental US – combine that with the high-quality photo texture that even varies through the year as conditions change: it is a very neat place with sight seeing… even from the virtual skies!
The airport itself is meticulously built and shows a high skill of craftsmanship – but it is a rather small airport (despite it being busy and compare to 1WA6 still of a considerable larger size). It is – unless you have a special attachment to the airfield – nothing for everyday use.
It is certainly more than the eye-catcher that I think Fall City 1WA6 is – but is it something worth the 25€ that I spent for it? Let’s compare:
- Fall City Airport (1WA6) costs the same amount of money, is much smaller and much less work than this scenery – I originally said it would be worth about half its price to me.
- US Central Rocky Mountains (which is by the way required to run the KJAC Scenery!) costs about 30€ – and it covers a huge area with a bit lesser detail but on a much wider scope.
I’d say KJCA Jackson Hole is certainly above Fall City Airport but not that much worth to me than US Central Rocky Mountains – that leaves us between 12,95€ and 30€ – I’d say 25€ is close, maybe just a little bit high priced but say 20€ or 22€ or so would be certainly a fair price… and I am saying that being well aware of the huge amount of work that went into the scenery and the quality of it – it is merely a rating based on “weight”.

