I have already shown you how to turn a Raspberry Pi with an attached Camera Module into a time-lapse camera. While that was easy and worked well, there is one thing that it cannot overcome: the limitations of the camera itself. How much cooler would it be to replace the tiny Rapsberry Pi Camera with one of my Nikon Cameras? Say with my D90? I could take advantage of all the different lenses and filters I already got anyway and at the same time have the Raspberry taking control over the photos… and here is how that works!
Of course, the first step – again – is the installation of a current Raspbian Image into a new SDCard (so i am not going to mess with any of my existing systems). Once that is done, the new Raspberry Pi installation can be started and I am using PuTTY to login. Of course, the first commands are apt-get update and apt-get upgrade… at the same time, I also changed the Raspberry Pi’s hostname to nikonctrl.
What’s needed?
Well, here is the idea: the only thing I (currently) want – or maybe rather: want to start with – is making the Nikon take photos when the Raspberry Pi triggers it. That way, I should be able to write me a little script around that trigger that creates the photos for a time-lapse. The library used to control the camera is called gPhoto2.
The command
apt-get install gphoto2
installs die package.
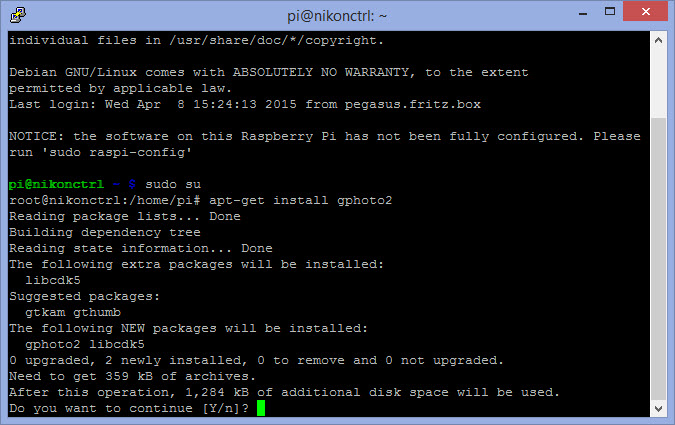
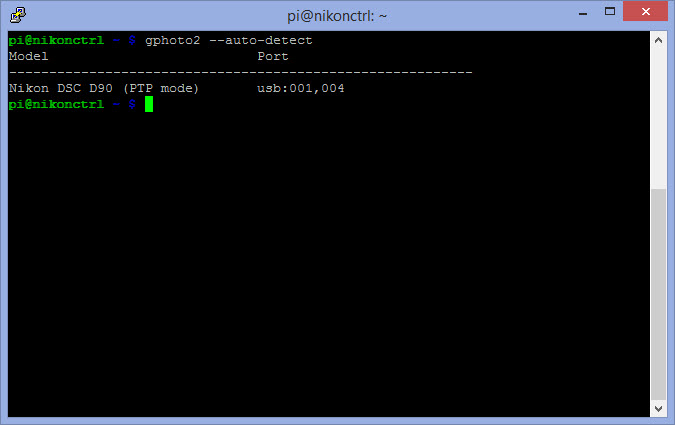
As you can see, installing gPhoto2 also installs the required library, libcdk5. With that done, I think it is time to hook up the Nikon D90 to the Raspberry Pi. Next, I would like to find out if the Raspberry Pi is now able to detect my Nikon camera – the command is
gphoto2 --auto-detect
And yes, gPhoto2 tells me that it can in fact recognize the camera… first step done!
Now, things can either get very, very simple – or very, very complex. So let’s try the quick & dirty approach first (keeping in mind what I wanted to do): we need to tell the camera to
- take a photo,
- do that every 1 minute,
- take 600 photos (that fits on the built-in SDCard), and
- store them on the Nikon D90
which would give me an equivalent set of images as my previous post about the Raspberry Pi time-lapse camera. But before we actually kick off taking photos, one important thing remains to be done: since we want to store the images on the camera, we need to tell gPhoto2 where to store them – which is on the SDCard!
gphoto2 --set-config capturetarget=1
If you don’t do that, the images will be taken but they are stored in the camera’s internal memory and eventually get deleted when you shut down the cam! Now, with that taken care of, here is the command to take the actual photos:
gphoto2 --interval 60 --frames 600 --capture-image
As I said: that would do the job – a quick & dirty solution but that’s all that I have asked for.
Getting a first series of Images
Now, I have a little problem at the moment: my Raspberry Pi does not (yet) have a WLAN adapter and I wanted to take some photos of the nightly sky from my balcony. But in order for that to work, I need the Raspberry to automatically start, configure the camera and then take the photos.
Solution: I am writing a little Shell Script that combines what I need and put it into the cron, auto-starting it at reboot.
 Probably not brilliant but it does the job… and here is the result of the nightly sky above me: